Step 1 / 9
2009 - collecting and establishing
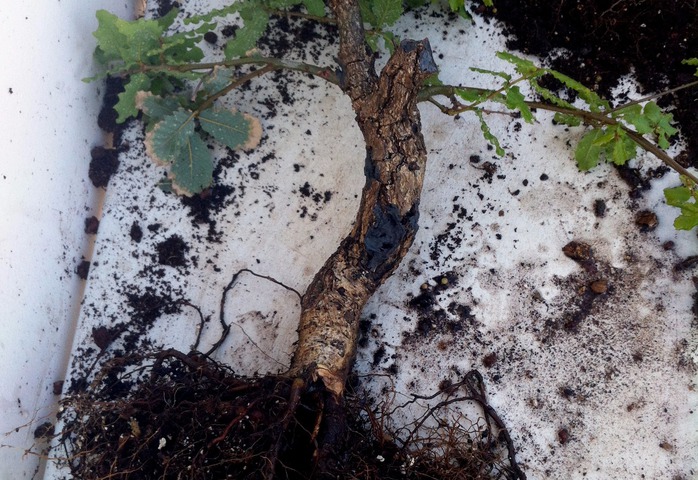
The tree was collected on 4/2009 - he grew out of a vertical cliff on a side of a road that was planned to be widen, It was collected with just a few feeding roots, because they grew very deep and I was unable to collect them.
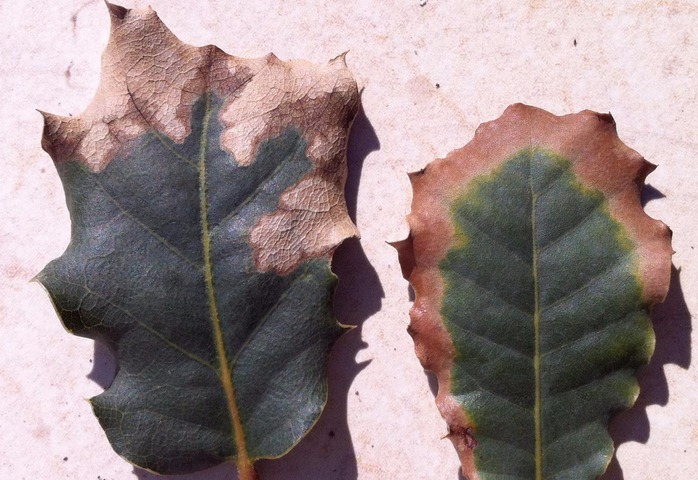
In the first 2 months the tree tried to sprout but every time the new leaves turned brown-black and died, today I know that the soil that I planted him was too dense and with too much moisture and that was probably the cause
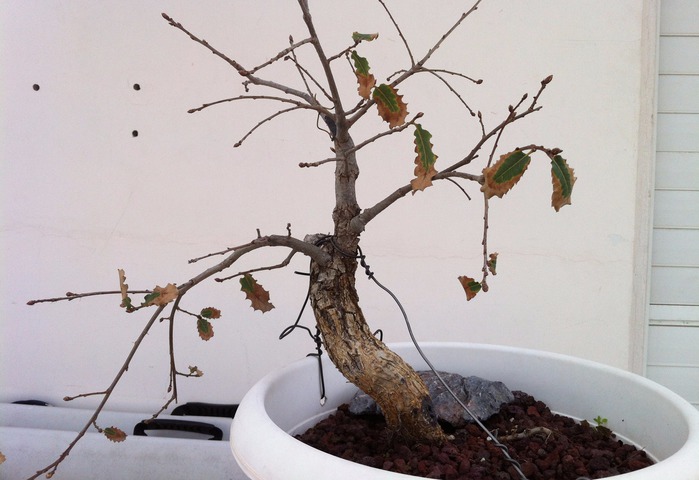
in June 2009 - Finally !!! new leaves are growing and they are a sign for the growth of new roots ( especially that it has been already 2 months since collection so the tree must had some functioning roots )
The leaves are very very big - it is probably because there are just a few leaves and the tree needs a lot of energy - so he is trying to maximize the total surface area
Step 2 / 9
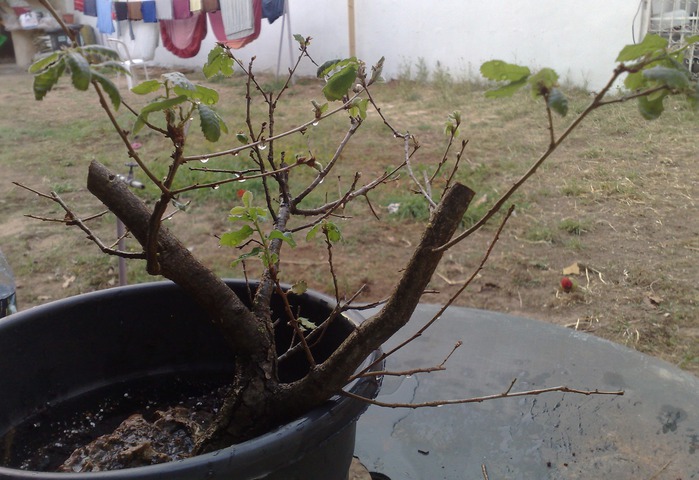
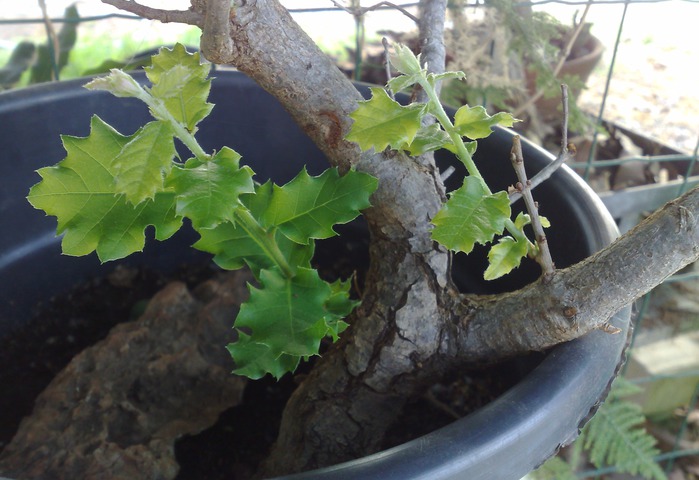
2011
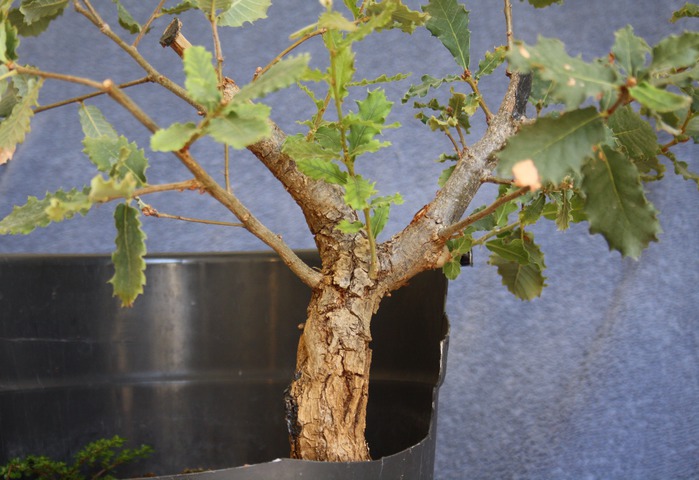
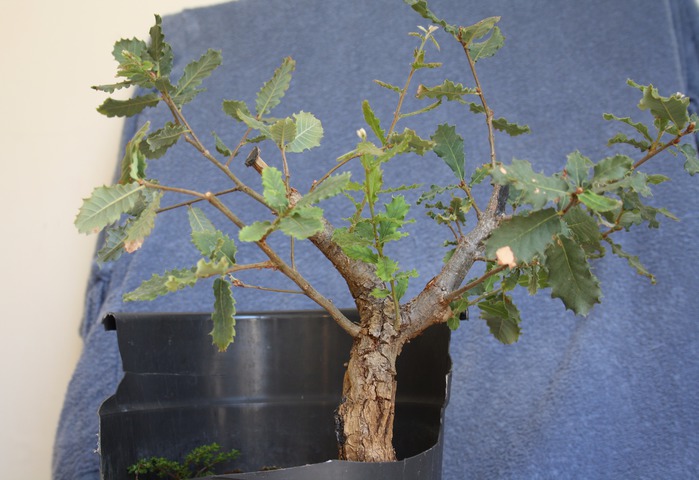
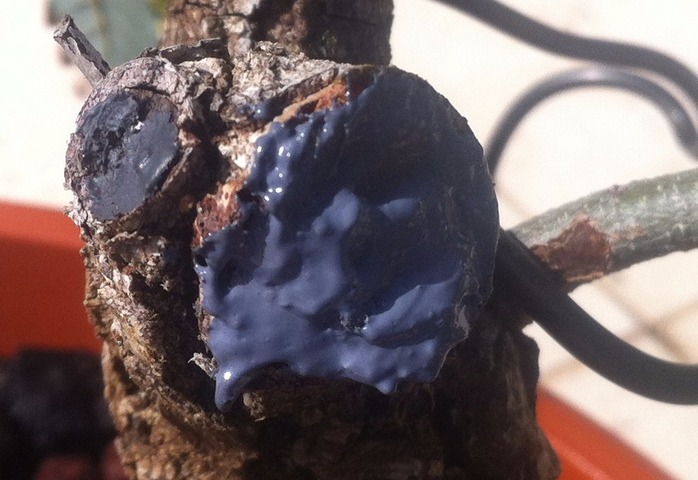
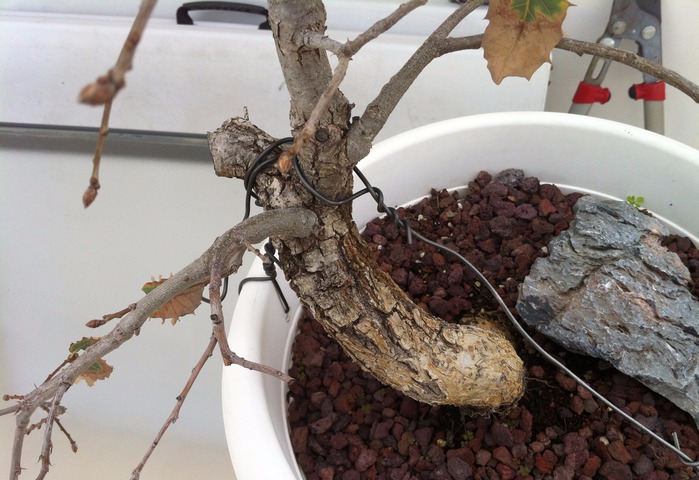
Pic #1 - I didn't seal one of the cuts I made properly and I found a larva that started eating the branch from inside..so I had to cut back...
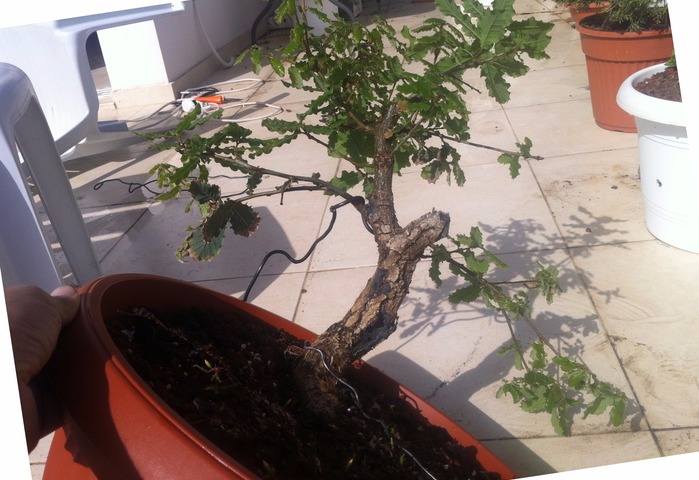
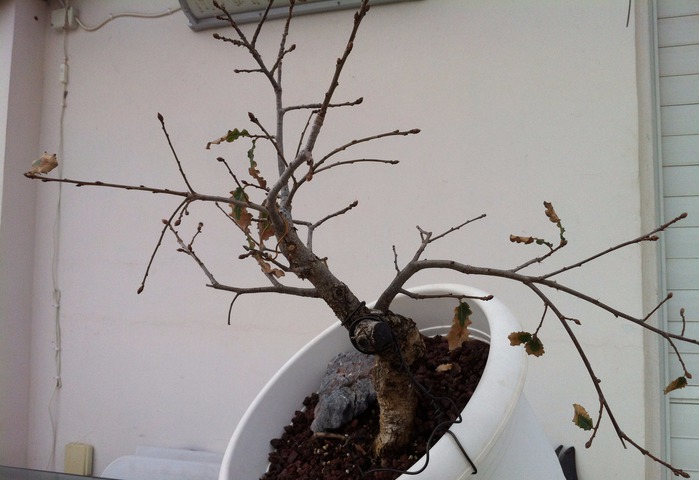
Pic #2,3 - Tree is growing, adding new branches and design possibilities
Step 3 / 9
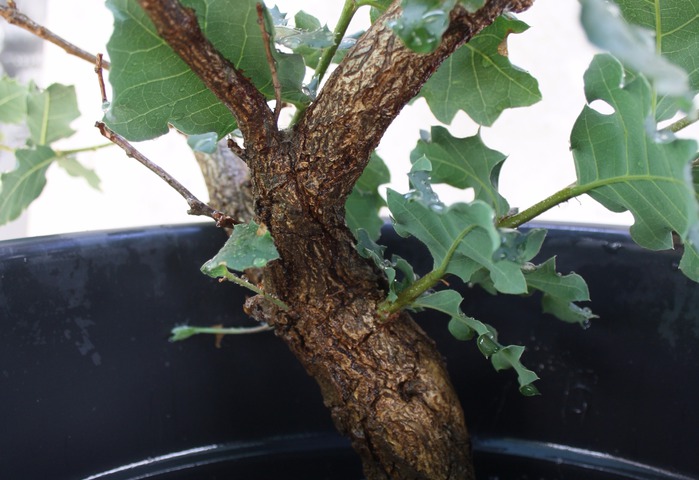
2011
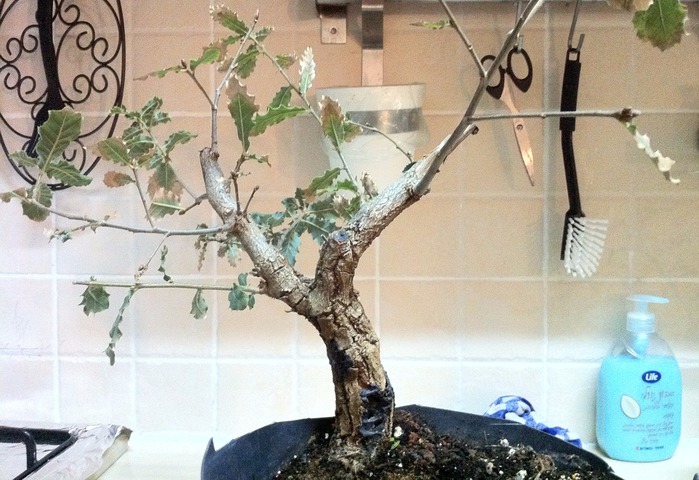
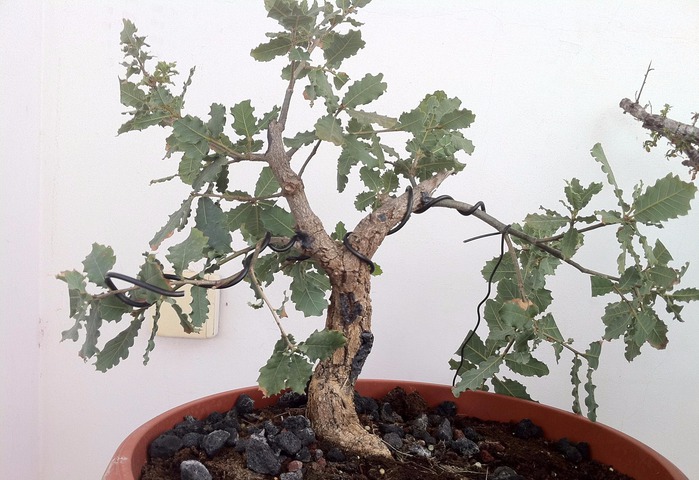
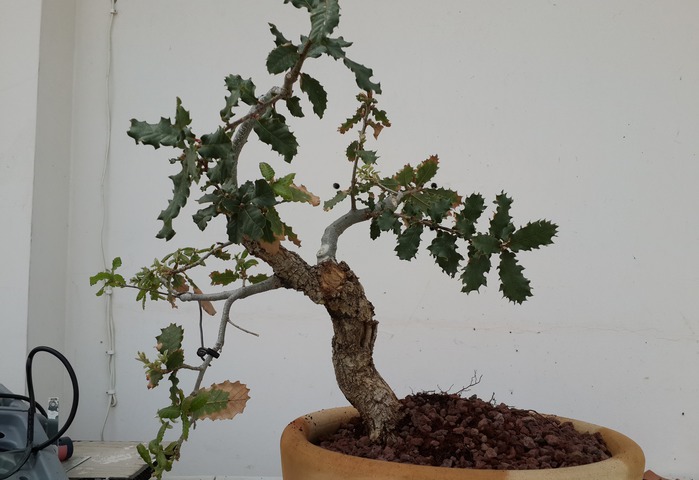
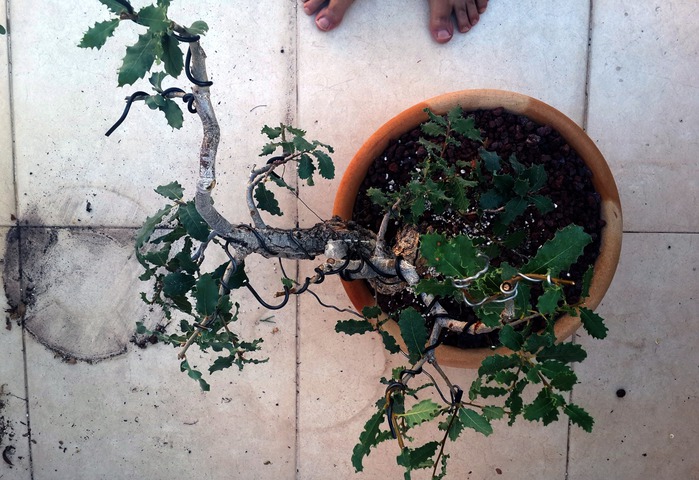
Pic #1,2 - putting branch in place ( at this time I didn't know that the whole branch is not going to survive )
Pic #3 - During this year, the tree suffered from 2 problems, I suspected over fertilization but later I found out...
Step 4 / 9
2012 - branch infected / rot
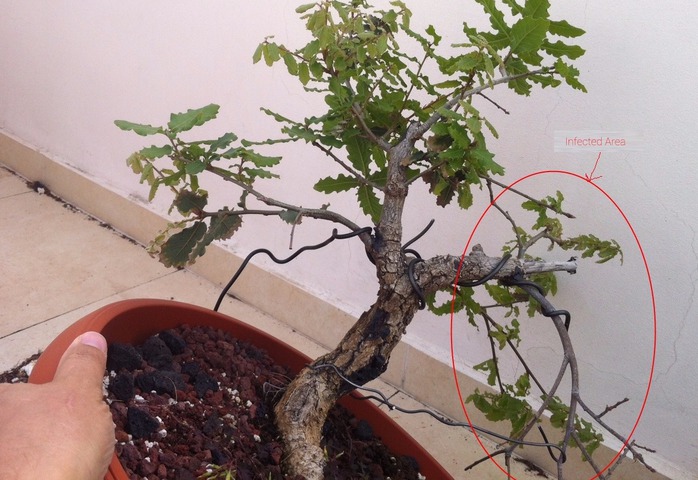
I discovered that an infection has gone inside the main right branch and had to cut it off :(
Step 5 / 9
2012 - repotting
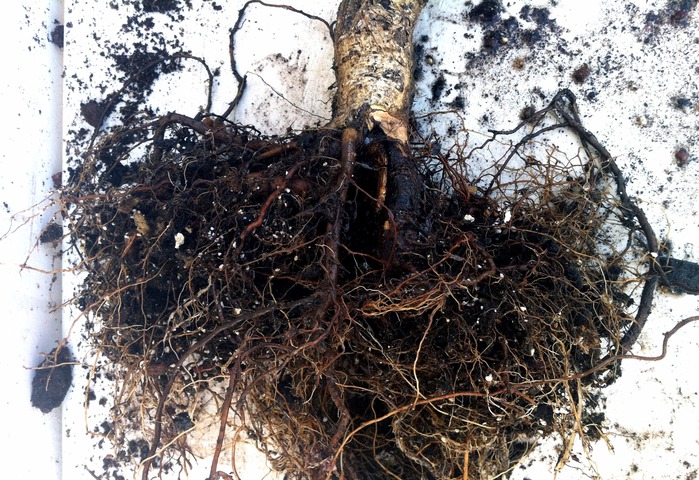
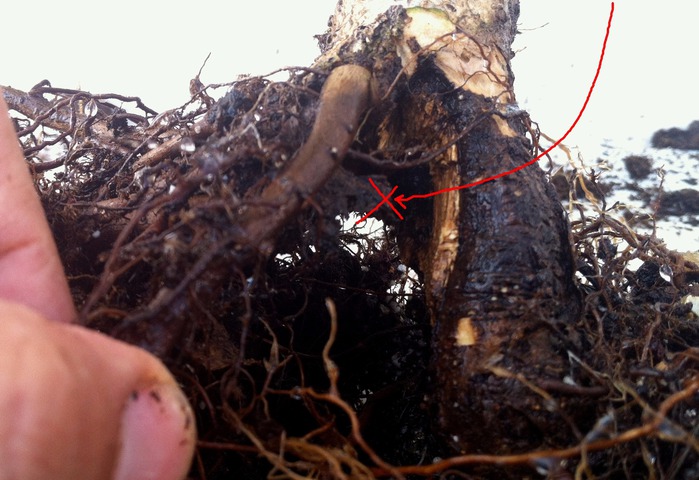
I decided to report the tree ! it was a very successful decision because I discovered the tree roots were enclosed in a small area, another plant roots took over the soil and there was a dead wood just beneath the nebari ( maybe the cause for the rot and infection in the last 2 years )
I planted in a new soil : 40% coconut, 25% tuff, 25% perlite, 10% humus
Step 6 / 9
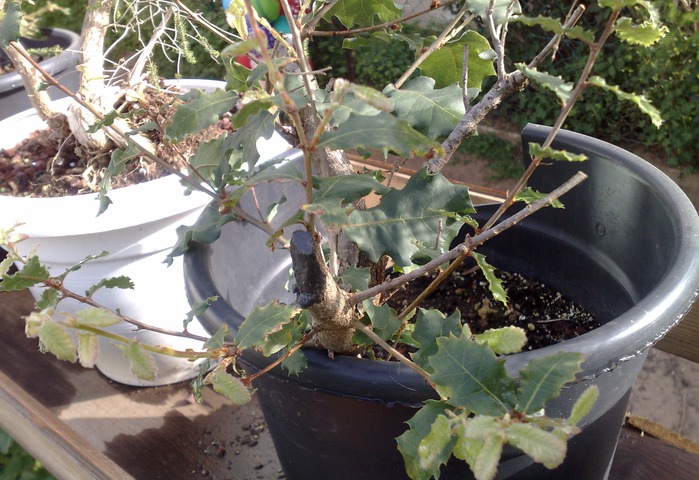
2013
The new branch I plan to use is starting to thicken :)
Step 7 / 9
2014
The stub was cut off, and I drilled a bit inside with a dremel
Also I did a partial soil replacement, just took out the roots ball, the surrounding was with green aleage that I removed with my hands, and added new soil from the sides
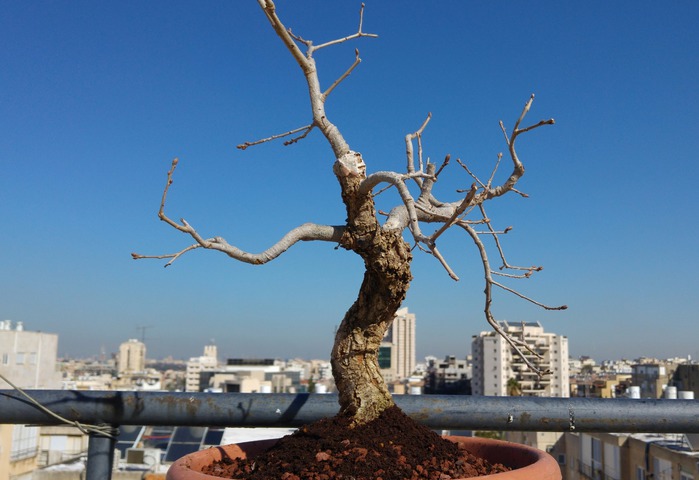
Step 8 / 9
2015
The branches become thicker everyday :)
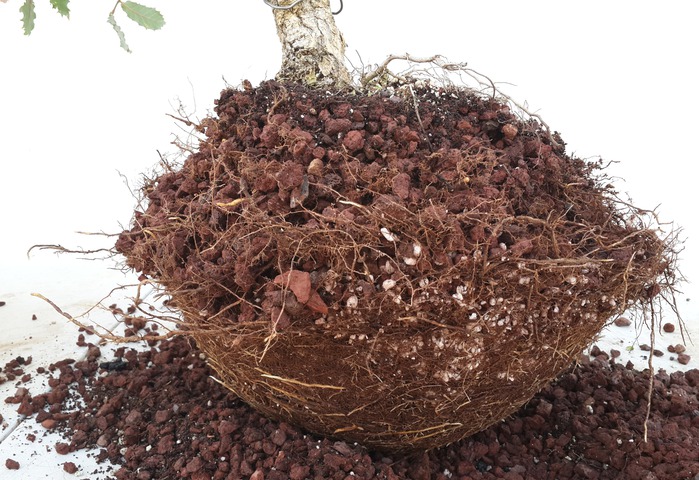
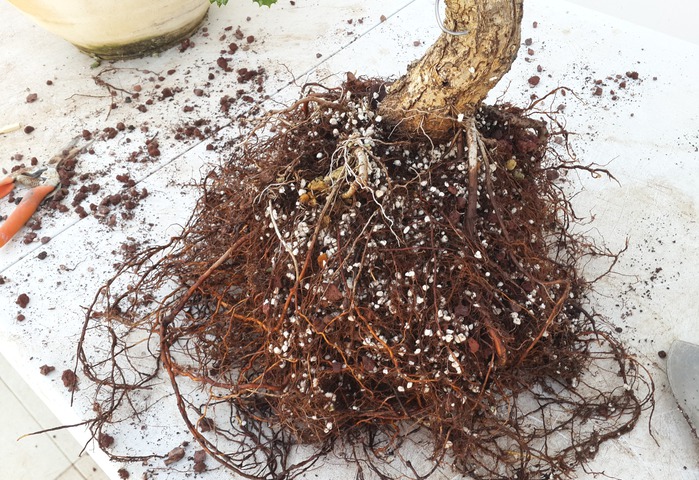
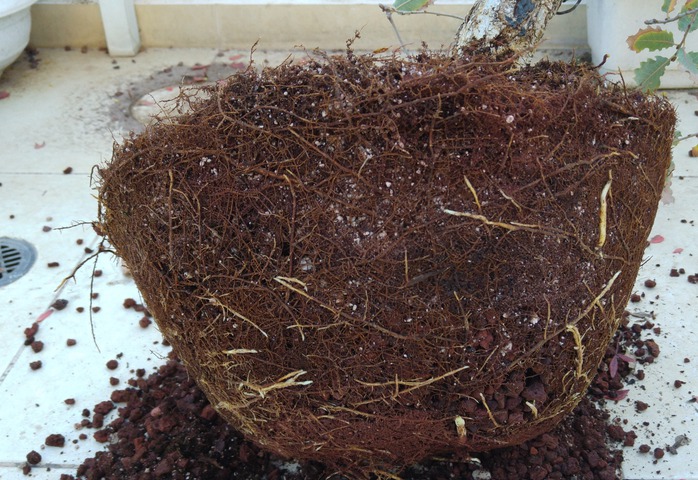
I did another repot - took the root ball out of the pot, the roots were very long and tangled, I made some order, shortened them, added some soil mix and returned to the pot
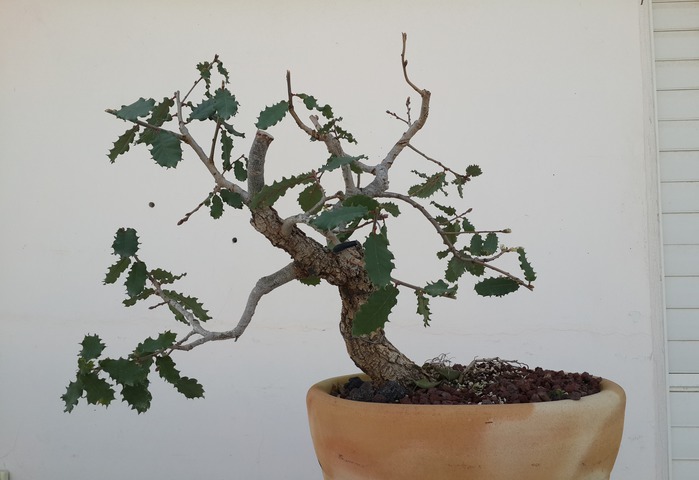
Step 9 / 9
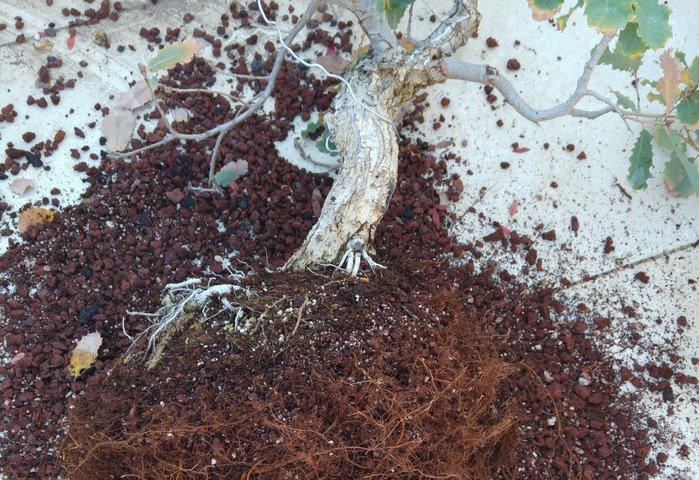
2016
Another repot and arrangement of the roots ( shortening and cutting the roots )
changed into a shallower plastic training pot
We invite you to Join 1000+ artists from 43 countries

it is totally FREE and takes less then 45 sec !
Become a member and enjoy all the benefits
