Step 1 / 20
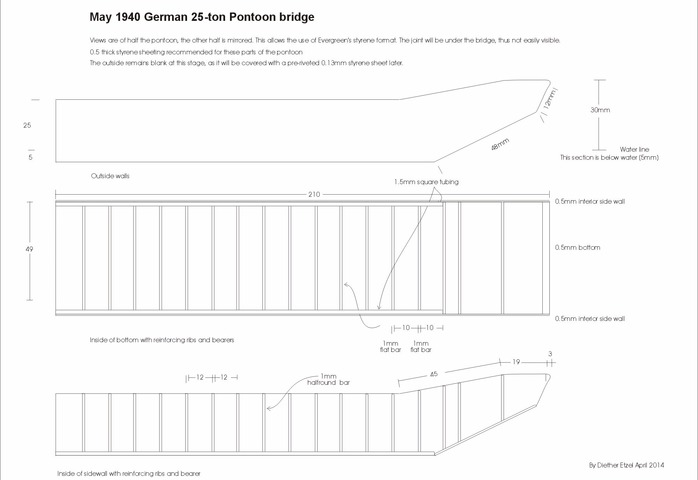
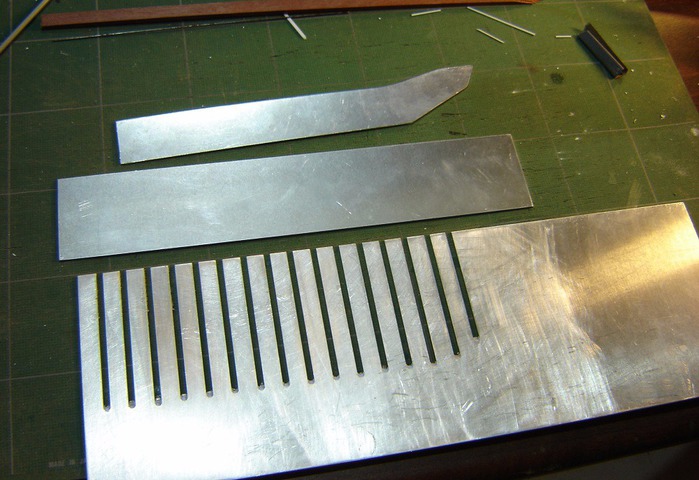
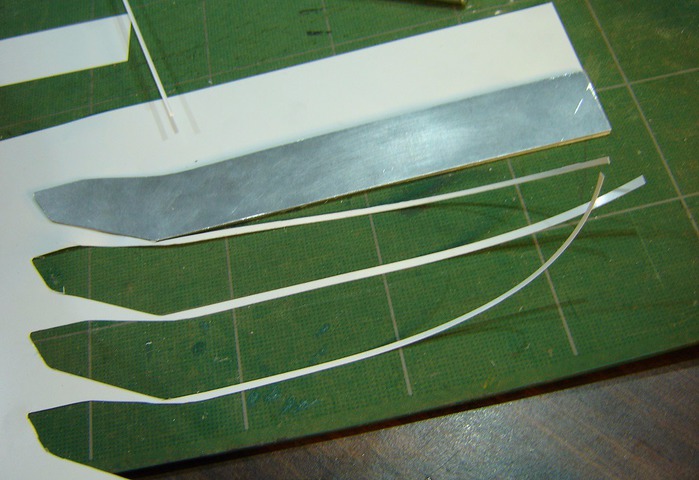
Using the plans, make up three templates using the aluminium sheet or the cardboard.
The top one is for the sides, the one underneath it for the bottom, and the one at the bottom for the positioning of ribs.
Step 2 / 20

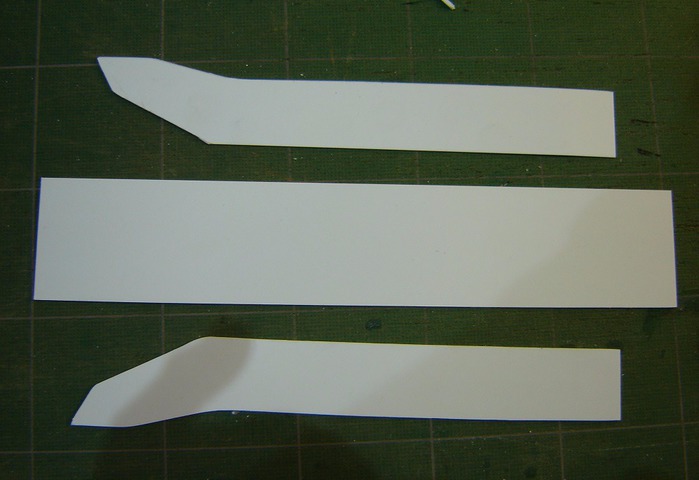
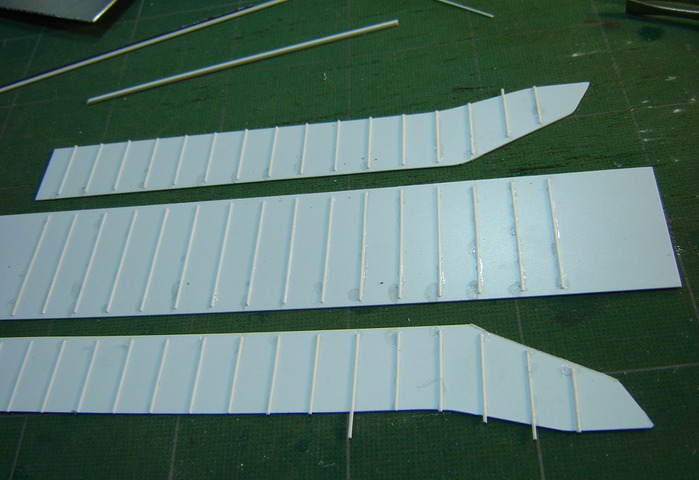
Using the template to cut the sides, and then the bottoms out of the 0.5mm sheet styrene.
Two sides and one bottom ready for the ribs!
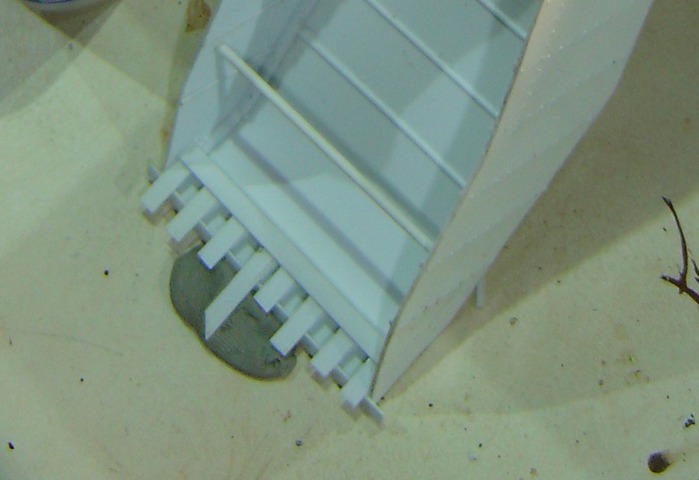
Step 3 / 20
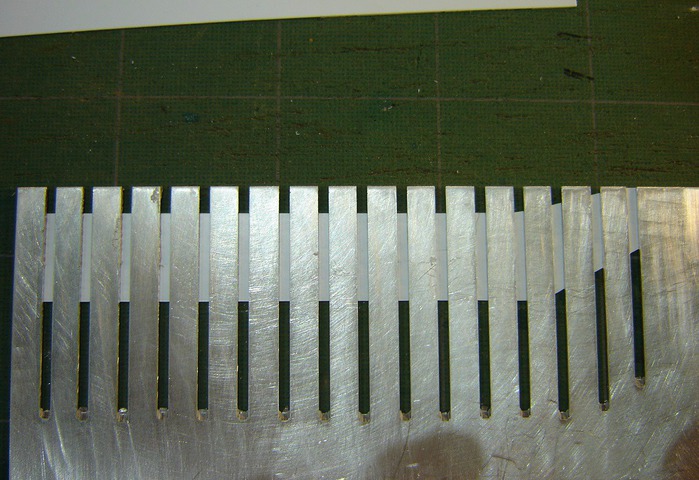
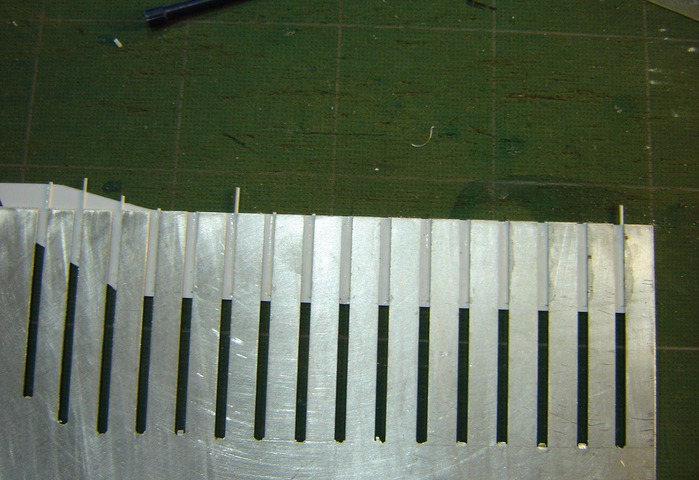
Place the ribs template over the sides and glue in short lengths of the 0.5mm halfround styrene for ribs.
Leave 1.5mm gaps at the bottom of the ribs to allow the required space for the 1.5mm x 1.5mm styrene bottom strip coming in a following step.
Do the same for the bottom, but here you need to leave 1.5mm gaps on each side.
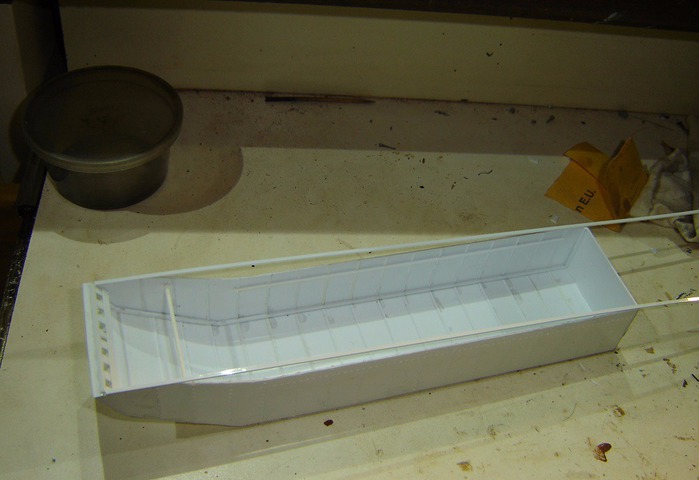
Step 4 / 20

Insert and glue in the 1.5mm x 1.5mm styrene strips as shown in the picture.
Step 5 / 20
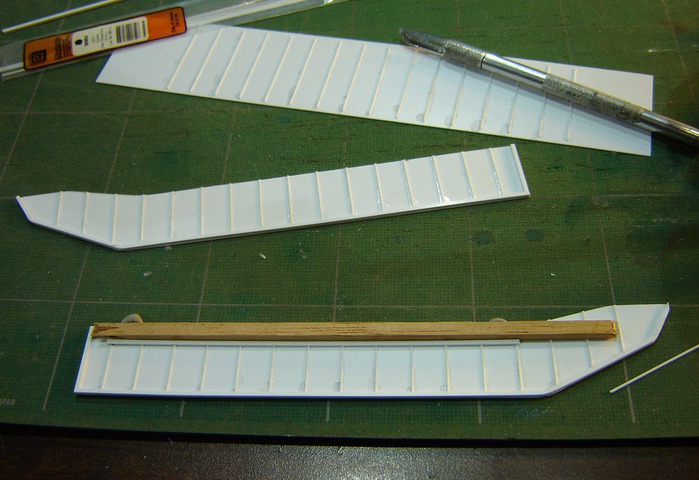
Add in the double 1mm handrail of the early style pontoons. The 7mm wide strip of wood is for spacing as the higher of the two handrails 7mm from the top of the gunwale.
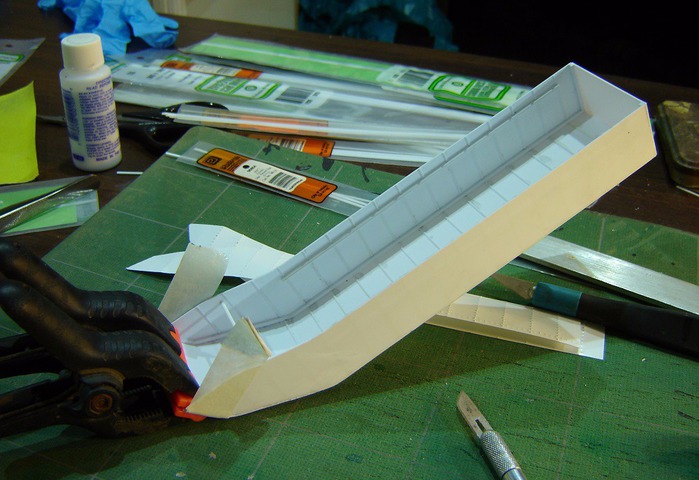
Step 6 / 20
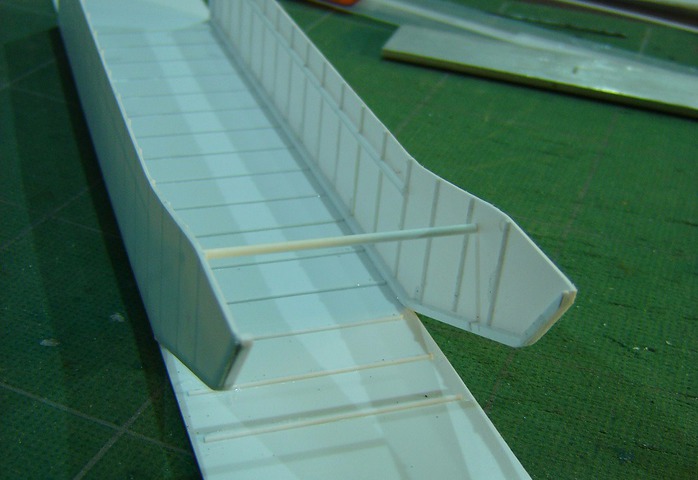
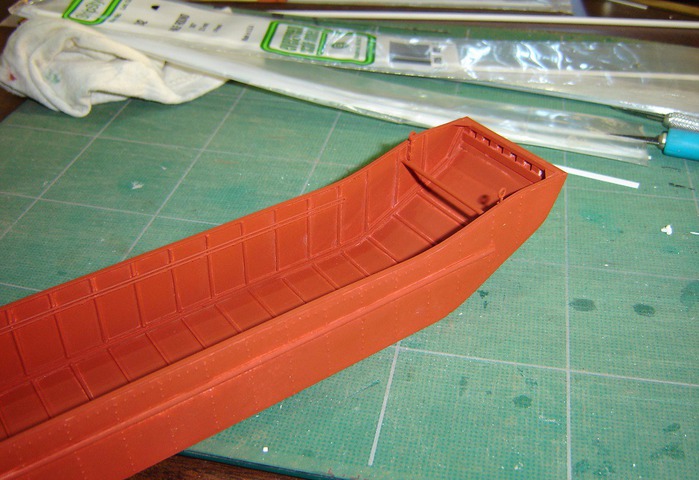
Glue the 1.5mm of the sides onto the bottom, let it dry before bending up and glueing the bow.
Glue the 2.5mm styrene bow rod into position.
Step 7 / 20
Whilst the main hull is drying, start cutting the 0.1mm styrene for the outer side walls using the same templates.
Step 8 / 20
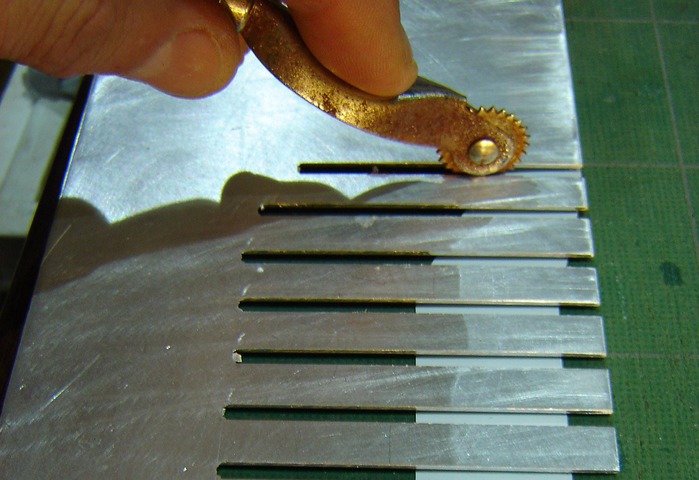
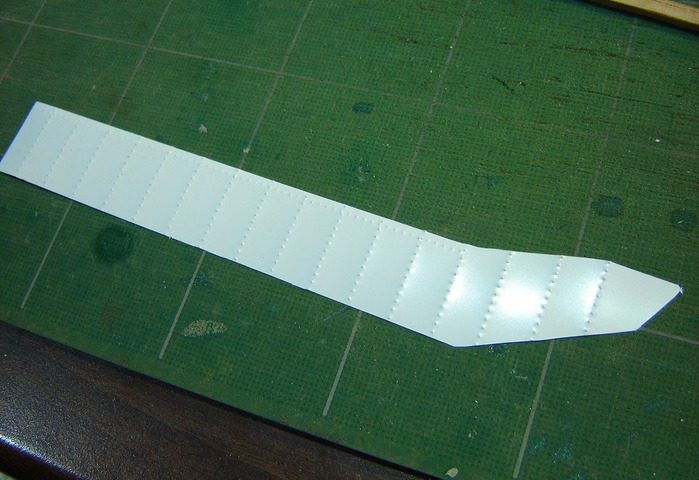
Use the template again and the dress maker's pattern tool to create the rivets as in the early war pontoons.
Don't press too hard so as not to penetrate the styrene, you just want to create the indents.
Note: For a later WWII style pontoon, don't do rivets, as they were welded after 1941.
Step 9 / 20
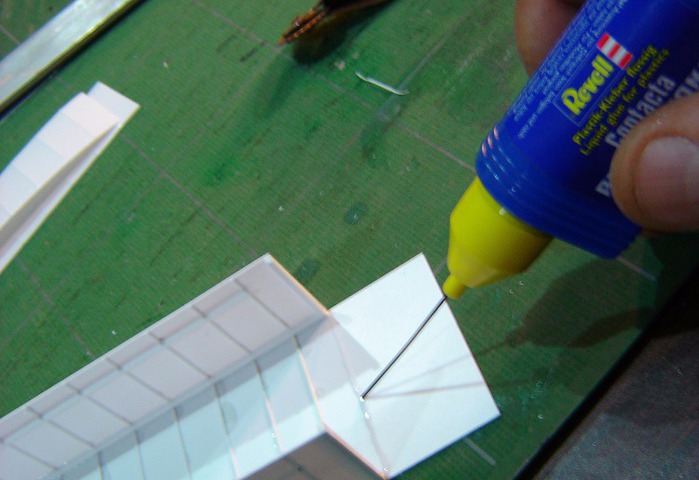
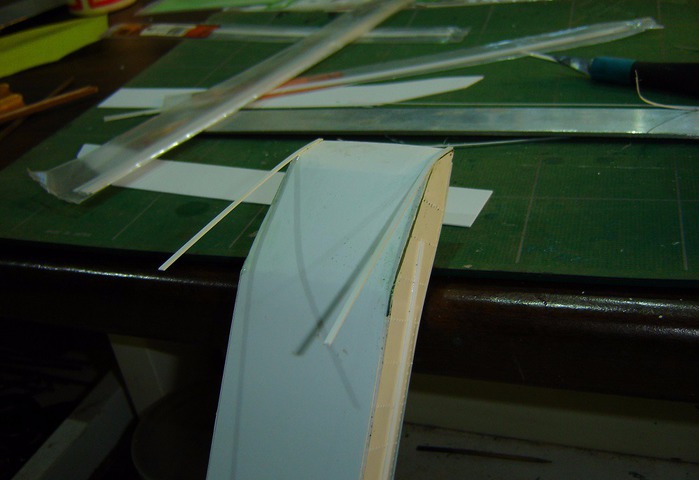
The next step is to bend and glue up the stern and bow sections.
Glue and clamp the bow in the same manner.
I find a line of glue softens the styrene for the bending. It is quite safe for the pontoons as all excess glue will be treated as either water or rust (these were used since 1937).
Step 10 / 20
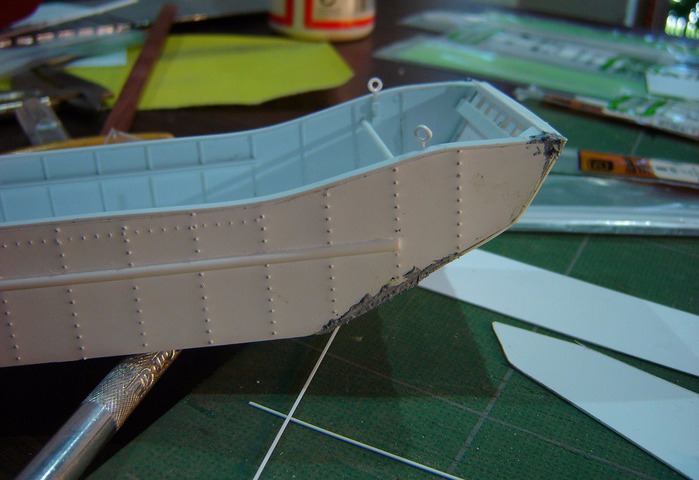
Glue on the outer skins with the rivets (showing outwards).
Using the 0.5mm x 3.2mm styrene strips to create the front bow reinforcements as per the photograph.
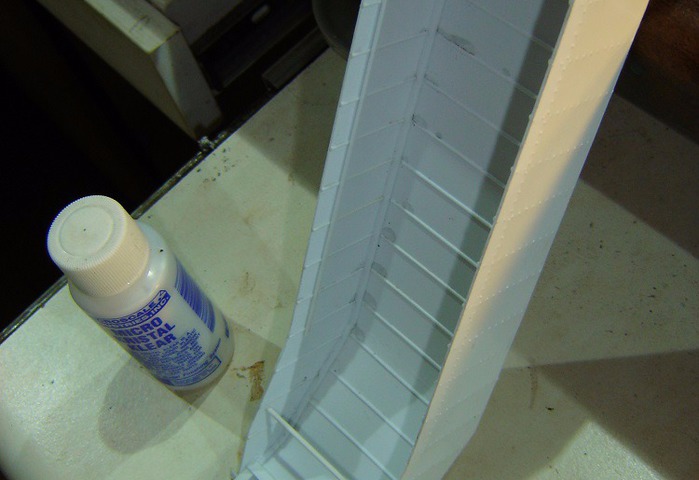
Step 11 / 20
Use the 0.5mm x 2mm strip styrene to create the upper gunwale rims.
Glue and rub down to follow the curve of the pontoon gunwale.
Step 12 / 20
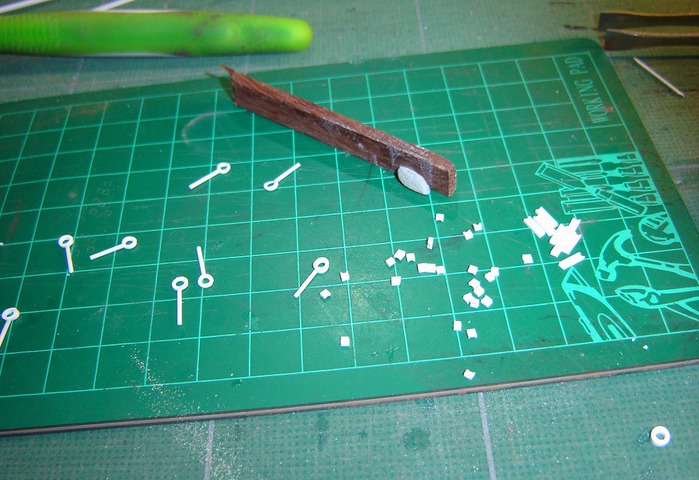
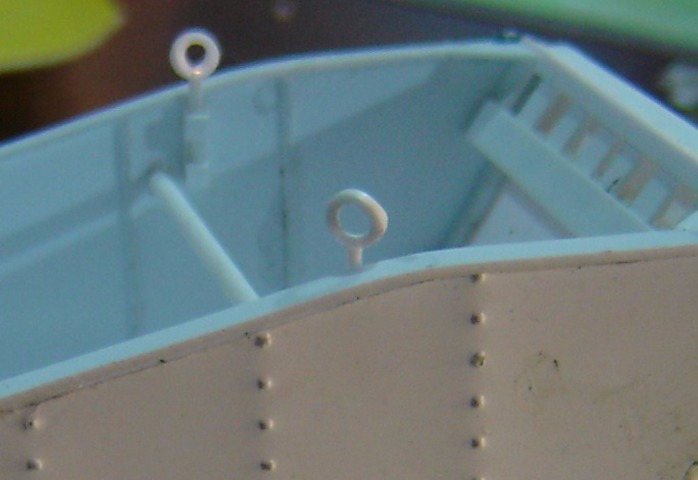
To make up the swivel eyelets for the ropes and cables, cut the 2.5mm styrene tube into 1mm slivers and glue them onto 1mm styrene rods.
The holder in which the eyelets swivel is made from 1.5mm C-channel: A longer one for the back (where they attach to the pontoon inside) and two shorter ones at the front with the rod running up between them.
Step 13 / 20
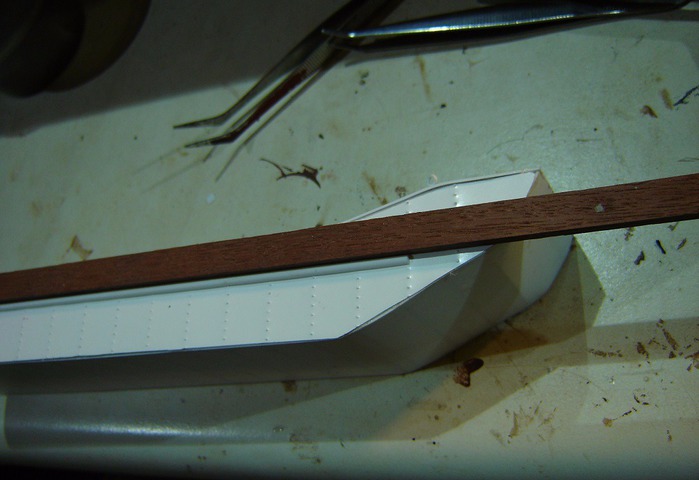
Glue on a side reinforcing and ramming bar made from 2mm halfround styrene strip onto each side.
Once again a 10mm wide piece of wood acts as a spacer.
Step 14 / 20
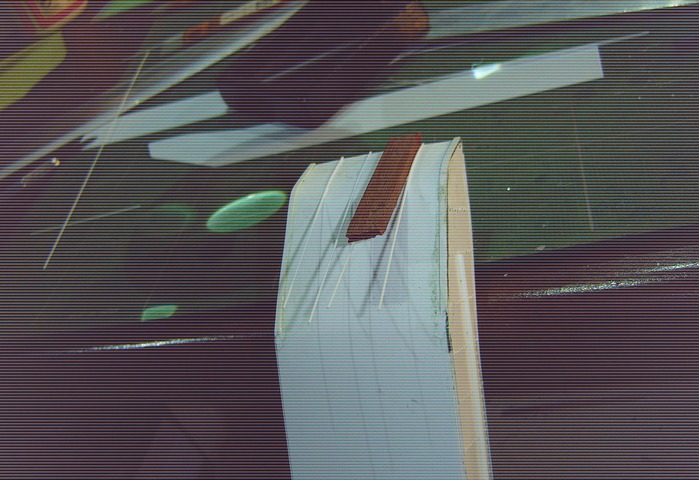
Glue on the side bow strips using 0.5mm x 3.2mm styrene strips.
Step 15 / 20
Glue on 0.5mm x 2mm styrene strips using the 7mm spacer (strip of wood).
I do apologize for the quality of this picture . . .
Note that the central two strips will be closer to each other, and not equidistant.
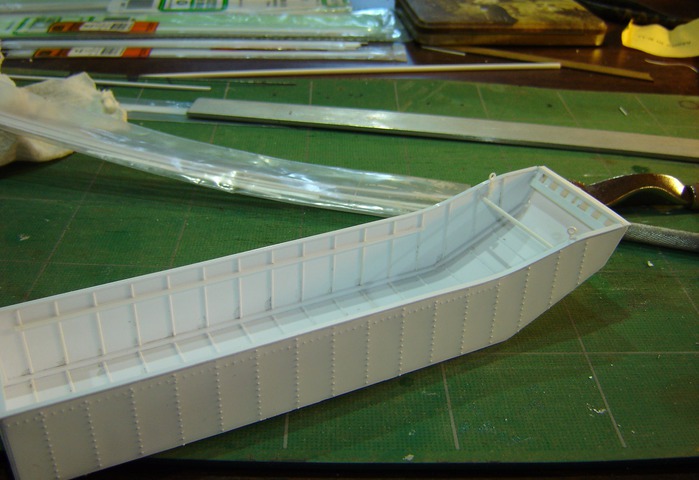
Step 16 / 20
The pontoon is now constructed, but still needs filling and sanding along open edges that may have occurred.
Make sure not to sand off the rivets!
Step 17 / 20
Prime with a suitable primer, and if necessary do more filling and sanding.
If it was necessary to do some further filling and sanding, re-prime the pontoon.
Step 18 / 20
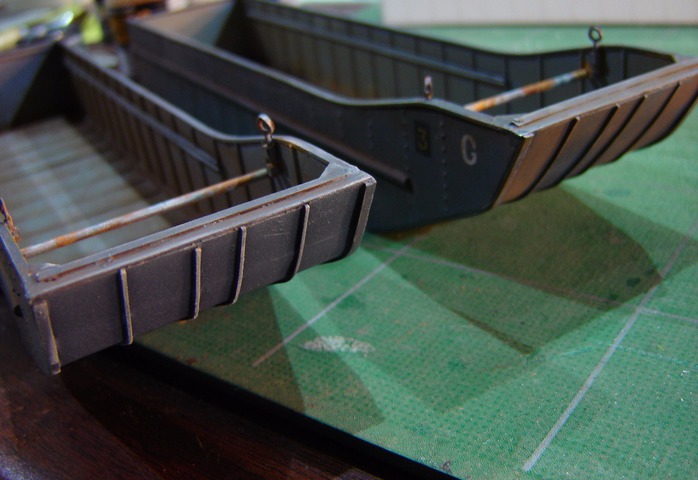
Paint the pontoon in the colour required.
For my dio I needed them to be part of General Guderian's engineers on the river Meuse at Sedan, France. Therefore I sprayed them field grey, followed with two lighter tones for highlights. Shadow areas along the strips were darkened with a black wash, and the utmost highlight areas with a very light grey dry-brushed on.
Step 19 / 20

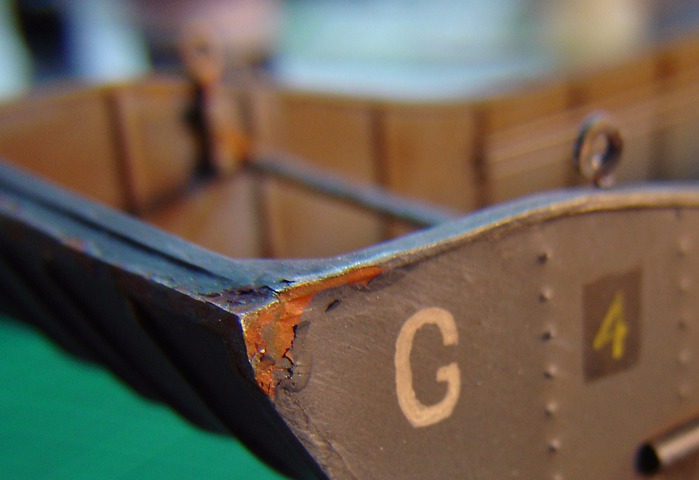
If required by the scene, various weathering, streaking, rusting and chipping can be added.
Step 20 / 20
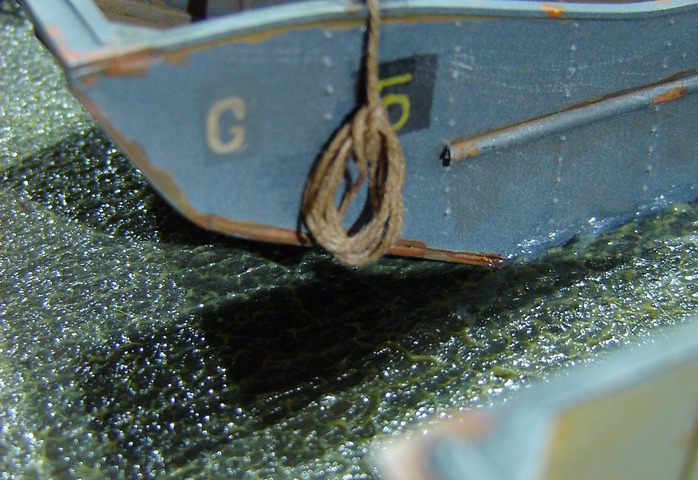
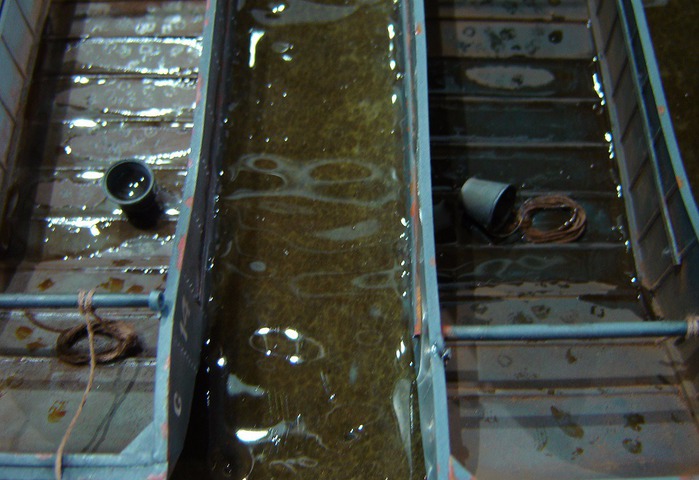
Additional details such as coils of rope, buckets, etc add a lot of life.
We invite you to Join 1000+ artists from 43 countries

it is totally FREE and takes less then 45 sec !
Become a member and enjoy all the benefits
