Step 1 / 15
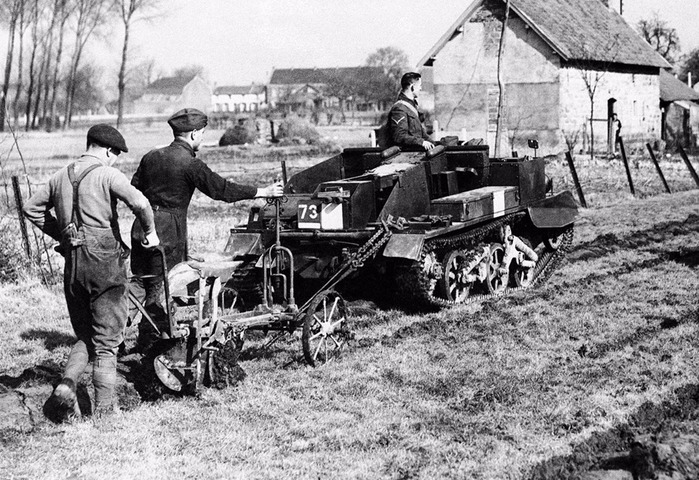
Find reference picture(s) that will make the story of what you want to depict. In this case it was this beautiful scene of the 73rd Royal Irish Fusiliers helping out a French farmer whose horses were commandeered by the military early in 1940.
This guide is all about creating the barn in the background.
Step 2 / 15
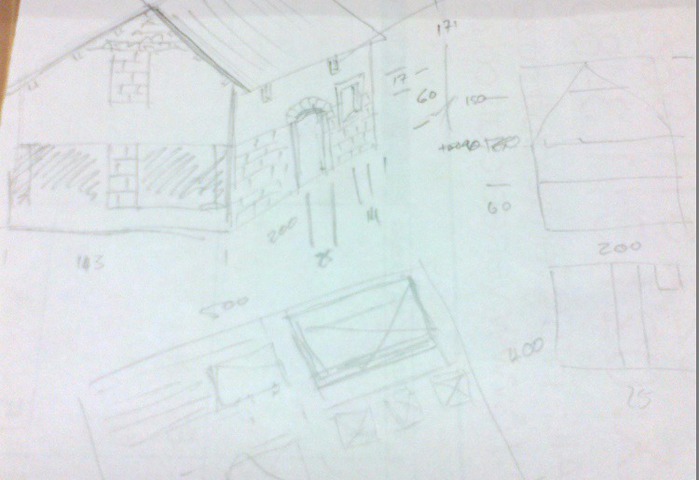
First make some rough sketches with scaled dimensions. As you can see I'm no artist, but a little goes a long way!
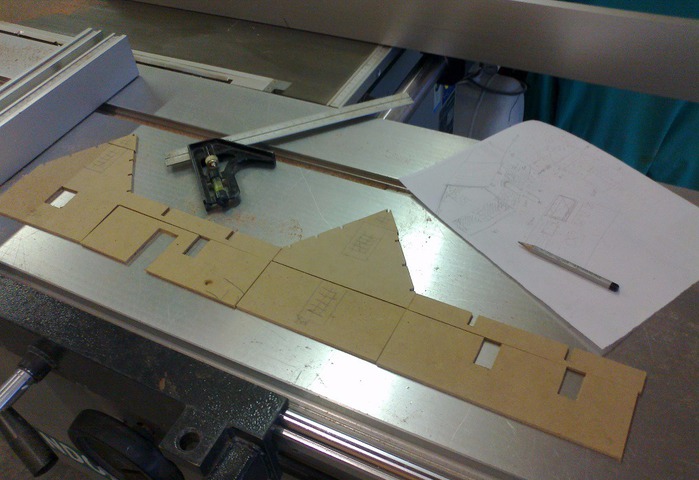
Step 3 / 15

Mark out the walls on the MDF according to your plans.
To make it easier to cut out the doors and windows, cut the walls at the top height of the windows. The door can be cut from the bottom up. This helps to cut them out much easier and more squarely.
Cut out all the walls. If you don't have an electric saw, it works equally as well sawing by hand - it just takes a bit longer.
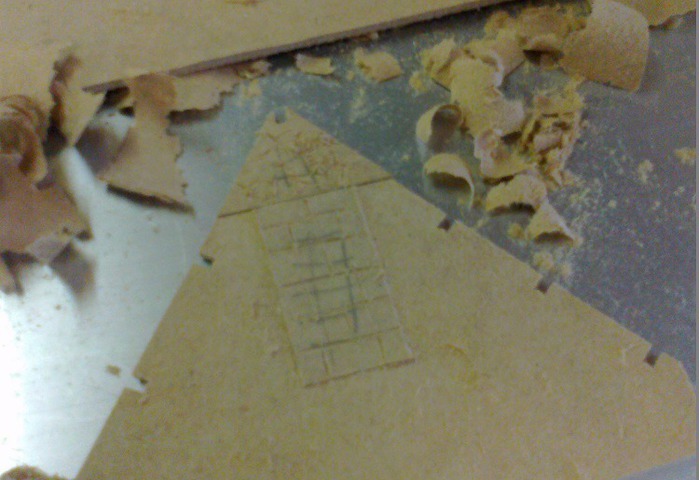
Step 4 / 15
Cut out the windows, air vents, door, and notches for the roof beams.
Step 5 / 15
Start by gently carving off the smooth outer layer of the MDF where required. Eg, I left the bricked up top window to protrude slightly.
MDF carves very readily, look out that the chisel doesn't slip - and always work away from your body!
Step 6 / 15

Tape the sections together with masking tape.
Mix a small amount of the body filler and start creating plaster effects around the windows and door.
The body filler hardens within minutes, so you have to work quite quickly with small sections and amounts of body filler at a time.
Step 7 / 15
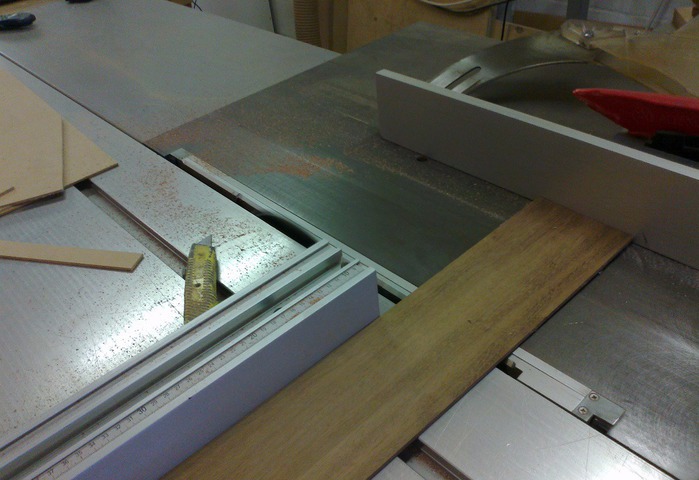
Cut the strips of hardwood to the length of the roof.
Remember to add enough for the overhang!
Step 8 / 15
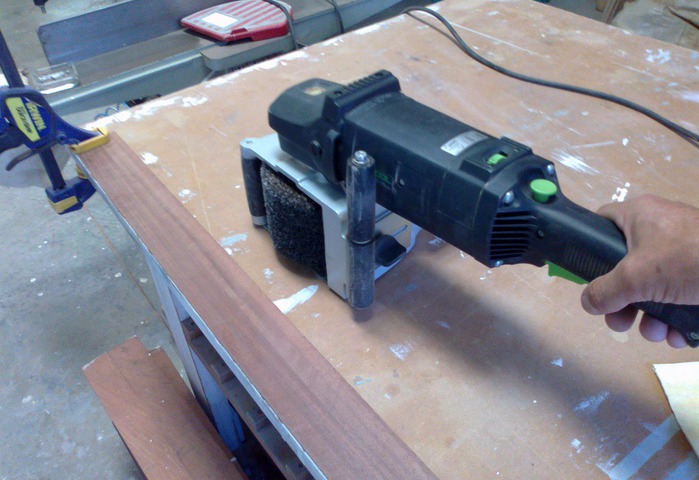
Use a steel brush to brush out the softwood grains along the grain of the wood. The harder grains will remain, giving a thatch effect.
A hand steel brush works well, once again just taking longer than an electric rotary brush as shown in the photo.
Step 9 / 15
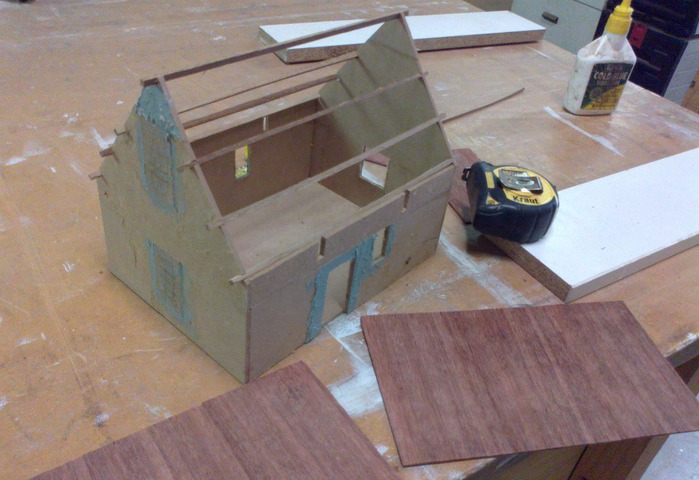
Glue the roof sections together.
Glue the house walls together.
Glue in the roof beams.
Step 10 / 15
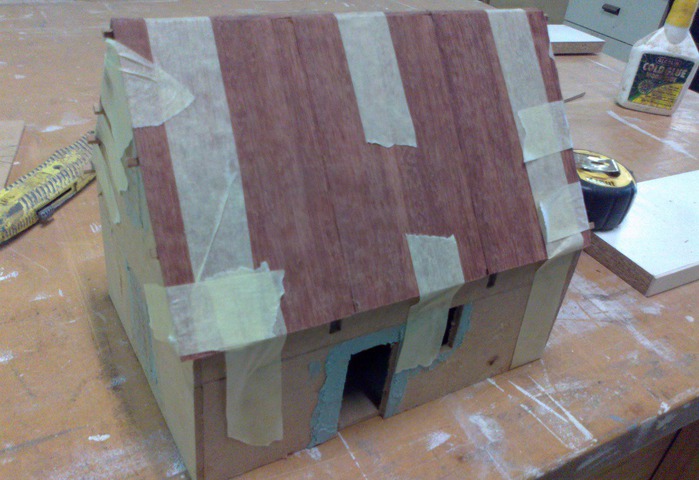
Glue on the roof and use masking tape to keep everything together during the drying time.
Step 11 / 15
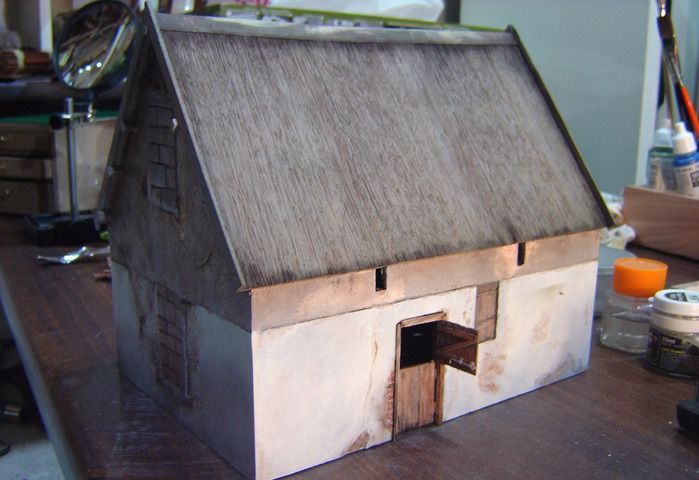
Once the glue has cured, prime the walls.
I used Jarrah for the roof, and decided the colour was great as a base as it was. It would just require some subtle paint and pigmenting at a later stage.
Step 12 / 15
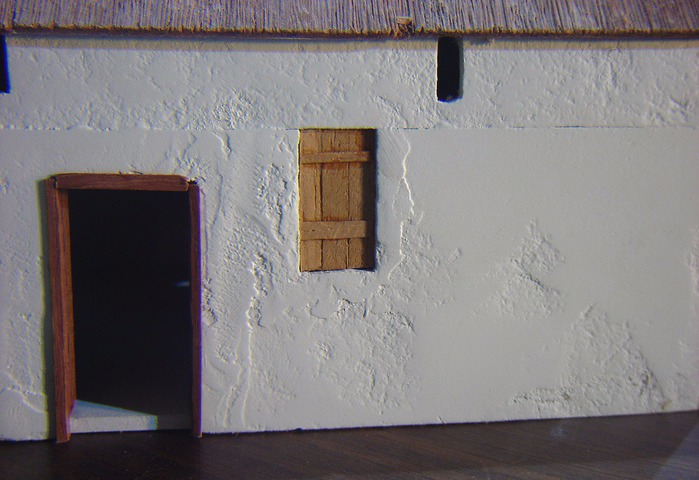
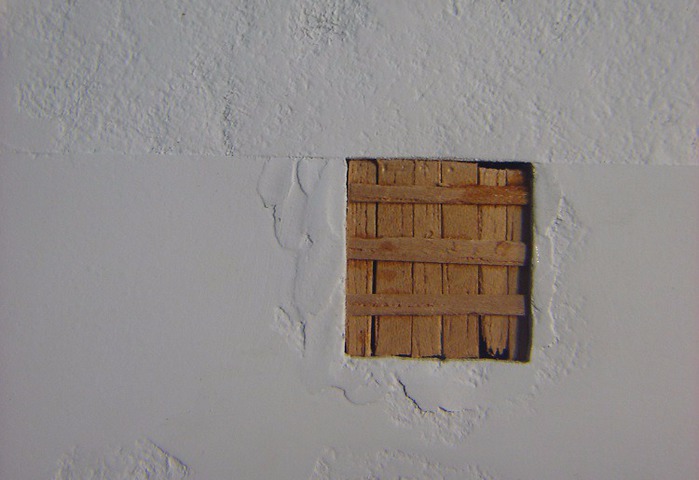
Make up the door frame and shuttered window using scrap pieces of wood.
Step 13 / 15
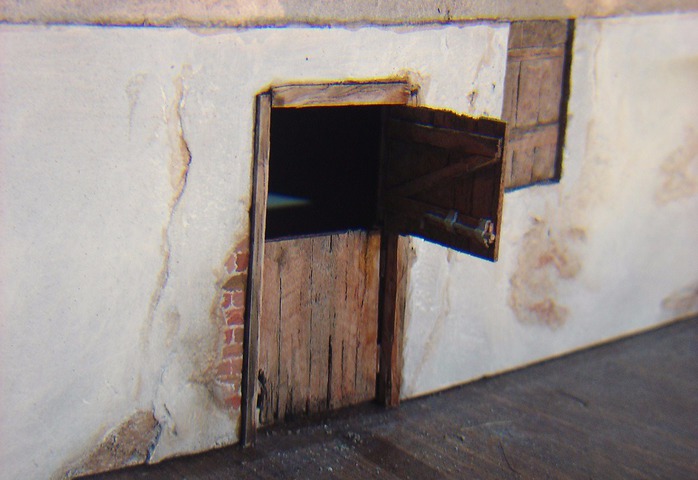
Make up the door and shutter with scrap pieces of wood.
To achieve the wood-rot and / or worn look at the bottom of the door, use the steel brush and hobby knife.
I bent a small piece of copper rod for the latch and made up the securing bands for that with pewter.
Paint in bricks and mortar and other wear areas, such as cracks, etc.
Step 14 / 15
Cut a copper strip for the top of the roof, glue on with some super glue.
Cut the eaves out of thin scrap wood, and glue on.
Finish with paint dry-brushed on as well as suitable pigments.
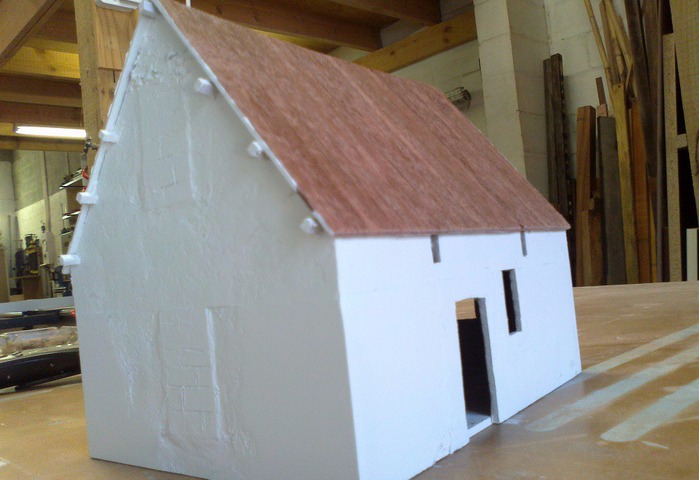
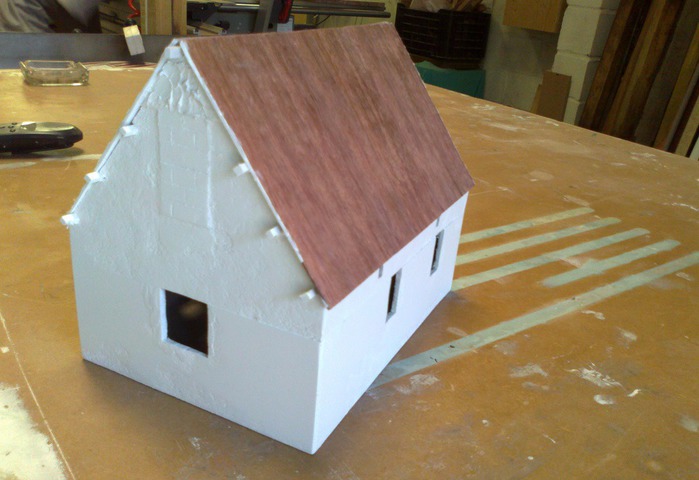
Step 15 / 15
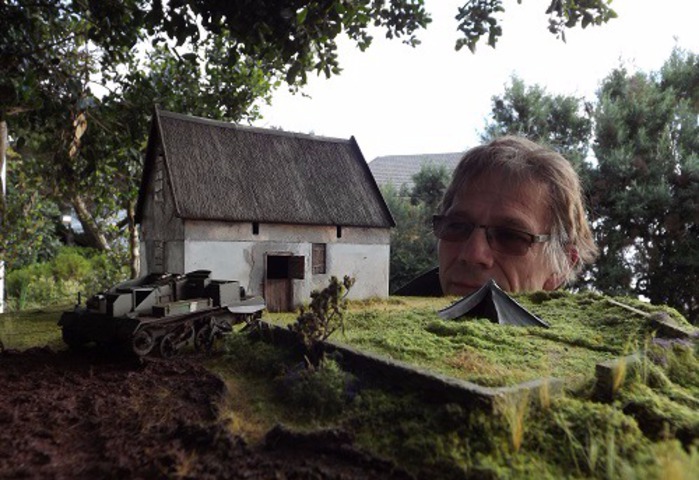
Completed barn in position on the diorama.
We invite you to Join 1000+ artists from 43 countries

it is totally FREE and takes less then 45 sec !
Become a member and enjoy all the benefits
