Step 1 / 10
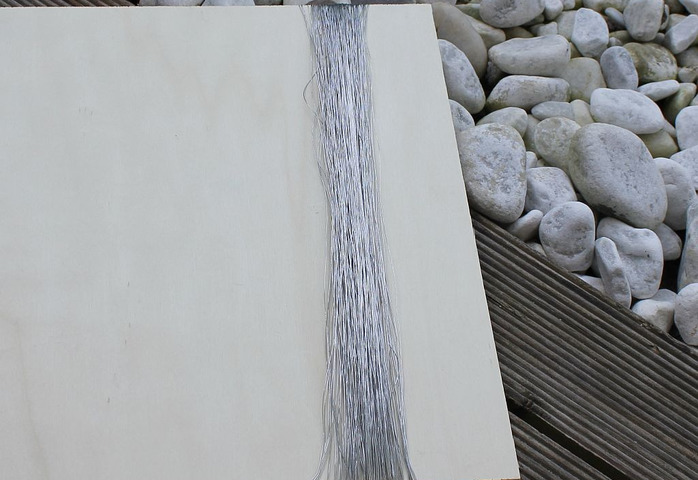
About 300 threads of 0.35 mm florist twine is acquired for a deciduous tree in
H0 or 0 scale.
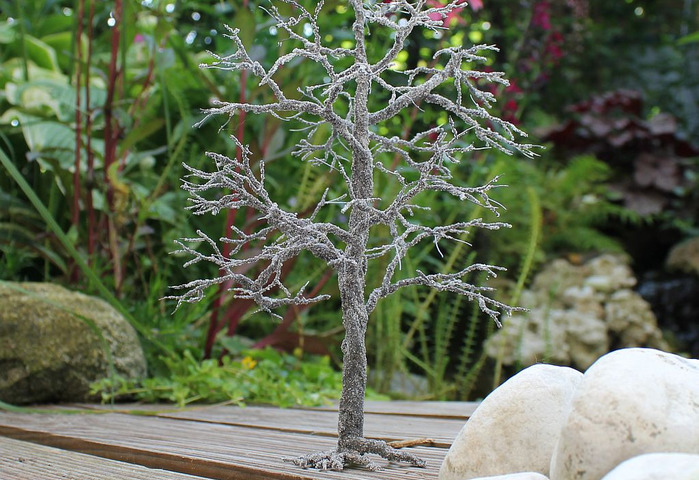
Here I am building a tree that shall be approximately 25 cm high. As the threads get shorter in the process, they need to be about 30 cm long
For smaller trees or trees in smaller scales,fewer and shorter threads are used depending on the desired proportions.
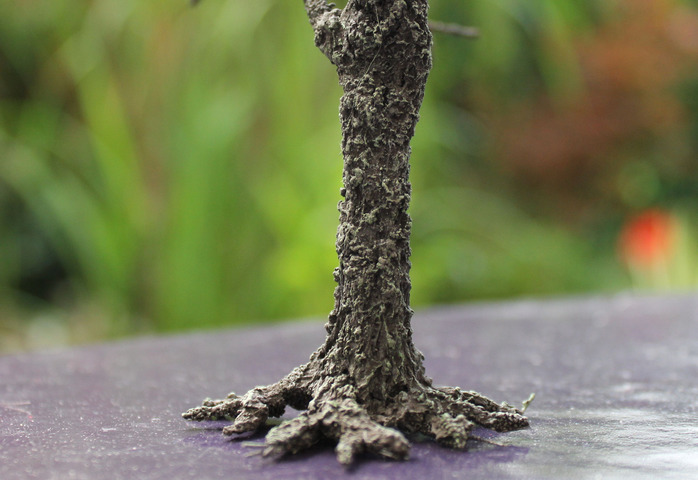
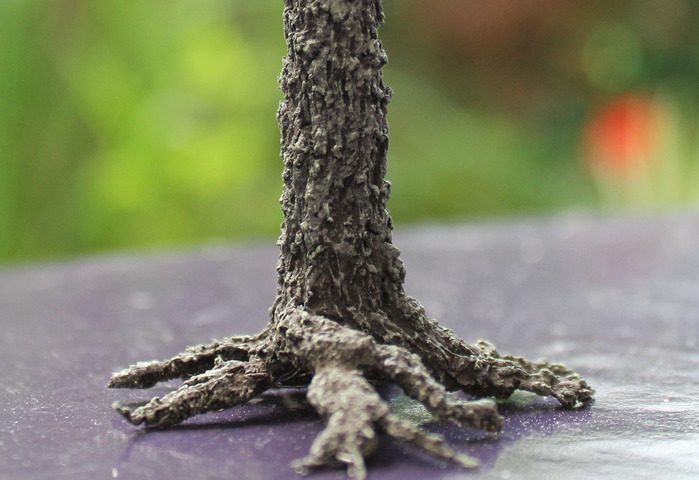
Step 2 / 10
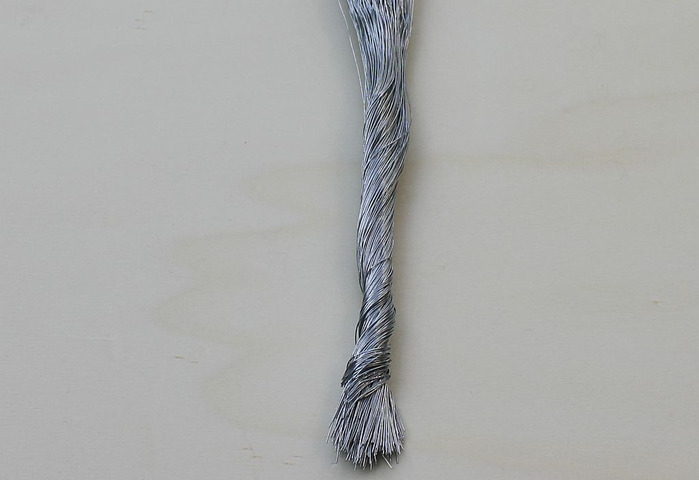
The threads are coarsley twined in the beginning, forming the stem ( top picture )
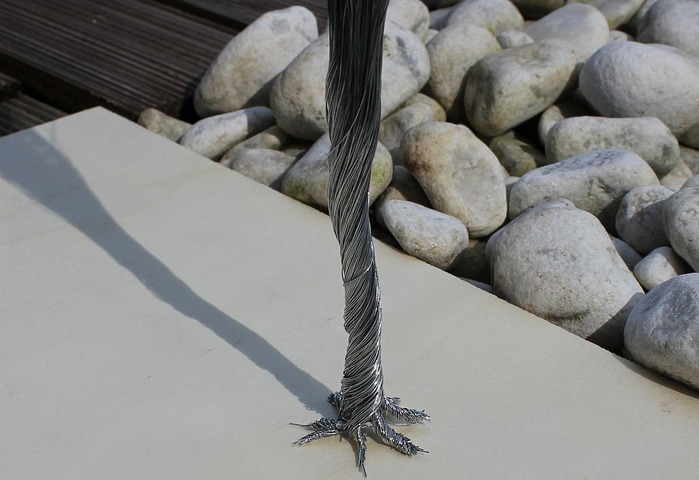
Then the thread ends at the bottom are bent and twined into roots ( middle picture )
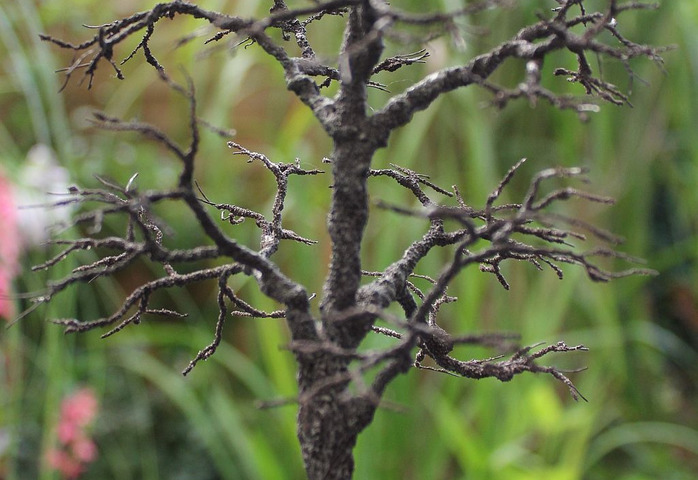
Step 3 / 10

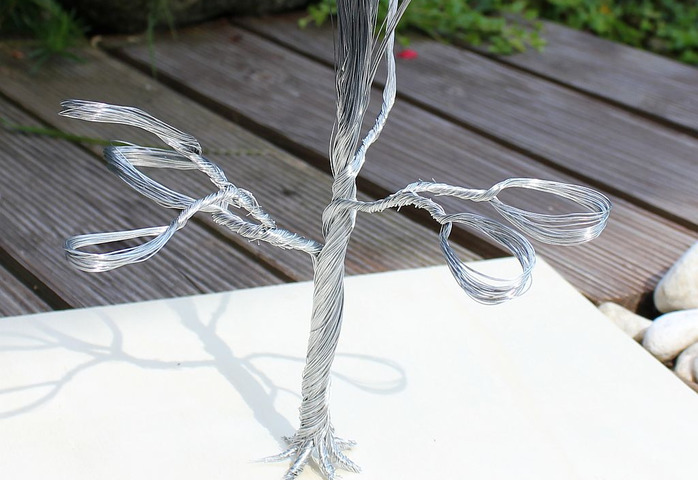
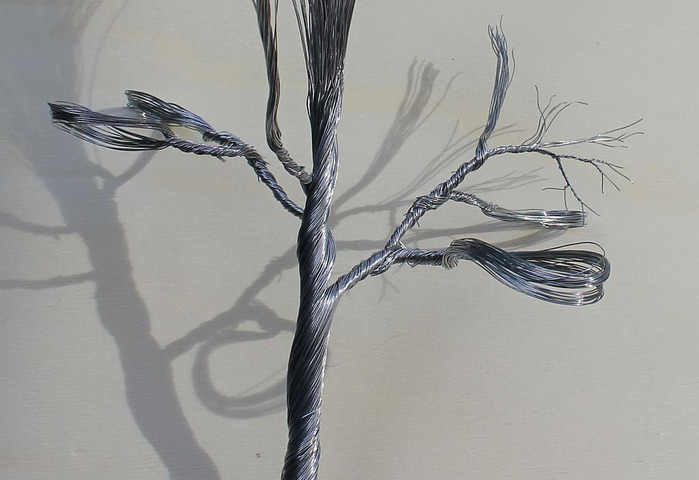
Smaller bundles of wire are branched off and twined into branches ( top picture)
For thinner branches and twigs I keep dividing the threads and twine them into loops to gain a multiple quantity of twigs (middle picture )
Then the loops are cut open and twined into fine twigs ( bottom picture )
If you don’t require these superfine twigs you could just cut the threads at its desired length without building loops
Step 4 / 10

Step 5 / 10
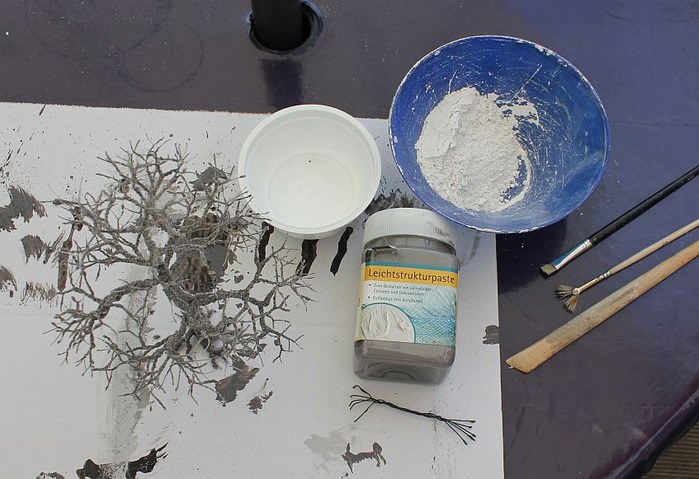
The tree will now get its bark
for this purpose I mix a paste of acrylic paste, acrylic paint and some water
First I apply the mixture on the tree with a paint brush.
Instantly I sprinkle fine birdsand over it and leave it till it has completely dried up. This gives a good base for the next coat
Step 6 / 10

As next step, I mix some indoor filler into the rest of the formerly described mixture, which is applied in a second coating on the stem
Step 7 / 10
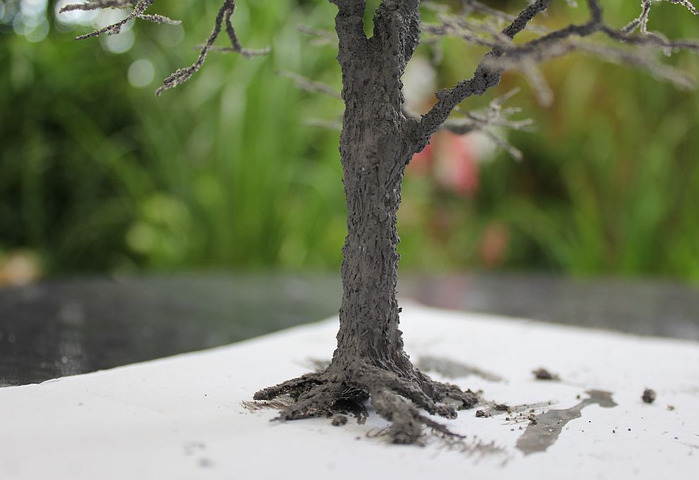
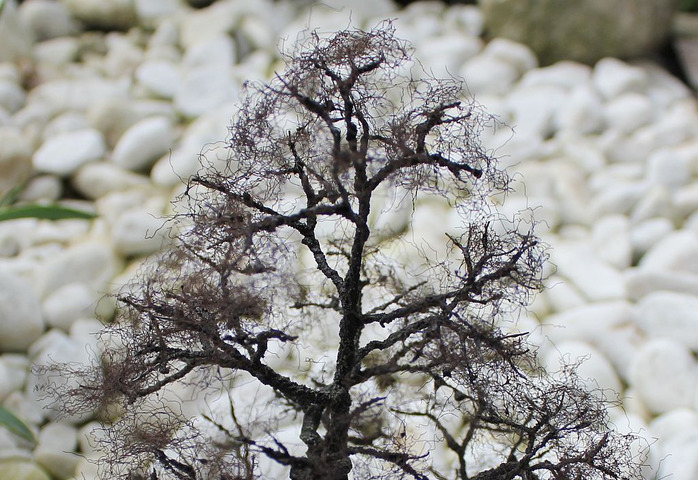
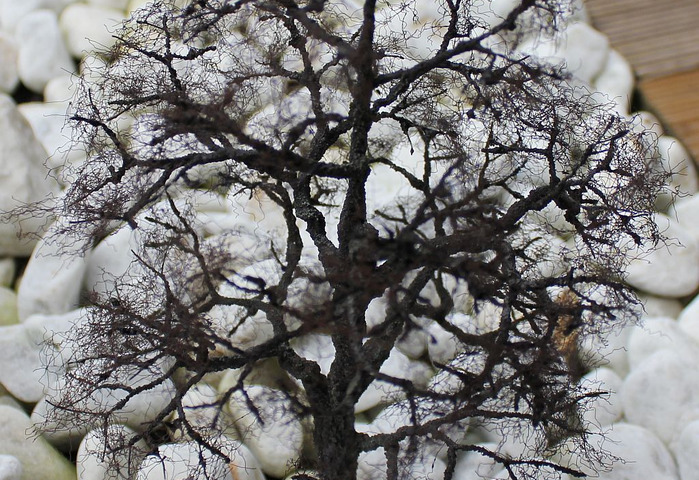
When it has dried, I can work on the natural appearance of the bark.
First I paint the stem with well diluted color. It flows well over and into the rough structure of the surface.
Finally, graining is made by brushing with almost completely dry paint – finished!
In the macro function on my camera I get brutally close. But with the naked eye at normal looking distance it looks quite reasonable
Step 8 / 10
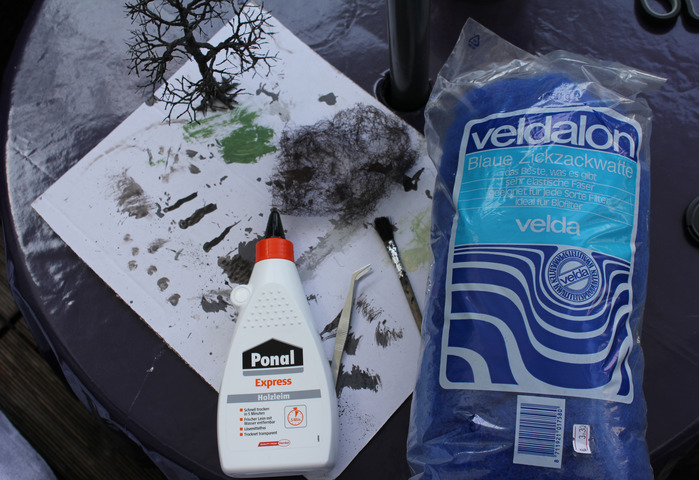
Foliage is done in 2 steps
The first step is done using aquarium filter floss colored with brown spray paint beforehand
You will also need : spray glue, white glue and a paint brush
Use the spray glue over the bare branches in the places you want the foliage to be
Cut the filter floss into small pieces of 2x2 cm and spread it sparsely over the branches with my fingers until it has a comfortable size fitting on the twigs
Step 9 / 10
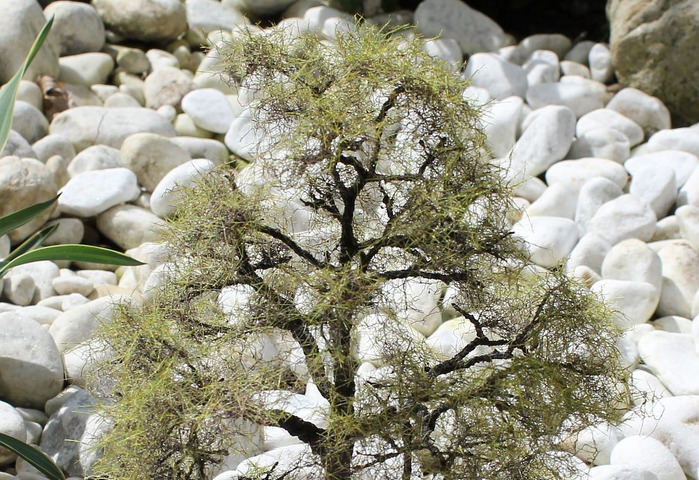
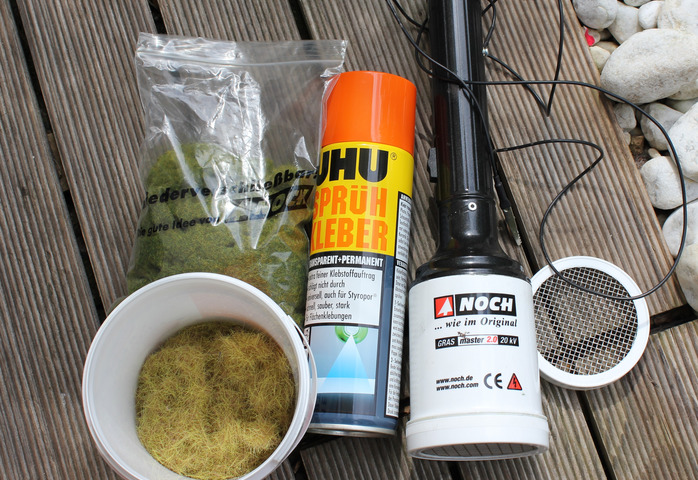

The fine work of the canopy is done with a tea strainer, a static grass applier and two sorts of static grass fibres
If you don’t have an electrostatic applier you can leave the following steps and carry on with applying the foliage itself
I apply the spray glue and sparsely spread 10 mm grass fibers electrostatic-ally followed by a second layer of 2 mm grass fibres, this time using a tea strainer. The grass fibres will also be coloured with dark brown spraypaint
Step 10 / 10
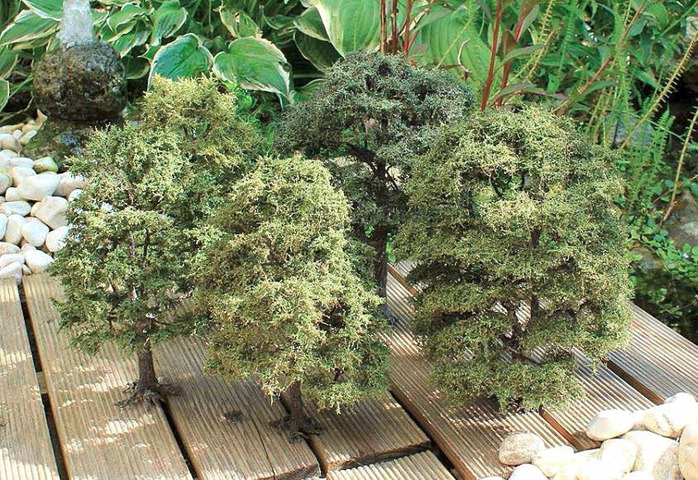

I use my own one made of very fine self-coloured sawdust
Spray glue eventually loses its adhesive capacity, so I use a special glue for model trees of the brand Grünig. It was developed exactly for this purpose and doesn’t lose its adhesion. But you can also keep using spray glue instead and seal the tree with clear varnish.
Finally the stem is carefully cleaned, and redundant grass fibres and foliage shall be removed
I hope this guide was valuable for you :)
Will be happy to hear your feedback
We invite you to Join 1000+ artists from 43 countries

it is totally FREE and takes less then 45 sec !
Become a member and enjoy all the benefits
