Step 1 / 10
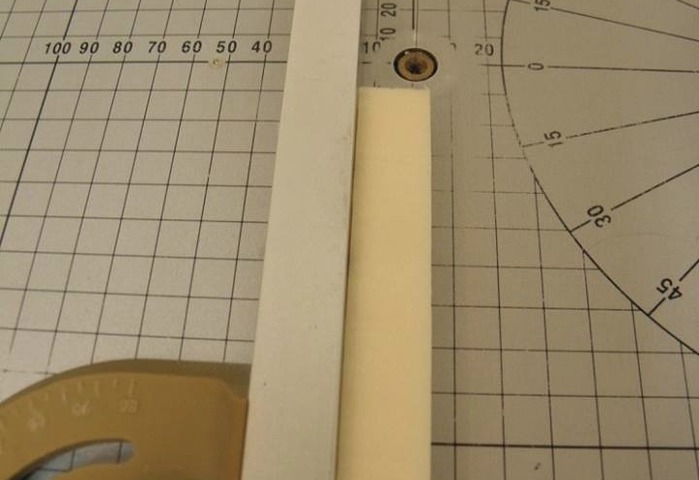
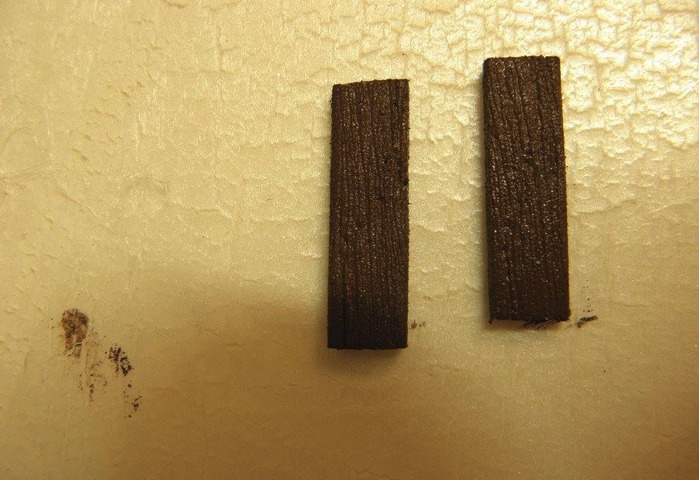
We cut the extruded polyurethane to the shape of the beam
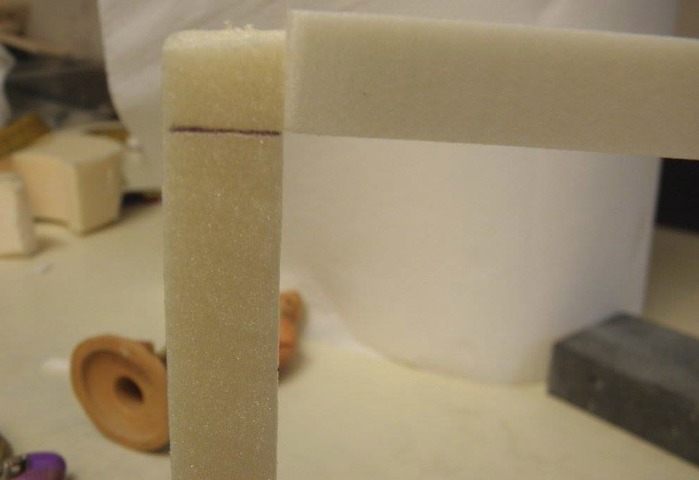
We mark and cut the place where the 2 beam will be connected
Step 2 / 10
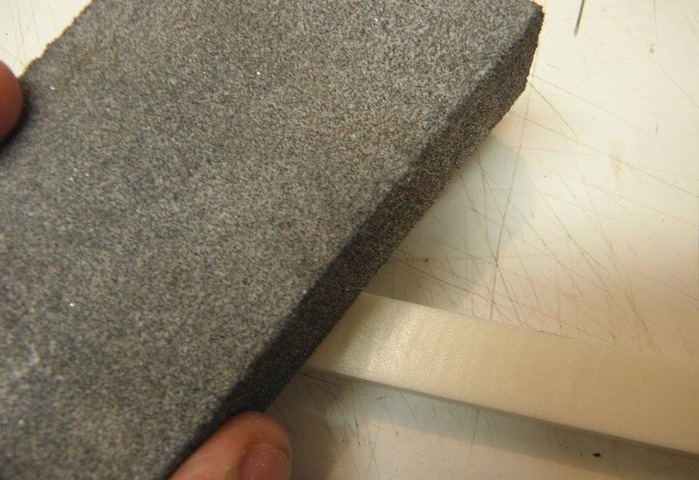
Use a sandpaper to prepare the material for the work
Step 3 / 10
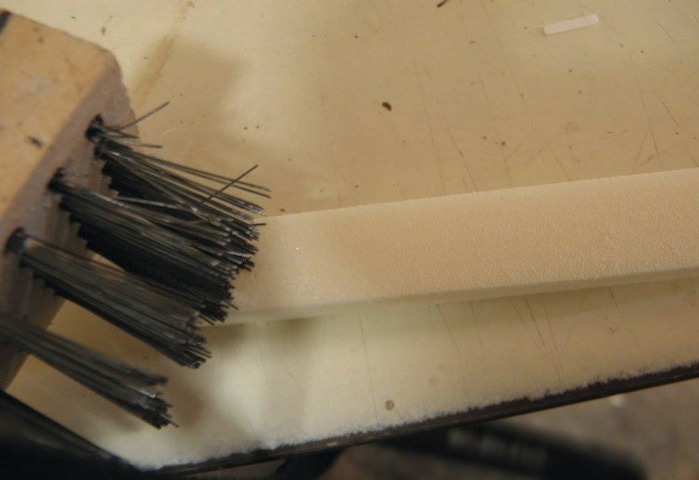
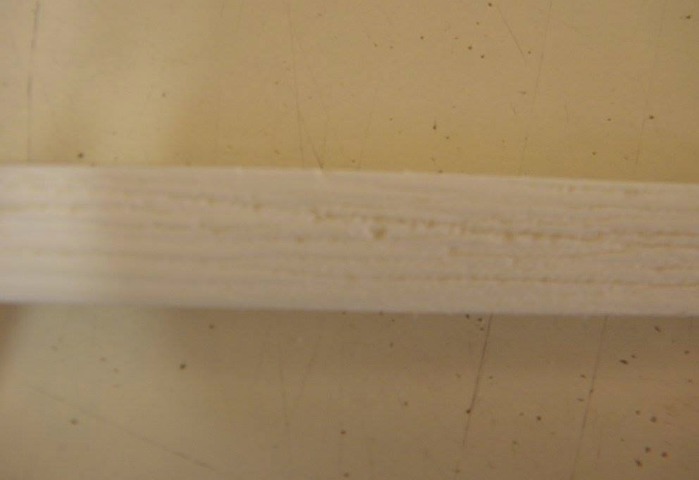
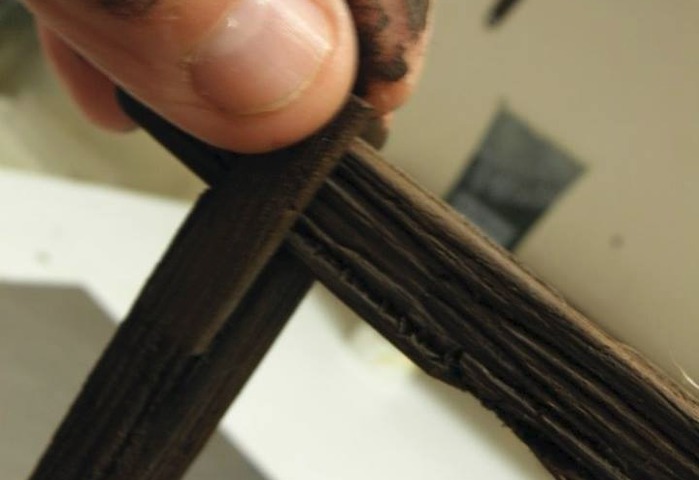
Use the wire brush to do weathering of the beam by giving it an interesting texture
Step 4 / 10
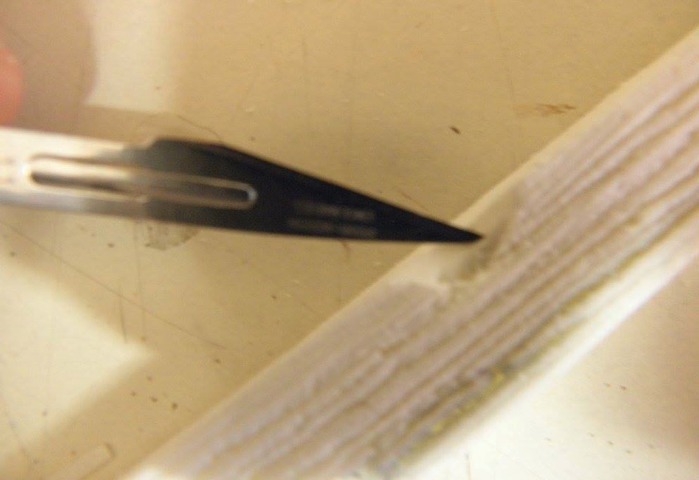
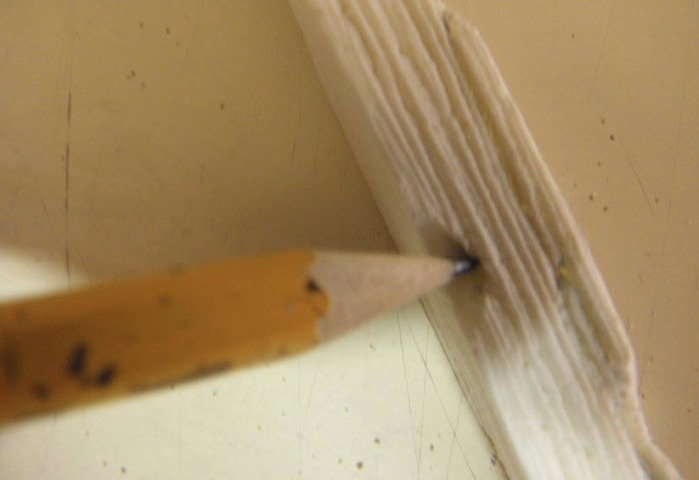
use the knife to engrave and give it a worn look
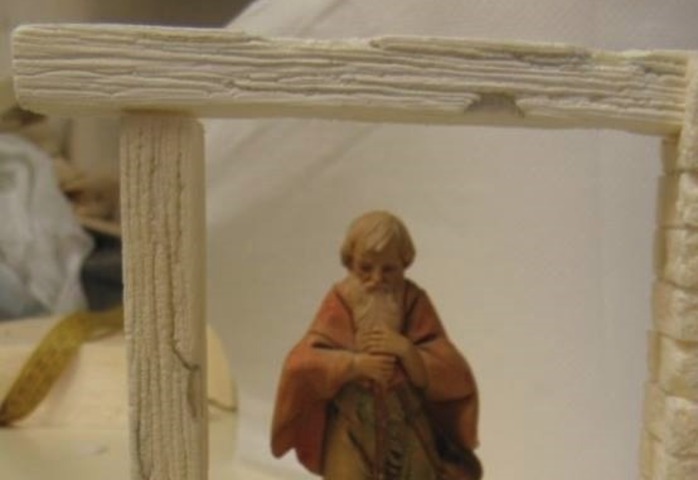
The last picture shows how it looks after this step ( the figurine is just for reference )
Step 5 / 10
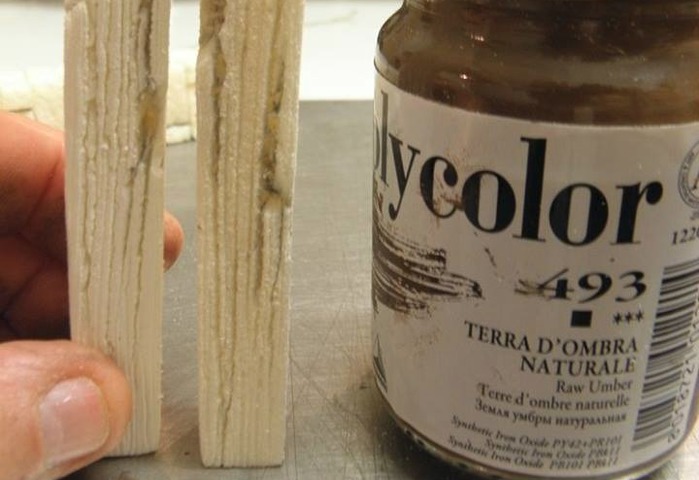
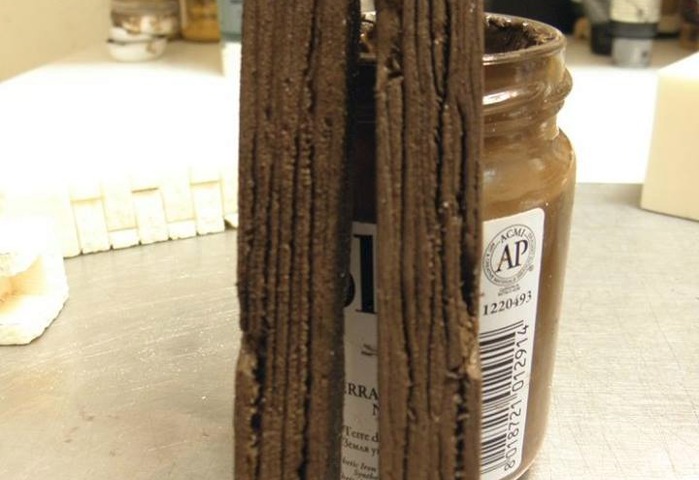
Color the beam with the raw umber color
Step 6 / 10


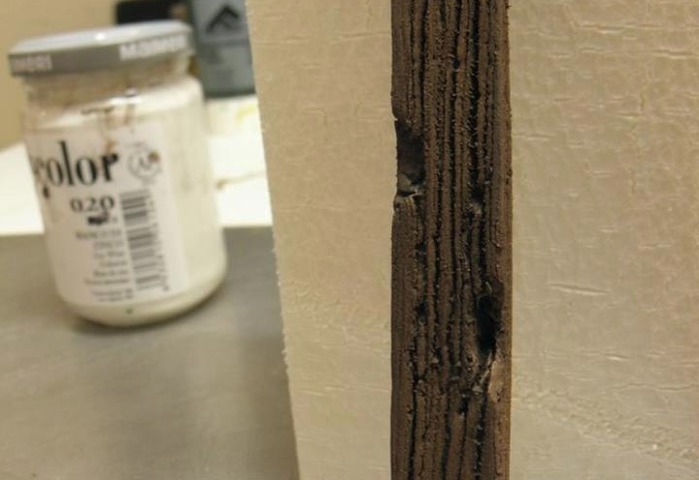
Paint the cracks in the beam with black color to give it nuance
Step 7 / 10
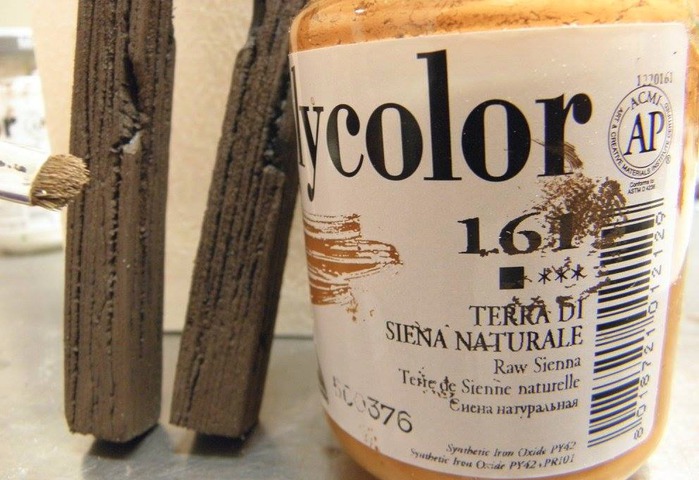
Paint some spots randomly on the beam using the raw sieena color
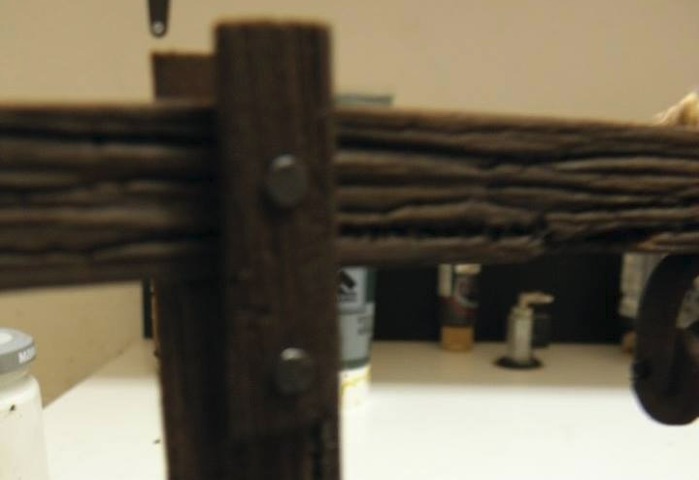
Step 8 / 10
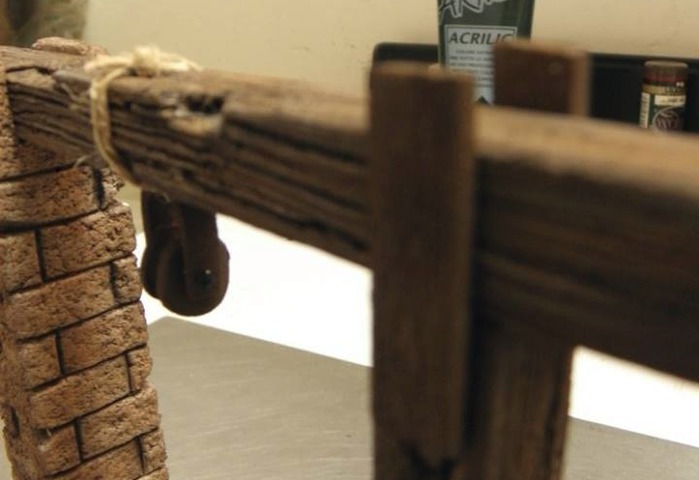
Cut 2 more pieces of the extruded polyurethane, paint them and glue them in place to hold the other beam
Step 9 / 10
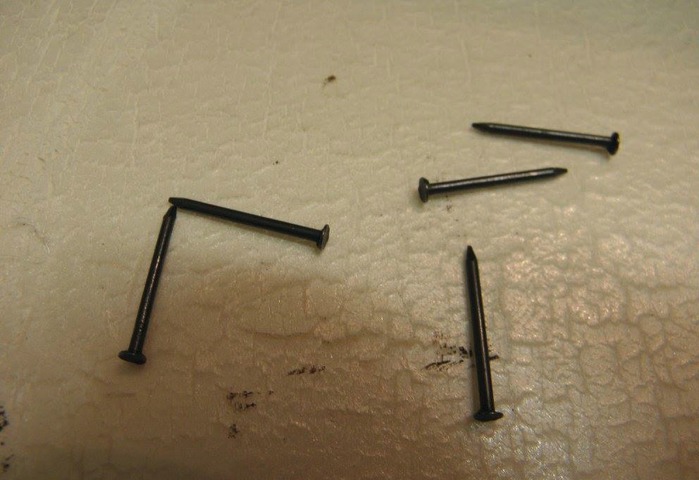
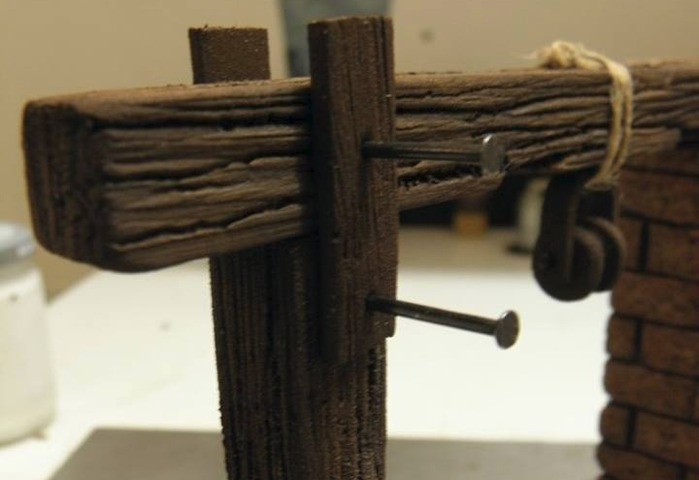
Use small iron nails
Step 10 / 10
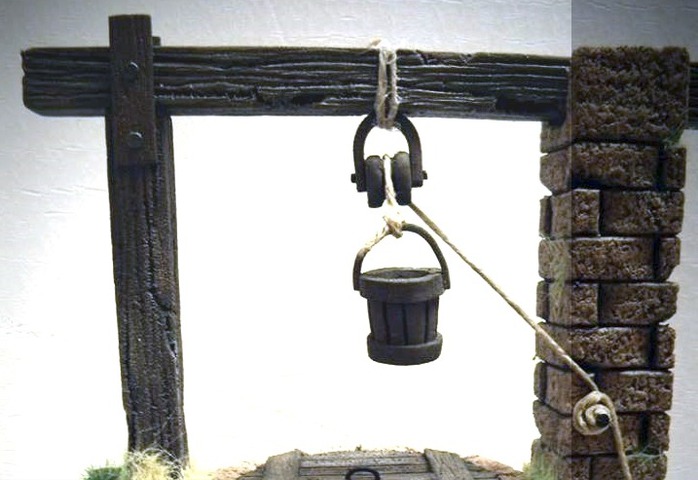
This is the final look of the wooden beam
You're invited to give any feedback, if it was valuable for you or if you have any Tip
To see how the stone water well was created - see the guide :
http://miniscaping.com/guide/85/pic/view
To see how the Bucket was created - see the guide :
http://miniscaping.com/guide/87/pic/view
We invite you to Join 1000+ artists from 43 countries

it is totally FREE and takes less then 45 sec !
Become a member and enjoy all the benefits
