Step 1 / 11
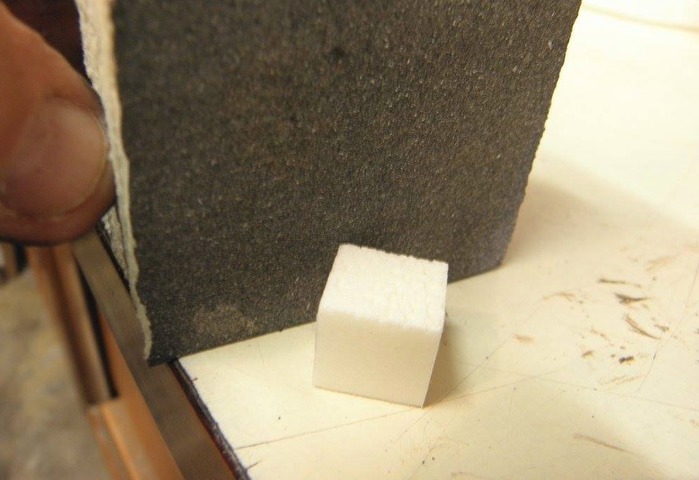
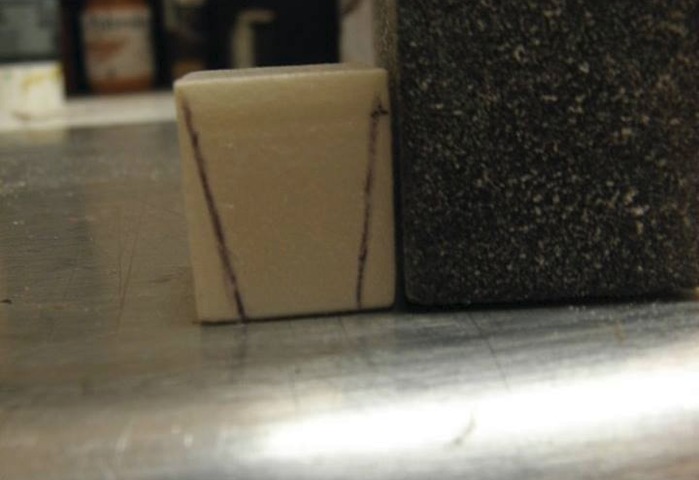
We start to create the pulley
we cut a cube from the extruded polyurethane
and then using the sandpaper to make it round
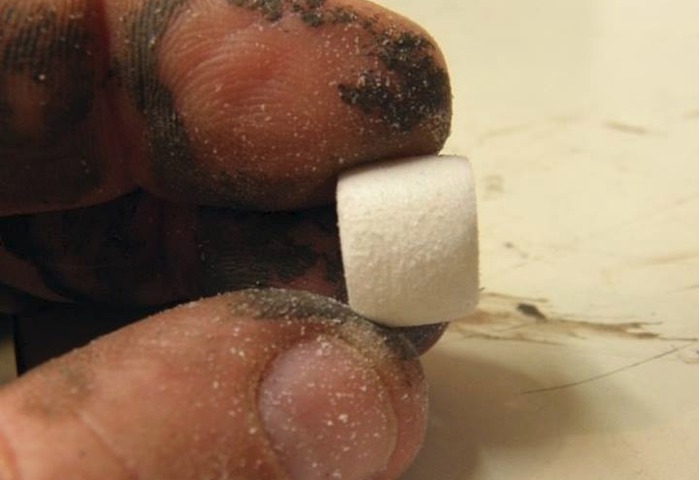
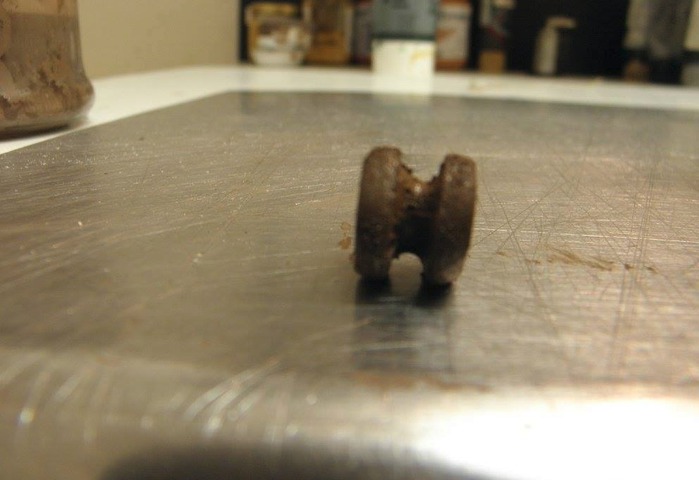
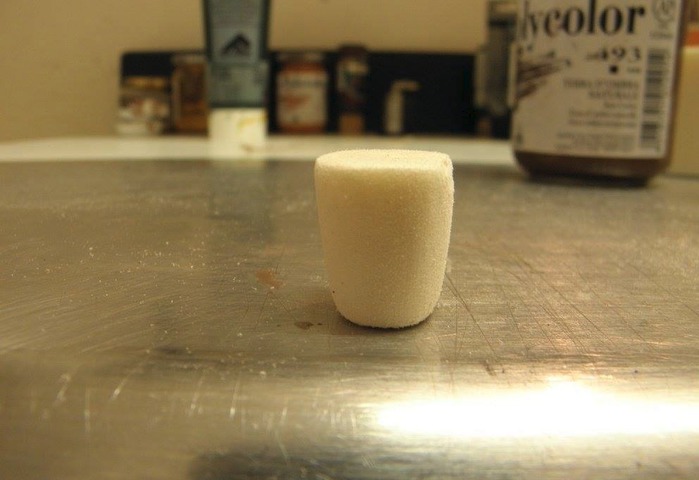
Step 2 / 11
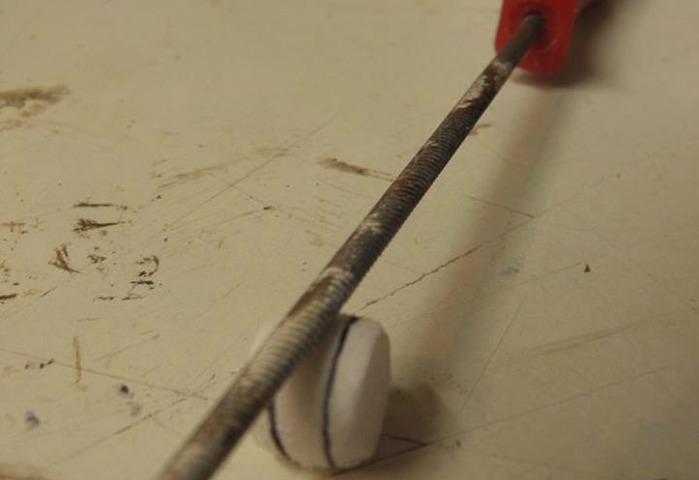
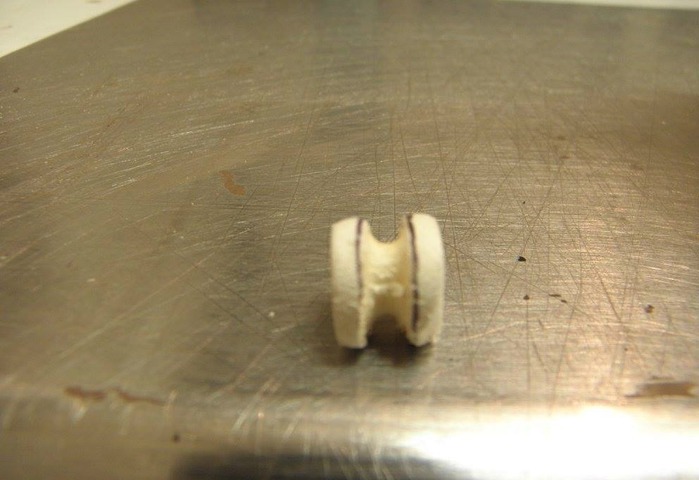
Mark where the rope will pass and then sand it using a small round rasp
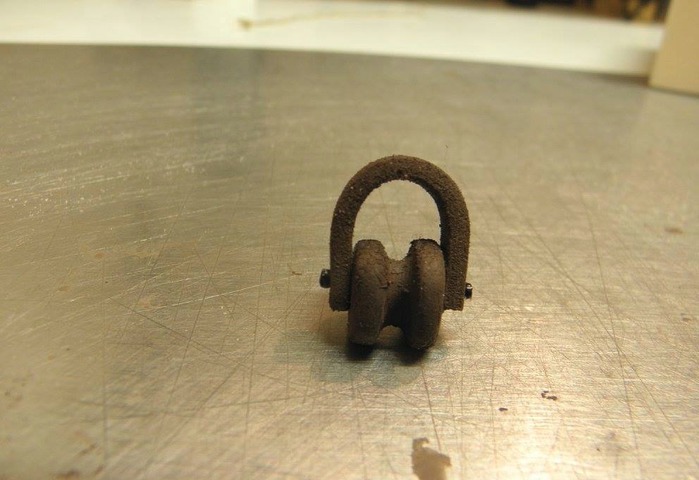
Step 3 / 11
Paint the pulley
Step 4 / 11
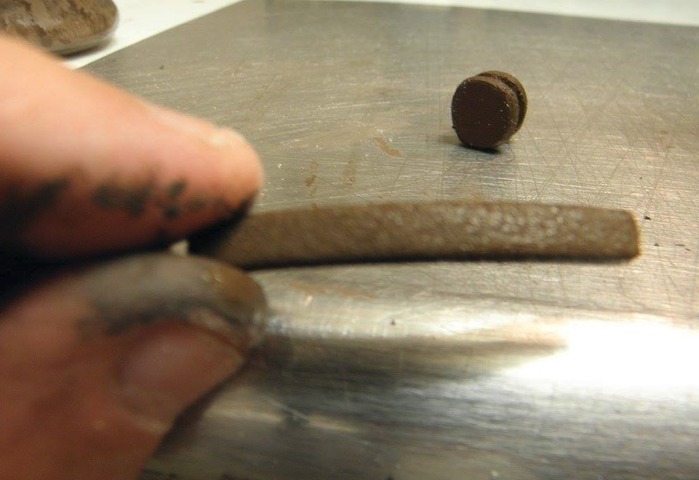
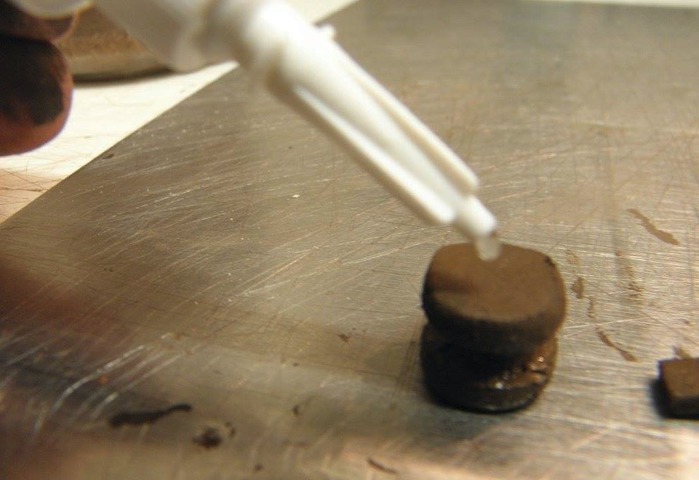
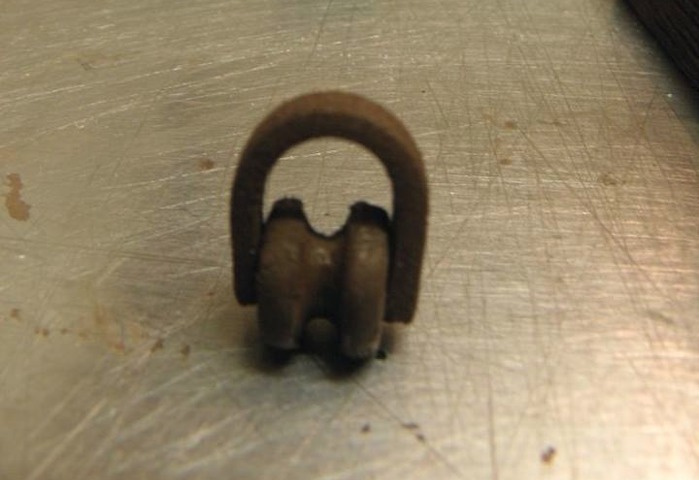
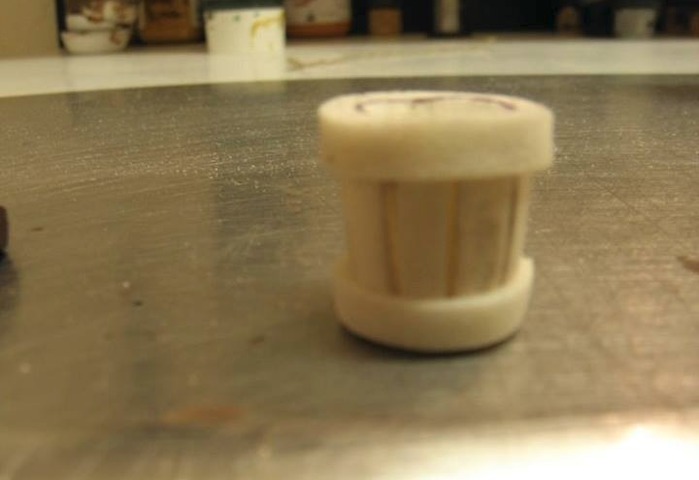
Cut another piece of the extruded polyurethane to create the door pulley and paint it
put some Glue and attach it to the pulley
Step 5 / 11
We now start to create the bucket
Start by cutting the overall shape and polish it with the sandpaper
Use a sharp knife to create vertical incisions
Use 2 more pieces and glue them around
Step 6 / 11
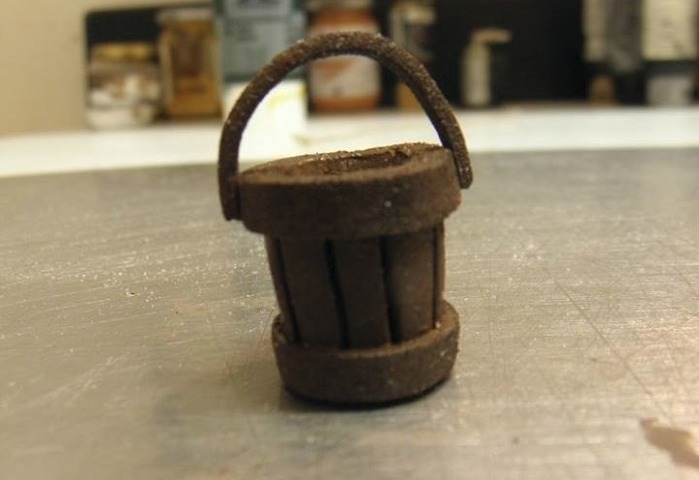
Cut another piece to be used as the bucket handle and paint everything
Step 7 / 11
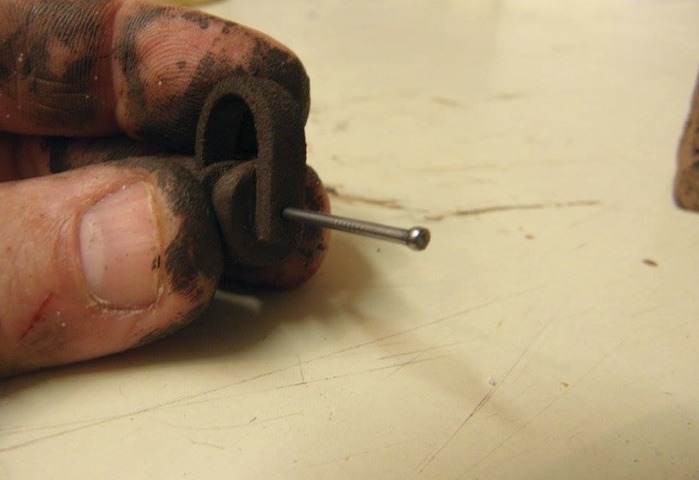
Use 2 small iron nail - from each side
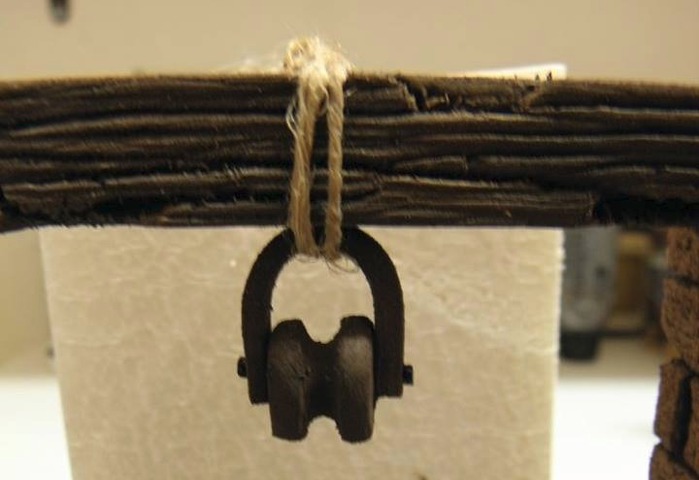
Step 8 / 11

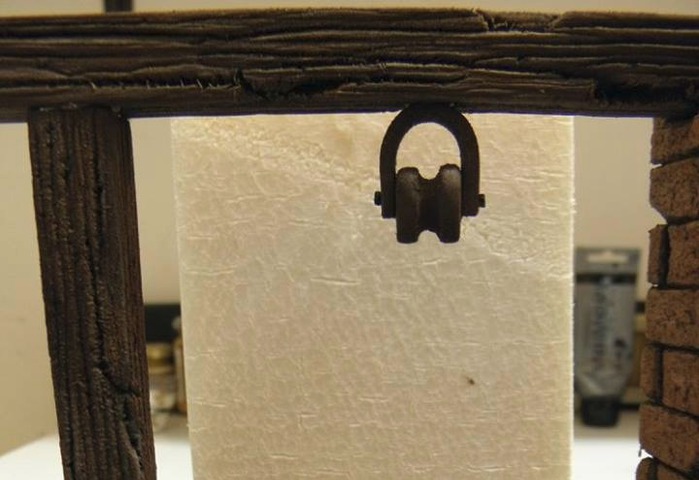
Glue the pulley to the wooden beam
Step 9 / 11
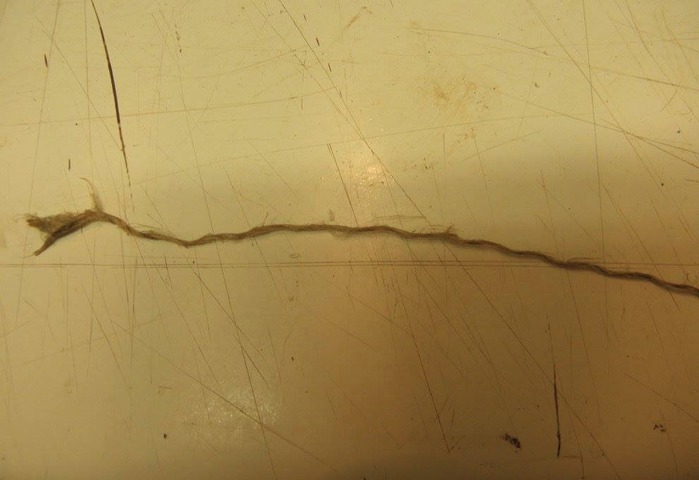
Cut a piece of hemp twine
Wrap the hemp twine 2 times around the pulley
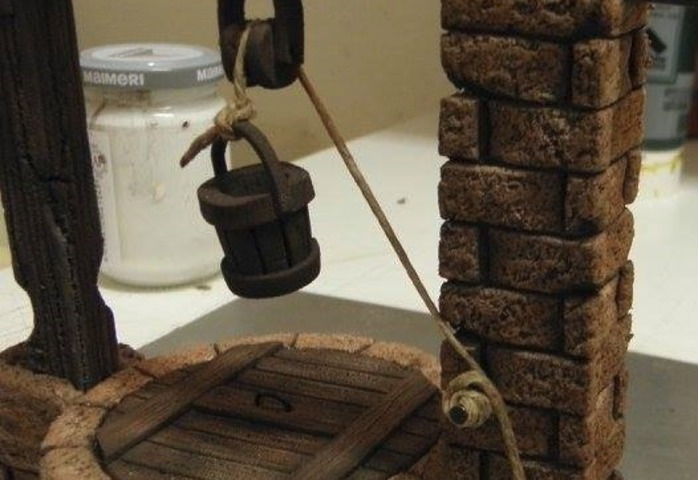
Step 10 / 11
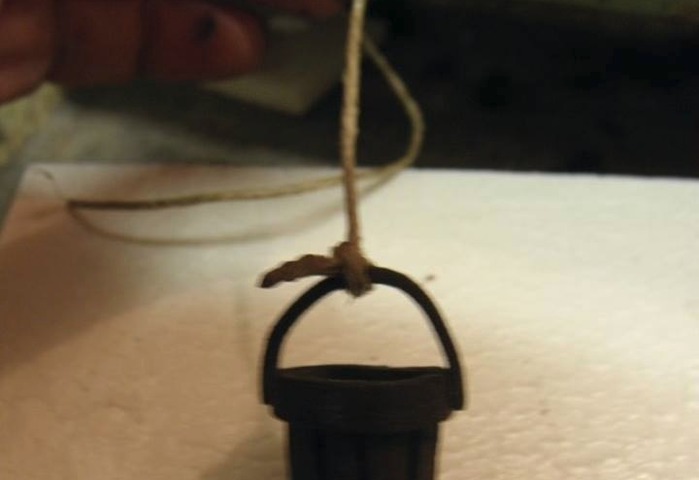
Tie the hemp twine to the handle of the bucket
Put a small iron nail in the "stone" column
Pass the hemp twine through the pulley and wrap it around the small iron nail
Step 11 / 11
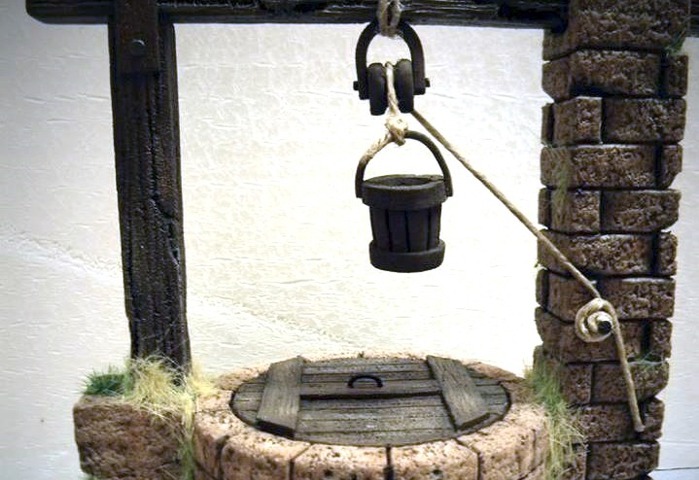

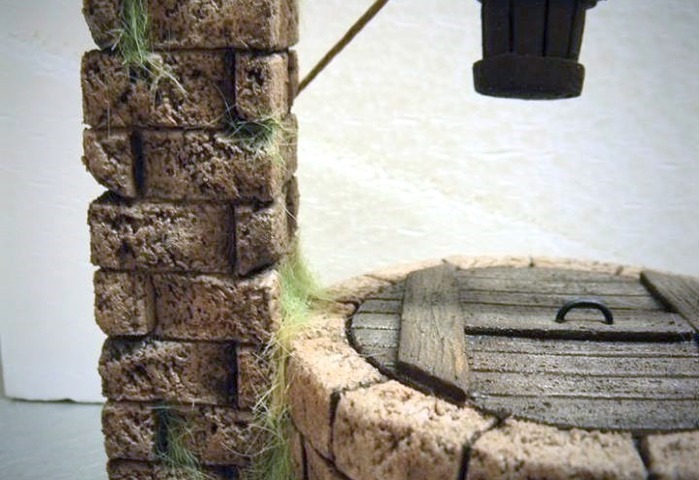
Pictures of the final result
You are invited to leave a feedback if you enjoyed this guide or if you have any Tip
to see the earlier 2 parts of creating this water well:
part 1 - create the well and the stone columns
http://miniscaping.com/guide/85/pic/view
part 2 - the wooden beams
http://miniscaping.com/guide/86/pic/view
We invite you to Join 1000+ artists from 43 countries

it is totally FREE and takes less then 45 sec !
Become a member and enjoy all the benefits
