Step 1 / 16
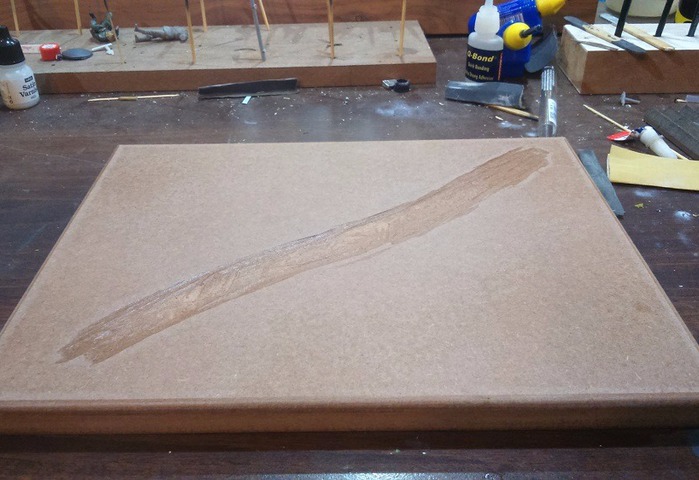
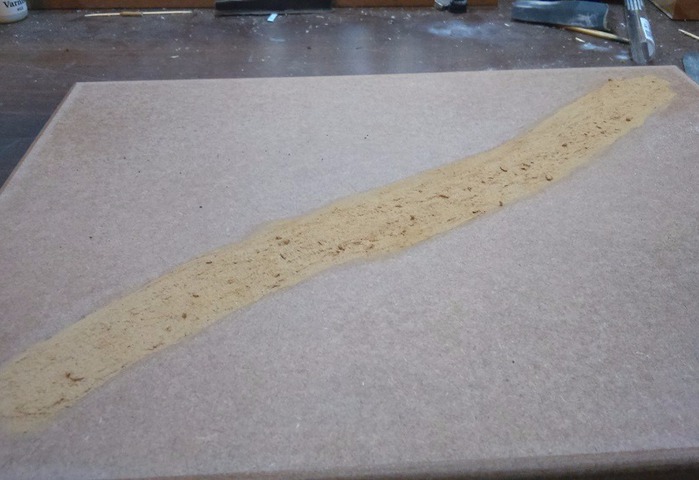
To create a path, use chisels to carve out to at least 3 to 5mm depth.
Note that paths are always lower than the surrounding ground.
Step 2 / 16
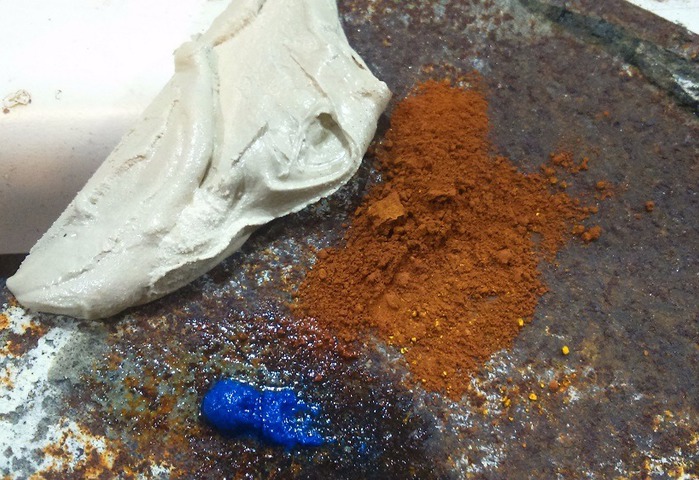
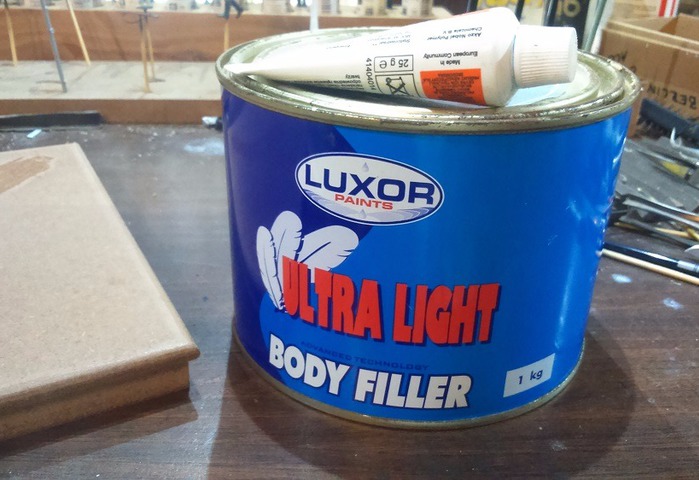
This is the Body Filler and hardener.
Measure out about 5% ratio hardener to paste and add about 10% earthy coloured pigments
Mix thoroughly until an even colour is achieved.
New LineYou only have about 10 mintues to work the material once mixed, so rather work in smaller batches for large areas.
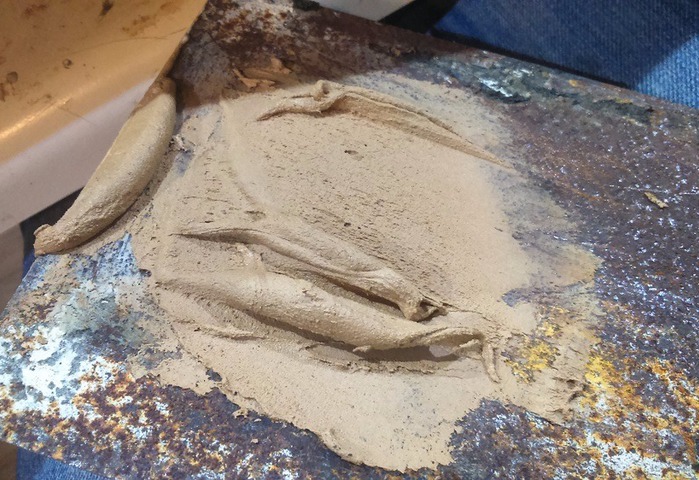
Step 3 / 16
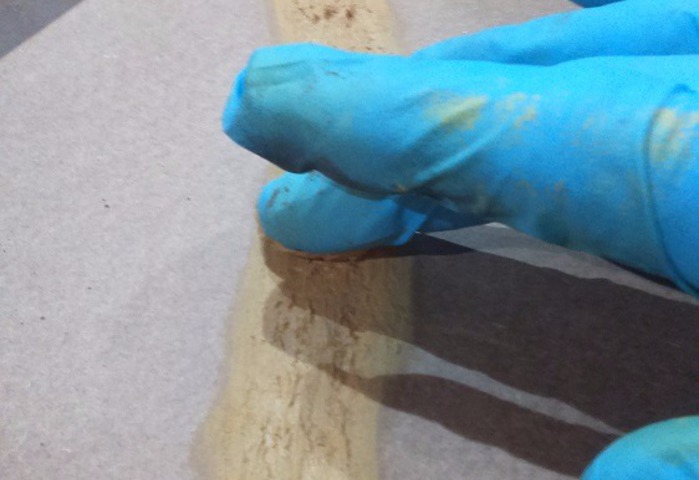
Put on a glove and rub the mixture into the carved path.
Use a combination of light rubbing and dabbing motions.
Keep on with this motion until the materials starts to become hard. This will create tiny crystaline blobs that create a ground texture with some stones.
Step 4 / 16
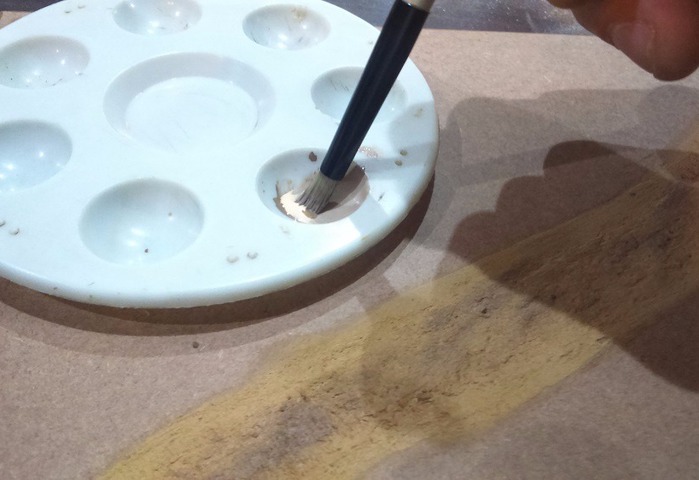
Dry-brush on some earthy colours. For this one I wanted to achieve a rather light dusty road look.
Next dry-brush on some highlights to create contrast and highlight the textures.
Add a basic brown wash, followed by a black wash
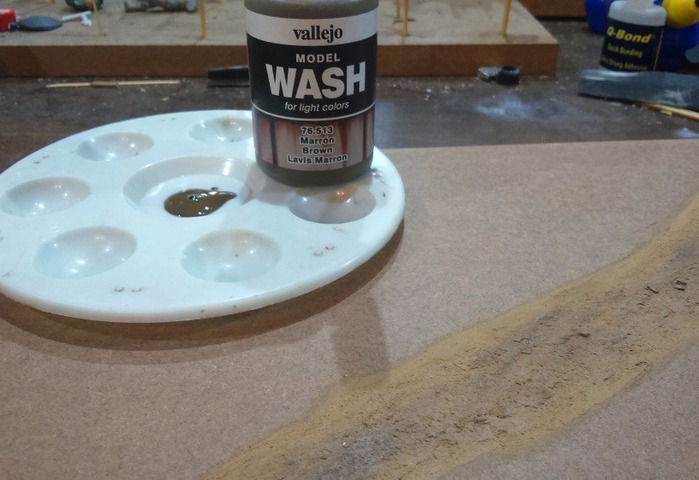
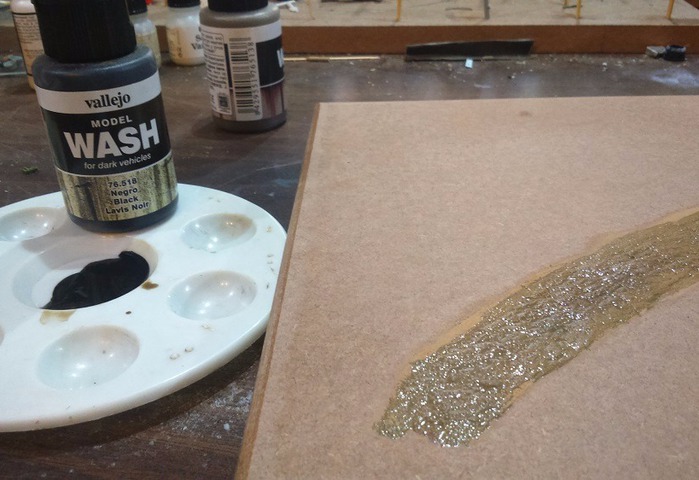
Step 5 / 16
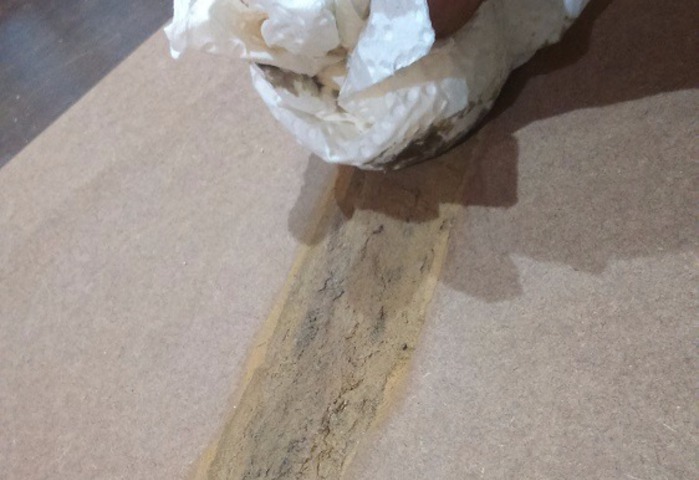
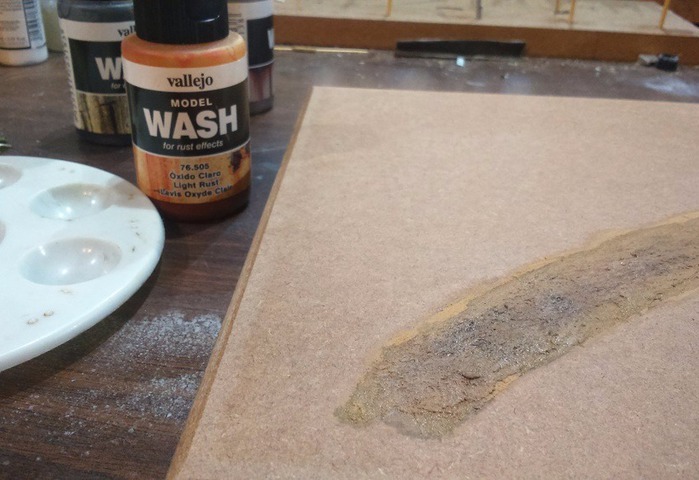
Dab off excess black with a paper towel.
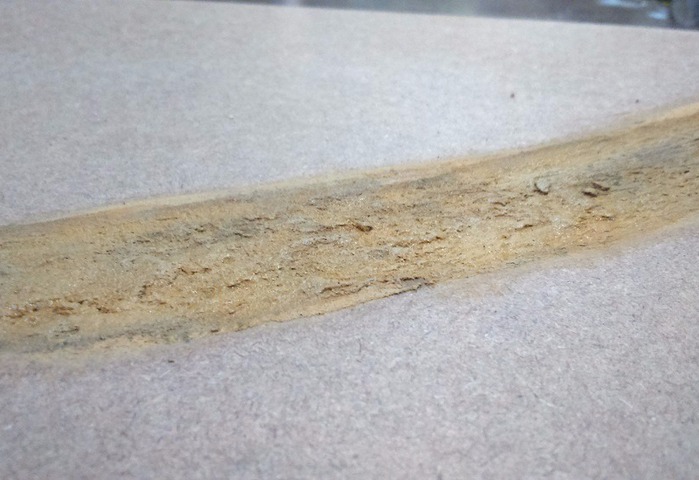
Finish off with some rust coloured wash, and dab off where necessary.
This is the result.
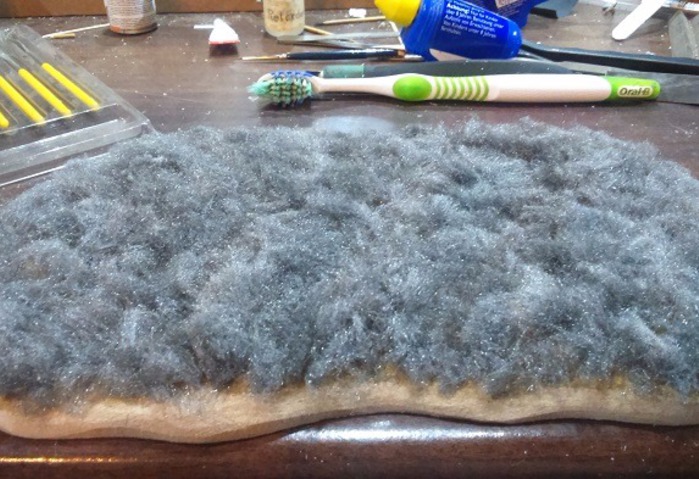
Step 6 / 16
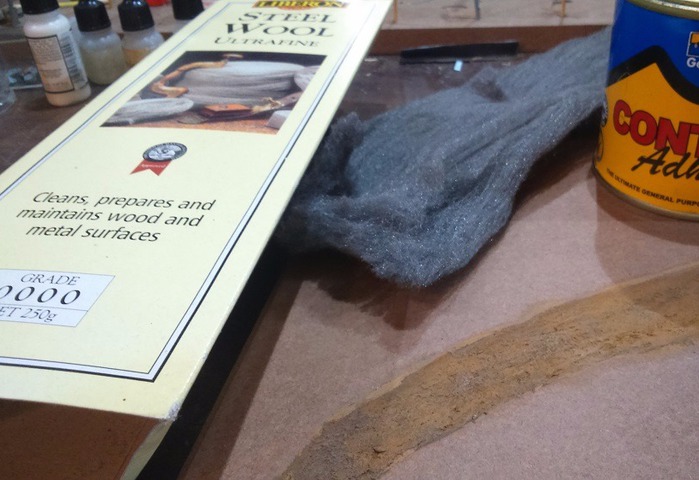
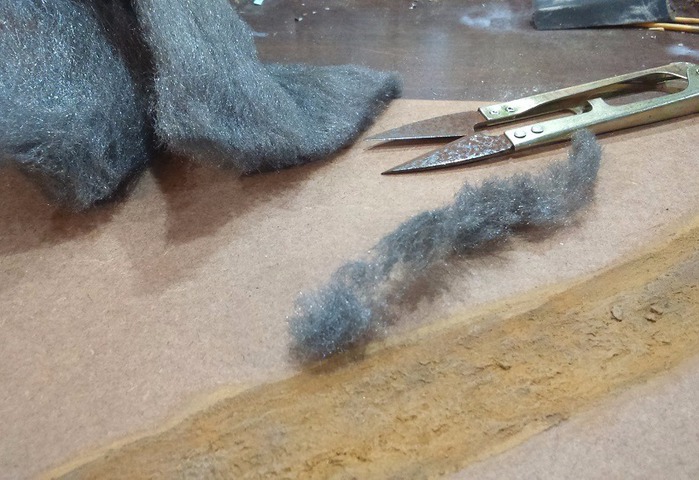
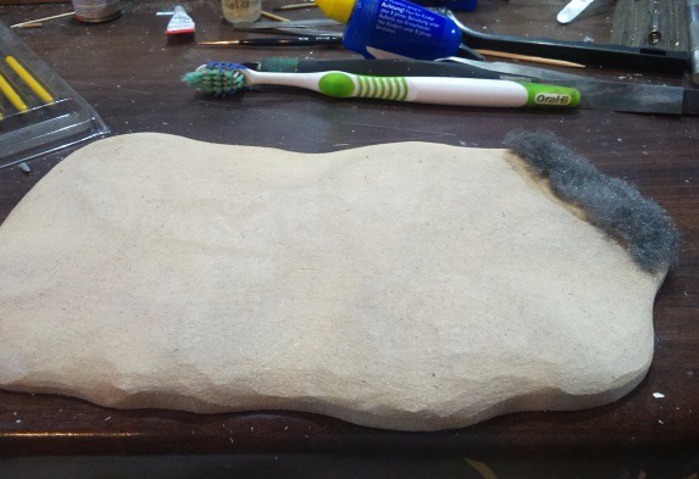
I like to use #0000 steel wool strips to create undergrowth for the foliage.
Cut strips, one at a time, with a wavy motion to create various lengths of undergrowth.
New Line
Step 7 / 16
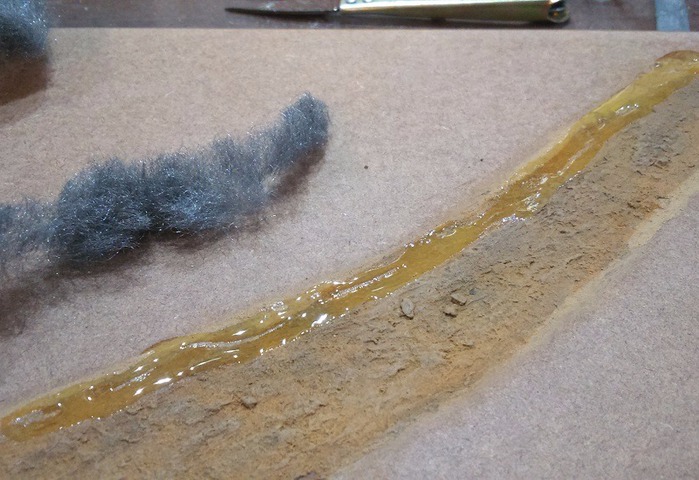
Spread out some contact adhesive for the strips of steel wool.
Gently place the steel wool onto the contact adhesive whilst the latter is still tacky.
Try to keep the strands of the steel wool in a vertical position as much as possible
Step 8 / 16
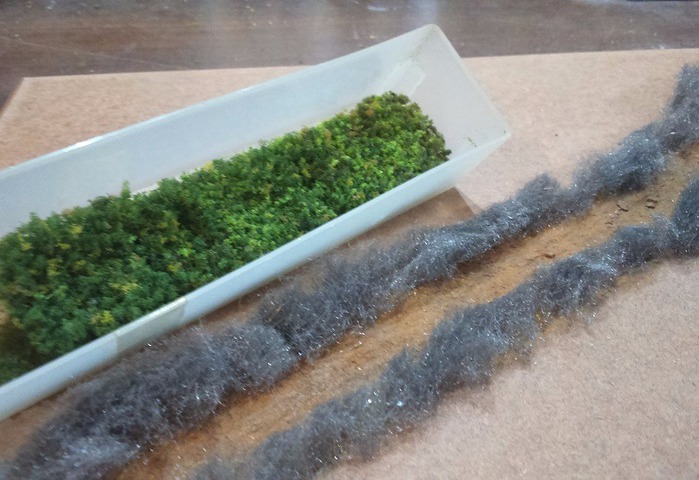
Mix up various tones of green from Woodlands Scenics.
I like to use the small bits that lie loose in the Woodlands Scenics Foliage packs
Next gently place and rub in the foamy bits.
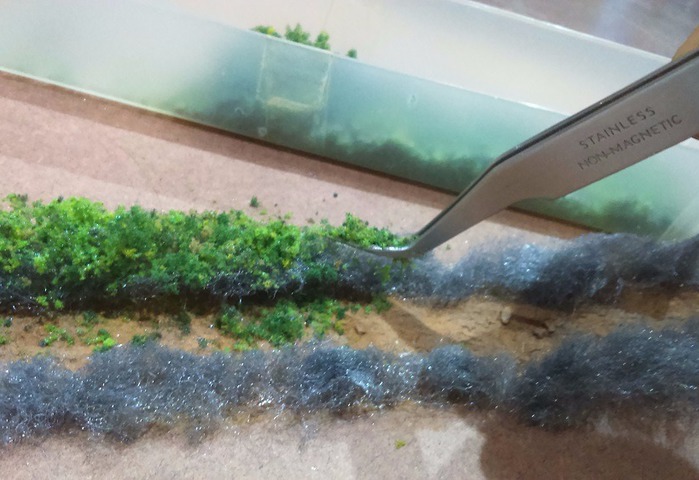
Step 9 / 16
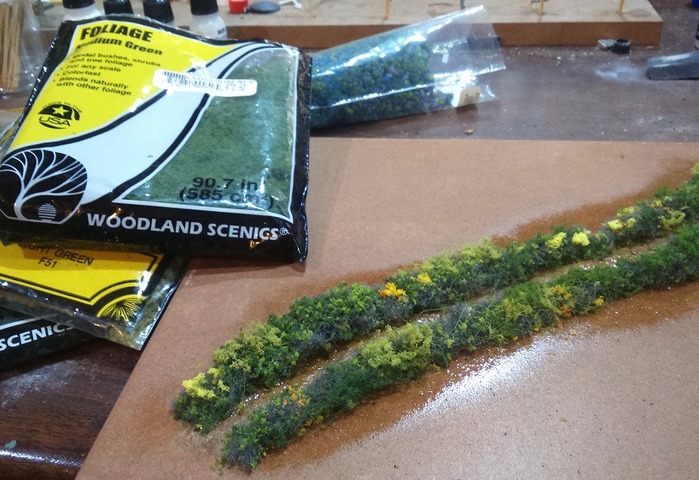
Add some strands of the foliage and make little clumps of the "growth"over the undergrowth.
It's a good idea to add some coloured foliage as well if you want to create a spring or summer effect.
Step 10 / 16
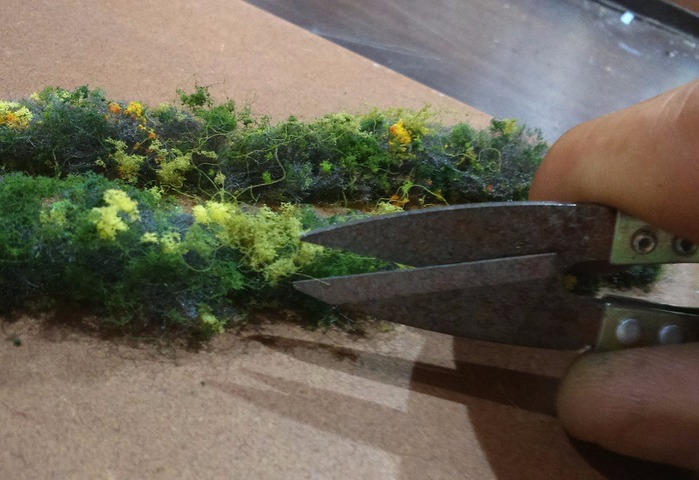
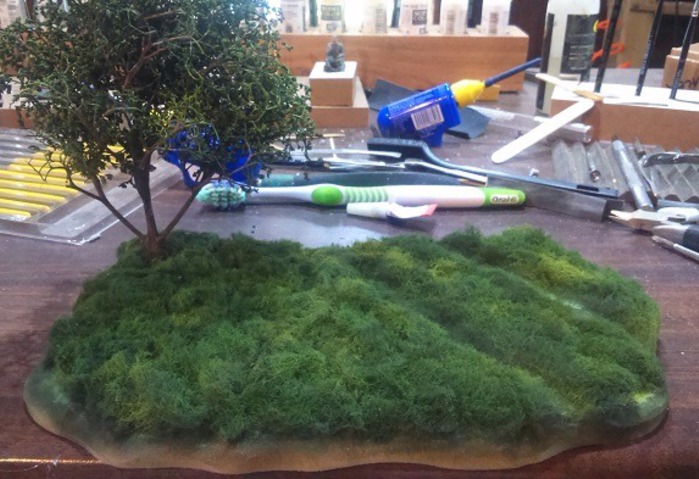
Use the small scissors to snip off any funny or unnatural looking strands of foliage.
To finish off, spray some matt acrylic fixing spray over the foliage.
Step 11 / 16
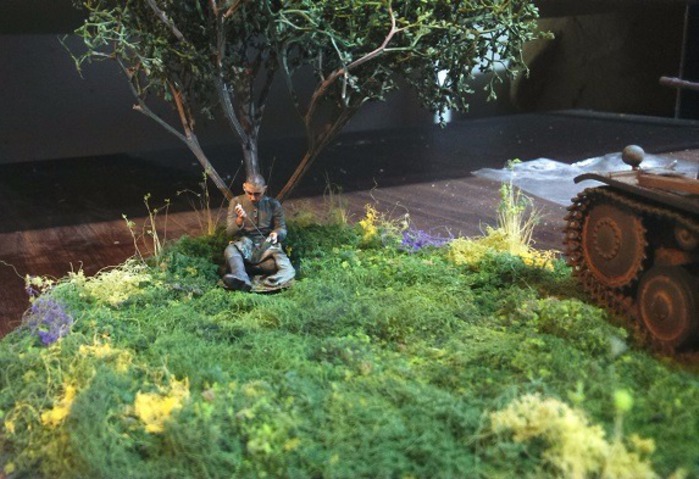
On this base I wasn't concerned about the actual ground colour as I wanted to depict a lush field during spring in France.
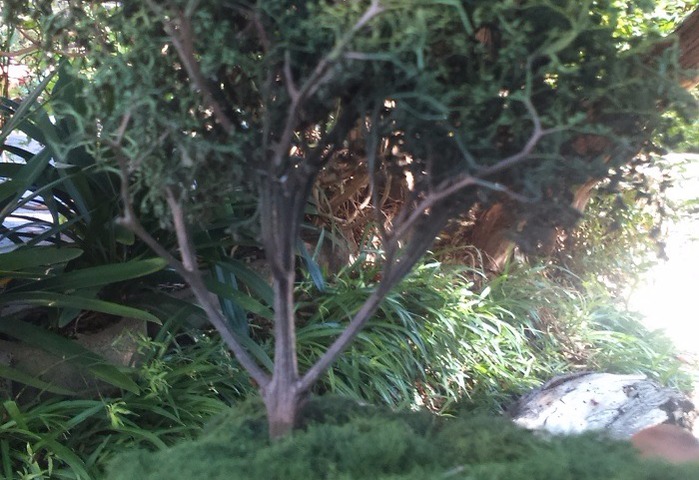
Step 12 / 16
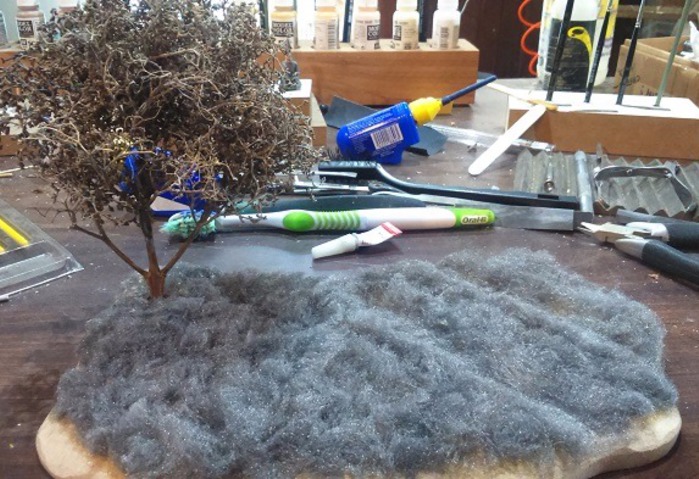
I added a 1/35 "tree"(which is a bushel from a tree that grows in my garden)
Before using the "tree" on the diorama, I first thoroughly fixed it with some matt acrylic fixing spray. This prevents "leaves" from dropping later.
As the diorama is for a Panzer II tank, I measured out the width of the tracks and gently impressed the path into the steelwool.
Step 13 / 16
Airbrush various shades of greens mixed with yellow onto the grass and tree foliage.
Step 14 / 16
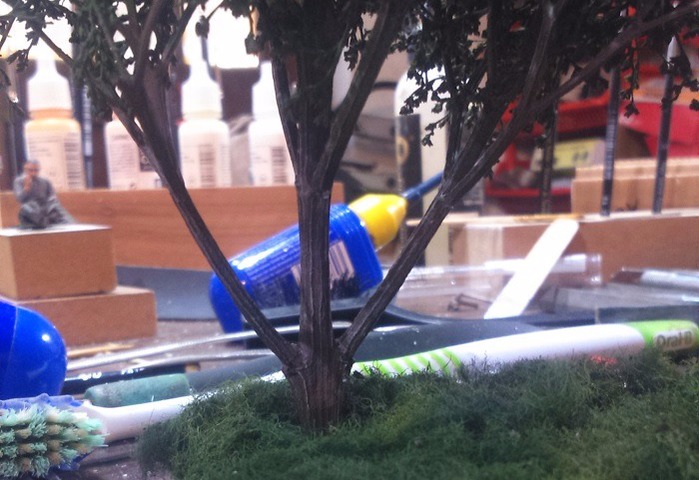
Use a dry-brush and add some highlights to emphasize the tree trunk texture.
The "branches"may also require some painting.
I like to compare the colours of the diorama to real outside colours to ensure they look more or less natural.
Step 15 / 16
Long grasses with "seeds" are made from Woodlands Scenics "Tall Grass".
Twist together a small bushel of the grass, and add a tiny drop of superglue at the base.
I used about a third of the length of the Woodlands Scenics Tall Grass for this scene.
Hold the grass tuft at the base and dip the loose ends into some superglue, and then dip the ends immediately into some green/yellow or brown pigment, or loose bits of foliage.
Plant the grasses where visually best suited.
Step 16 / 16
We invite you to Join 1000+ artists from 43 countries

it is totally FREE and takes less then 45 sec !
Become a member and enjoy all the benefits
