Step 1 / 6

30/11/2012
The tree was collected from an area just before building started, it was a flat area and the tree was growing in full sun
The tree had some minor surface roots and 1 main root that was very deep in the ground, and had very little leaves in a bad situation
I had to cut the deep root, put the tree into a big nylon beg to keep the moisture and drive home
Once I got home, I planted the tree in a soil mix of crushed tuff and perlite ( 50/50 ), covered the tree and the training pot with a big black nylon bag and placed it in the shaddow
The purpose of the black nylon is to do 2 things : 1 - keep the level of moisture up ( almost 100% ), 2 - low light to encourage the tree to create new leaves and roots
Step 2 / 6

The challenging phase :)
once a week, I opened the bag to see if there is any progress, and did nothing beside this ( no watering, no fertilization,..)
1/2/2013 - the beginning of the spring ( about 2 months after collection ) I saw that the tree had begun to sprout new leaves, after a few days - I've replaced the black nylon bag with a transparent nylon bag ( but it is very important at this stage to keep the tree in shadow )
1/3/2013 - the tree is filled with new growth, and now I start each day to punch a small hole in the transparent nylon, to gradually lower the moisture level.
11/3/2013 - checked in the soil and discovered good white roots :)
16/3/2013 - I saw that the leaves are beginning to rot, so I removed the nylon, but I did it too late and in the following days most of the leaves dropped
1/4/2013 - new leaves are beginning to grow !!! and in the coming days the tree filled with new growth and came out of danger. the cultivation has succeeded :)
Step 3 / 6
24/1/2014
the tree is already 1 year in training and very stable
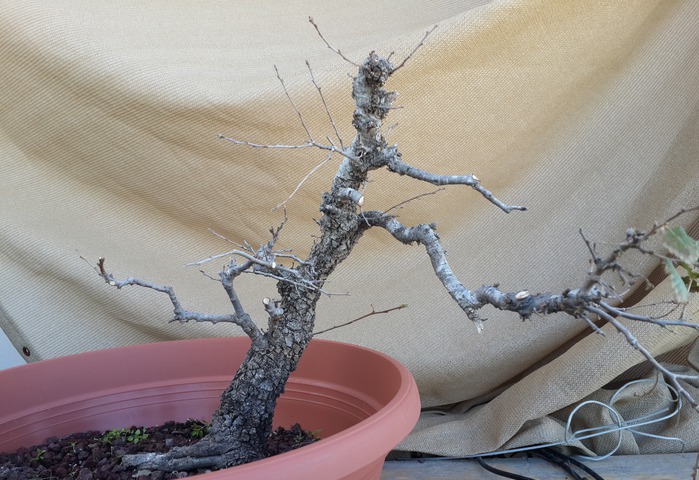
Toward the 2nd spring and since the tree has started to develop new buds, I decided to remove thick branches that I was sure that are not needed for the final design
As you can see in the 2nd picture I didn't cut the middle big branch, because one of the design option was to use it as a leader and cut the rest of the trunk ( discussed in the next step )
Step 4 / 6
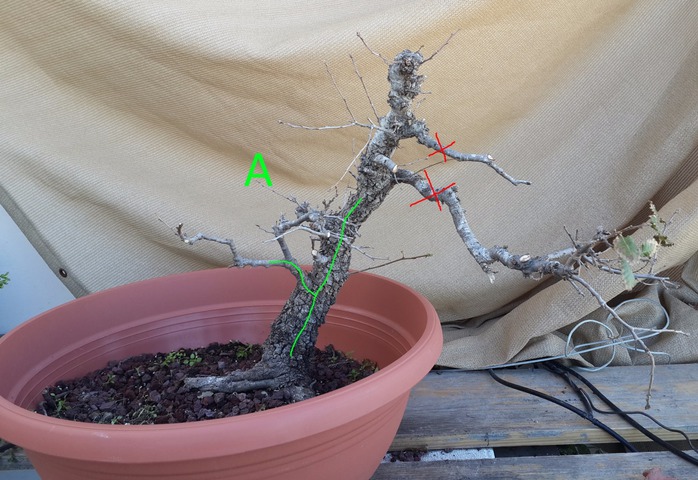
At this stage ( still 24/1/2014 ) - I had 2 main design options
Option A - cut the middle big branch and use the main trunk and the lower branch ( the picture does not show the front, but if you move clock wise , the ugly nebari root is not seen
Option B - Use the middle big branch as a new leader and cut the rest of the trunk
In this stage, I wasn't sure which is better, and since it is a Yamadori only 1 year in training I did not want to stress the tree too much, so I kept the middle branch
As you will see in the next step - I've decided to go for option A, the reasons were that the middle branch was not so healthy and had some back tapering problem and the upper part of the trunk was very interesting so I did not want to loose it
Step 5 / 6
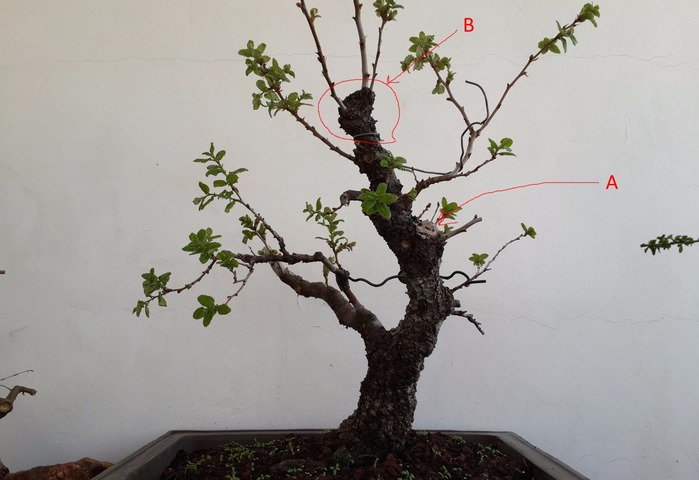
7/3/2015
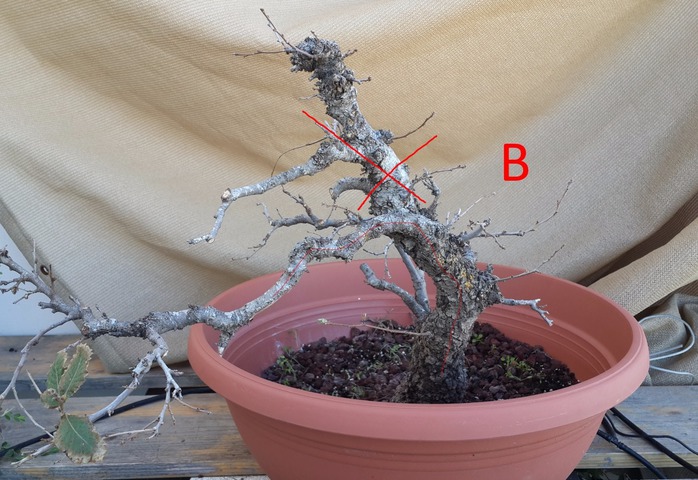
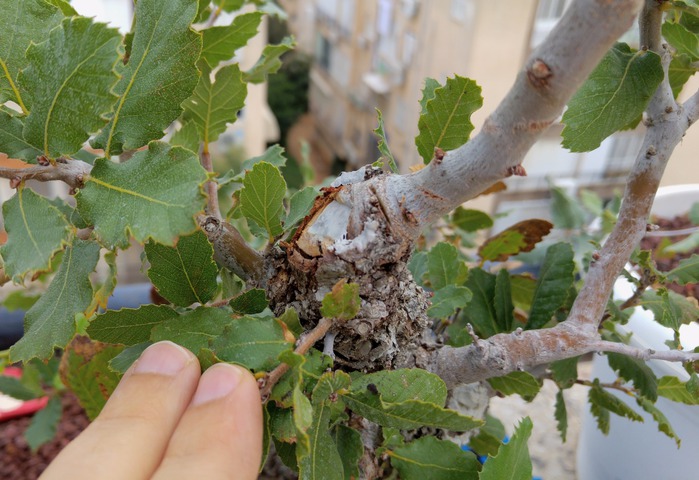
A - I removed the middle big branch
B - this bulge is not aesthetic and will be removed further on
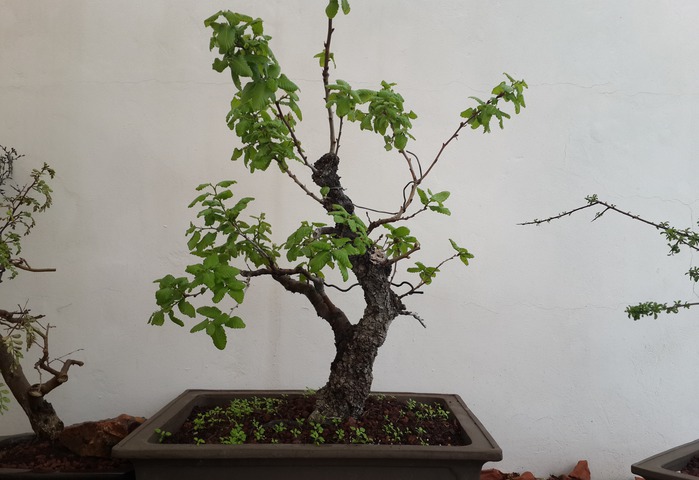
The 2nd picture is from the 12/3 ( 1 week later ) - just to show the quick growing pace
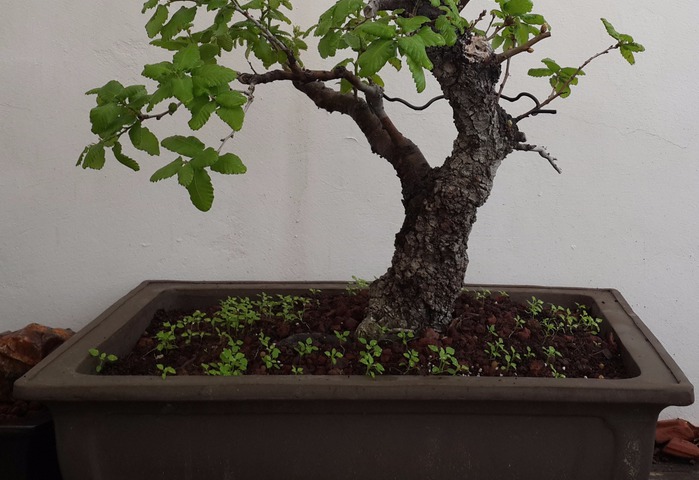
As you can see in the 3rd picture, I am training the tree in a rather deep and big pot, the main reason is because my goal at this stage is to let the tree thicken the trunk and the branches, a secondary reason is that it gets really hot here in the summer, so it helps
Step 6 / 6
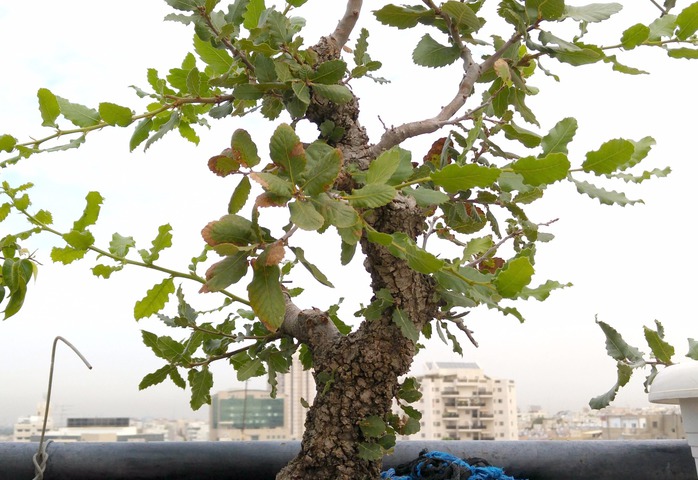
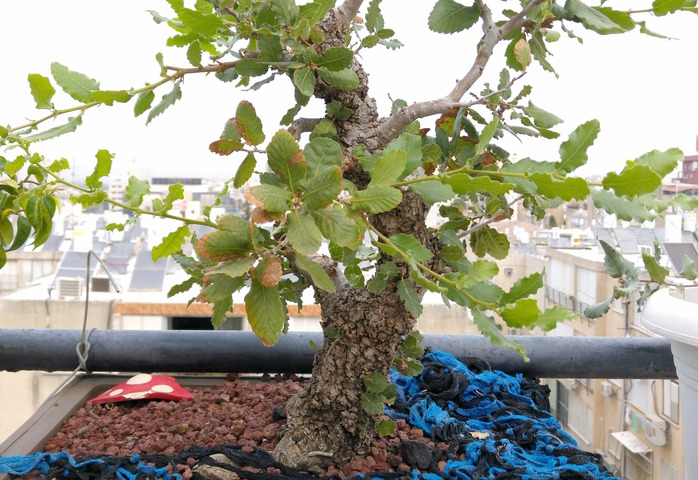
22/10/2015
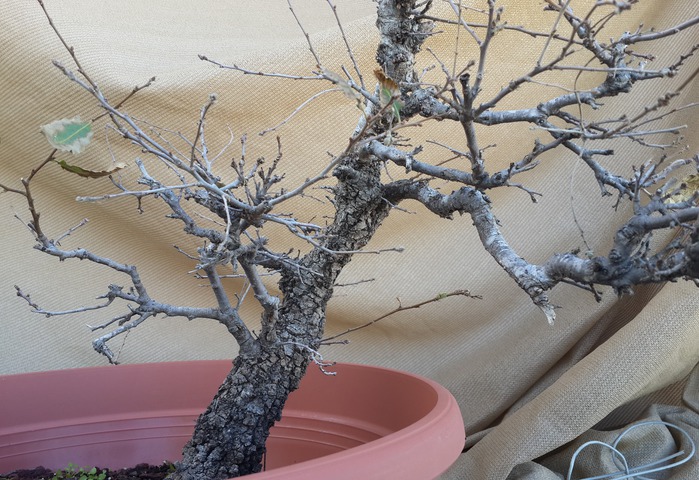
the lower branch has thickened a lot , and the tree is very healthy and vigorous
as you can see in the 3rd picture the ugly bulb that was the top of the tree was cut off and a new leader is already growing happily
We invite you to Join 1000+ artists from 43 countries

it is totally FREE and takes less then 45 sec !
Become a member and enjoy all the benefits
