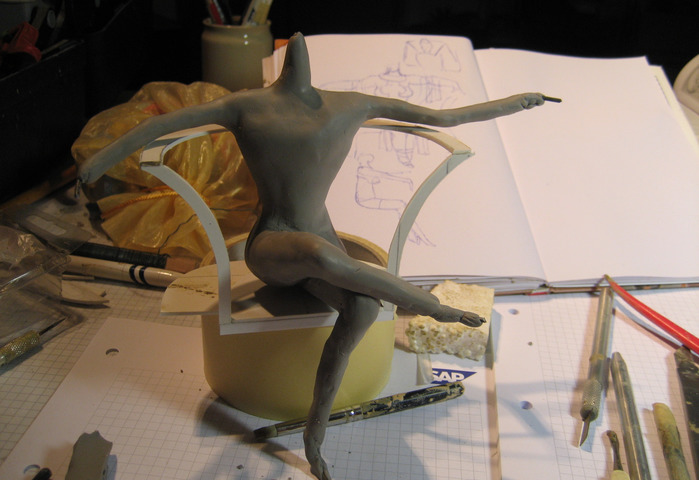
Step 1 / 16
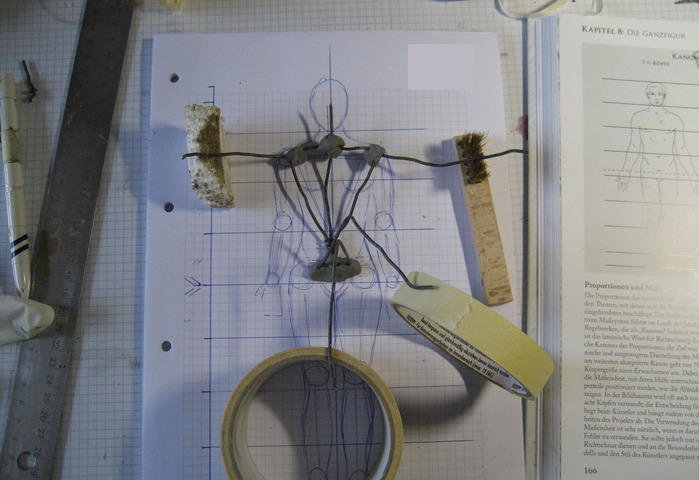
Create wire armature using the 7 1/2 or 8 heads anatomic proportion scheme.
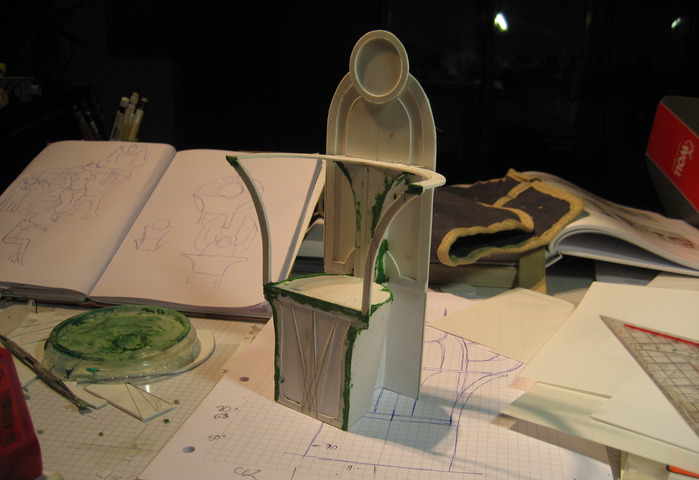
Step 2 / 16
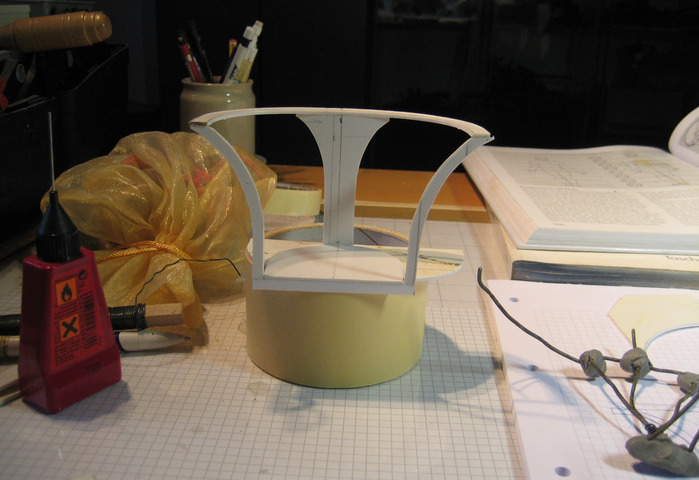
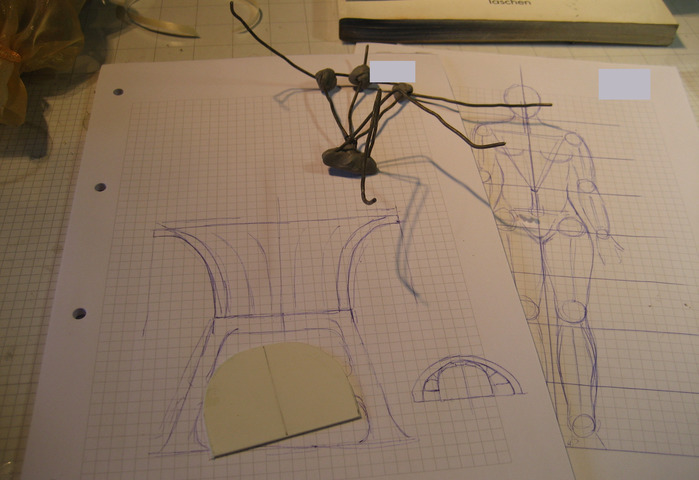
Create the throne seat to have proper positioning for the figurine.
I used 1.5mm plastic card for the base and 1mm and .5mm thick plastic card for details and ornaments.
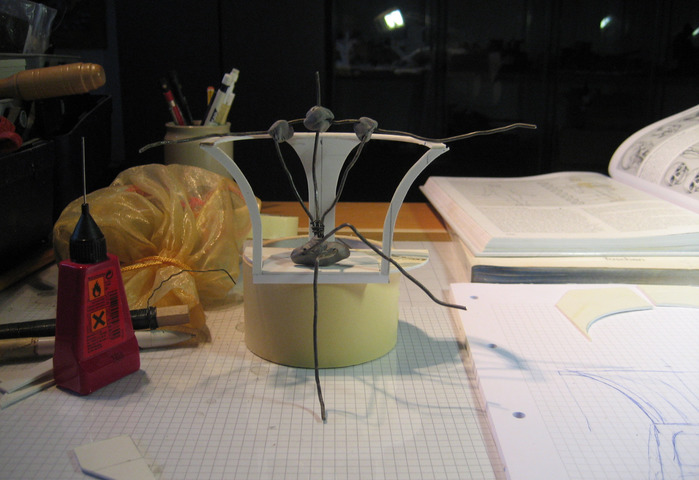
Step 3 / 16
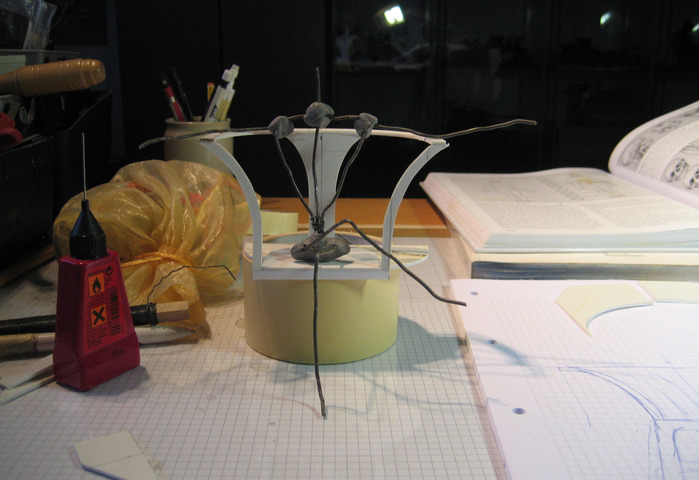

Use GreenStuff or ProCreate to wrap the wire armature. This gives stability to the armature and eases the application of the polymer clay during the actual sculpt
Step 4 / 16
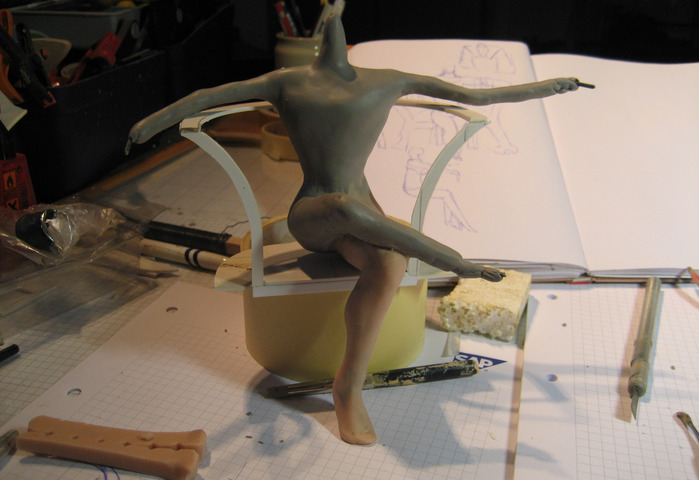
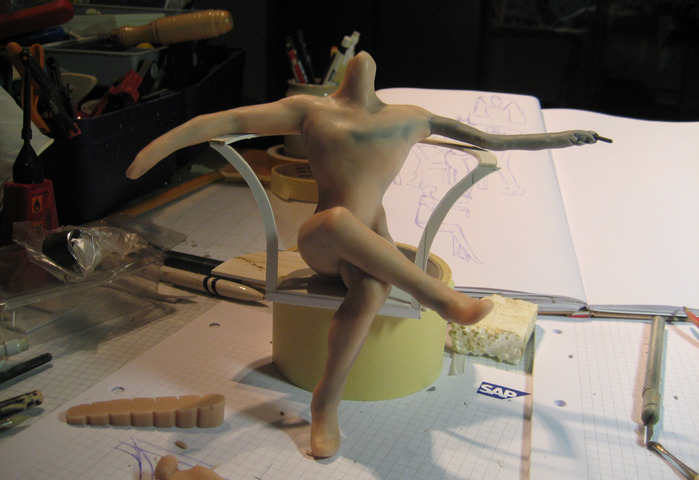
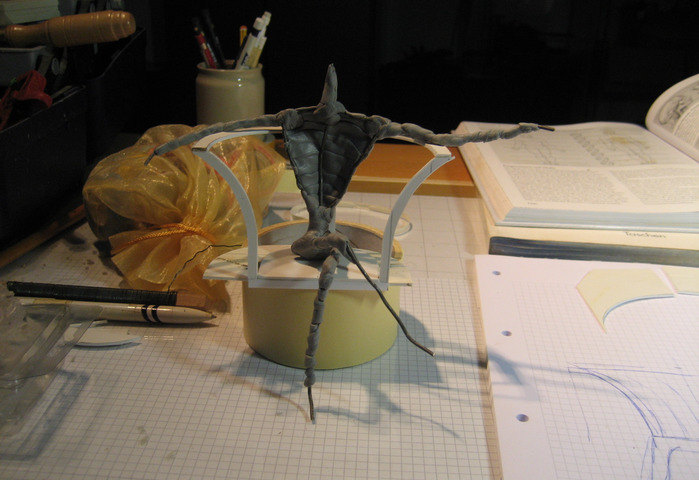
I used the SuperSculpey "firm" as base material for the sculpt. Once satisfied I baked it according to material instructions and then started to add muscles and skin, using the softer (beige colored) SuperSculpey "standard".
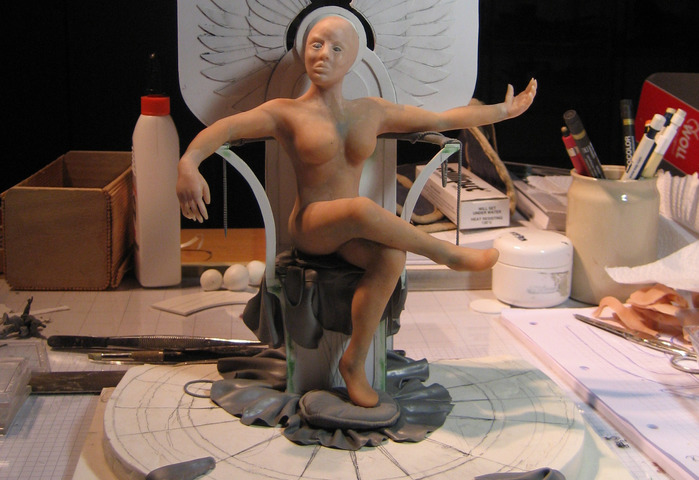
Step 5 / 16
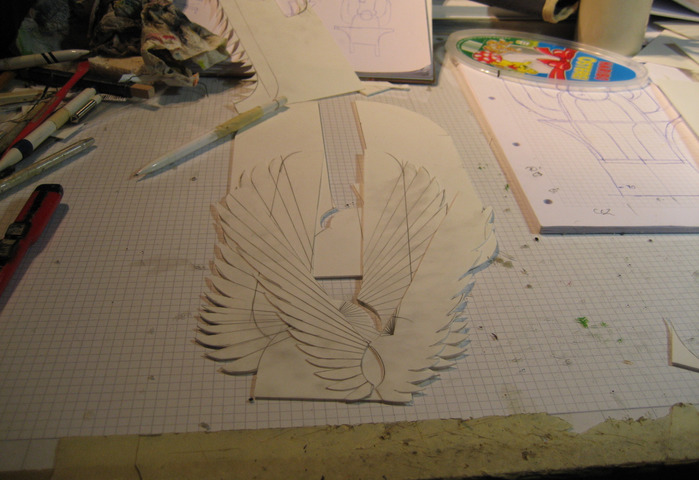
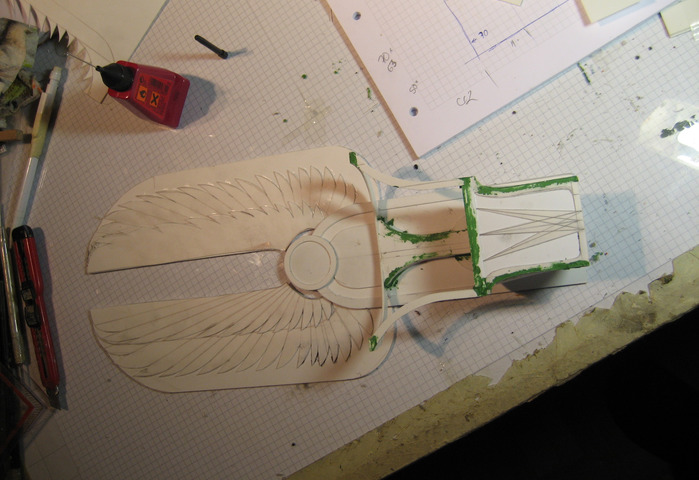
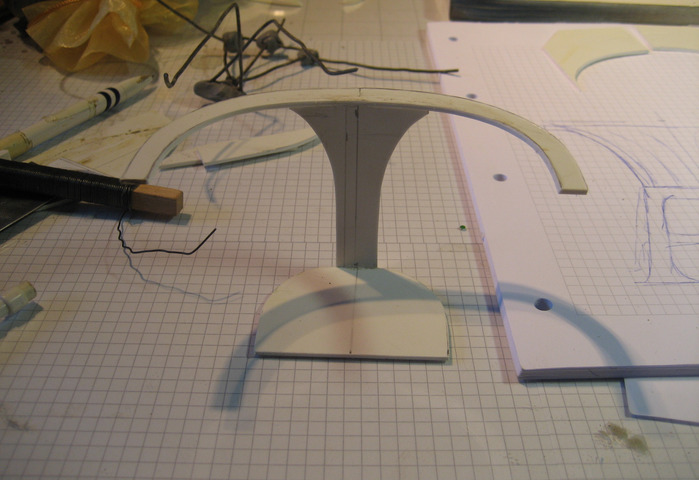
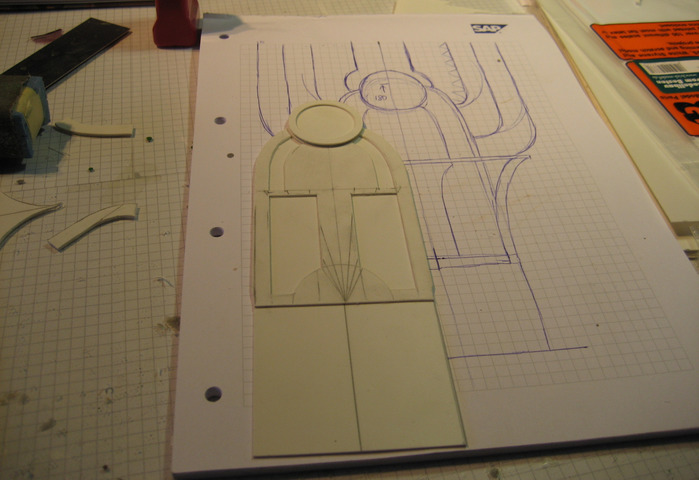
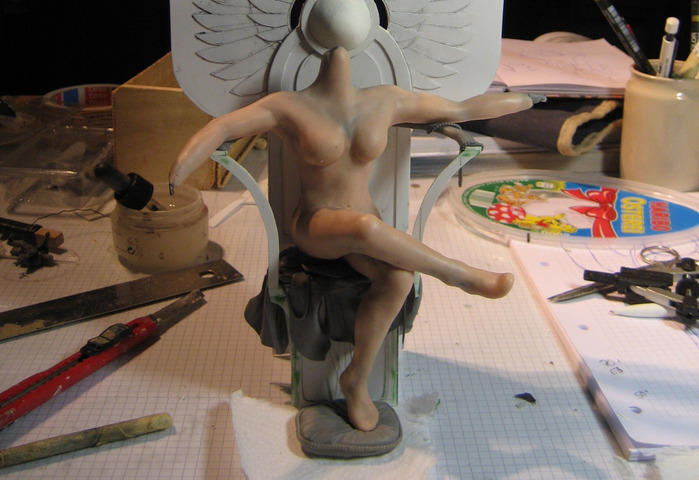
Building the throne.
I cut the "wings" from 1mm plastic card. On top of the base shape I build another two layers of "feathers".
To fill visible gaps and make some corners more smooth I use "Green Putty" from Squadron.
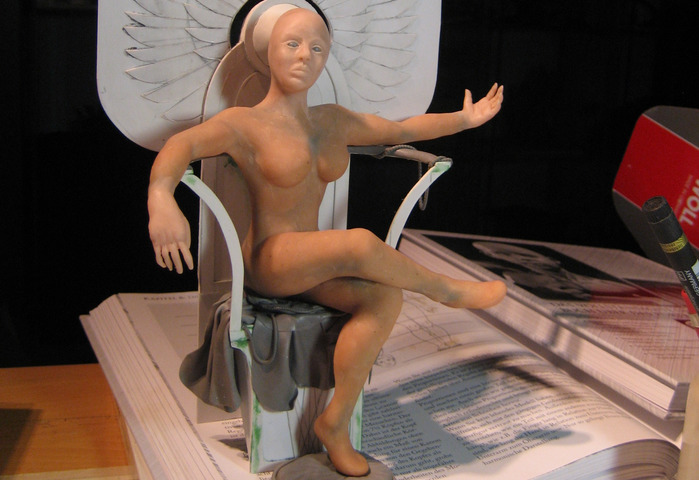
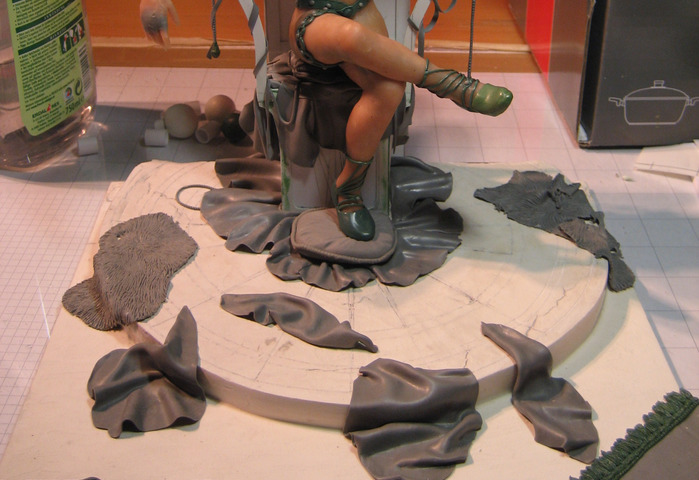
Step 6 / 16
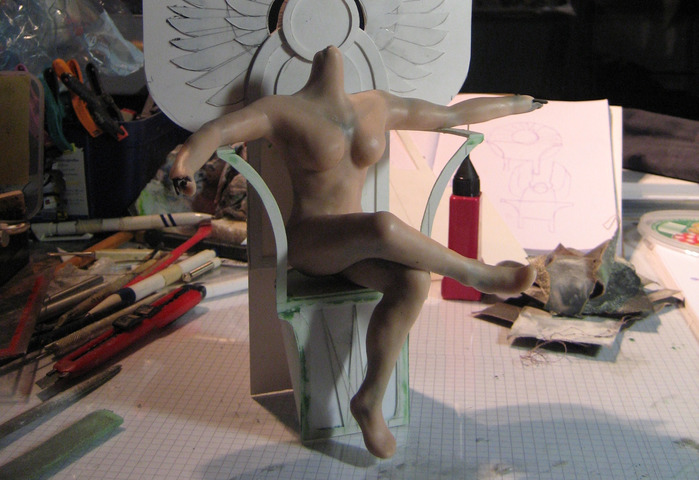
With the throne completed I did another positioning test.
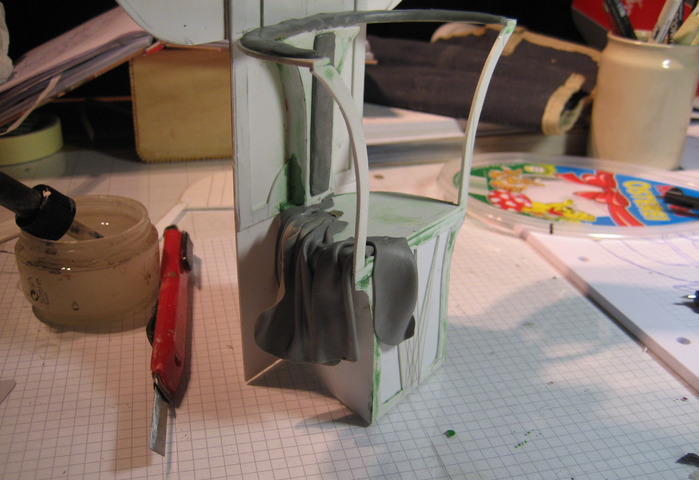
Then I used ProCreate (similar to GreenStuff) to start sculpting some drapes for the seat.
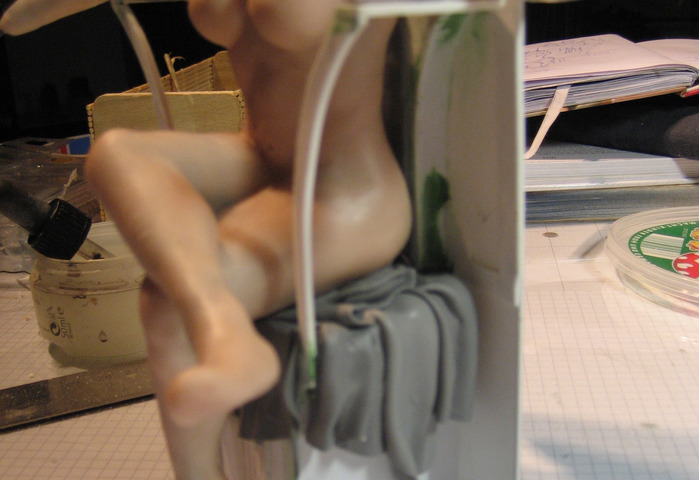
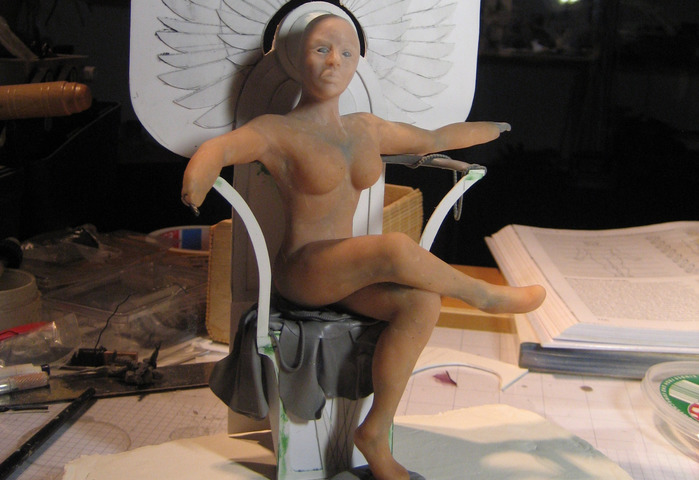
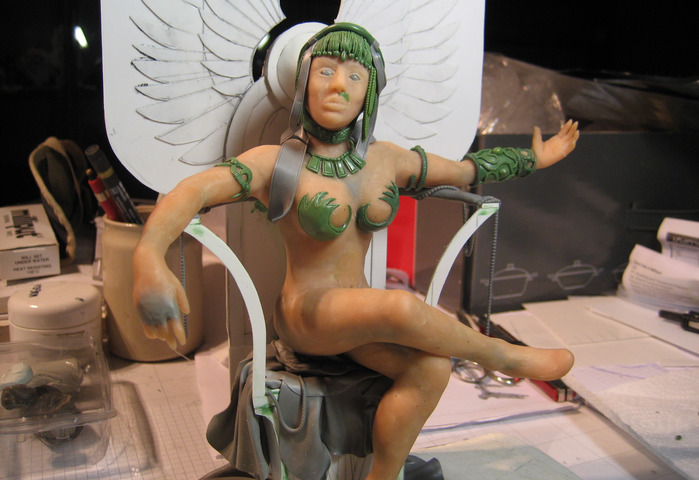
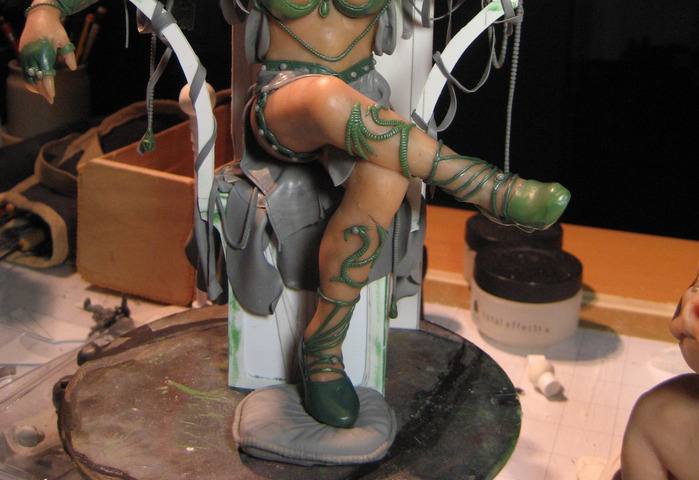
Step 7 / 16
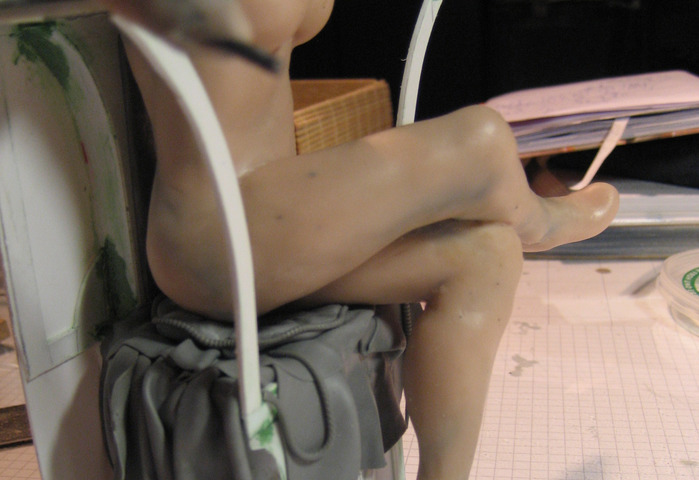
With a cushion for the seat and another for the supporting foot all basic positioning was completed and I baked the figurine according to material instructions.
Step 8 / 16
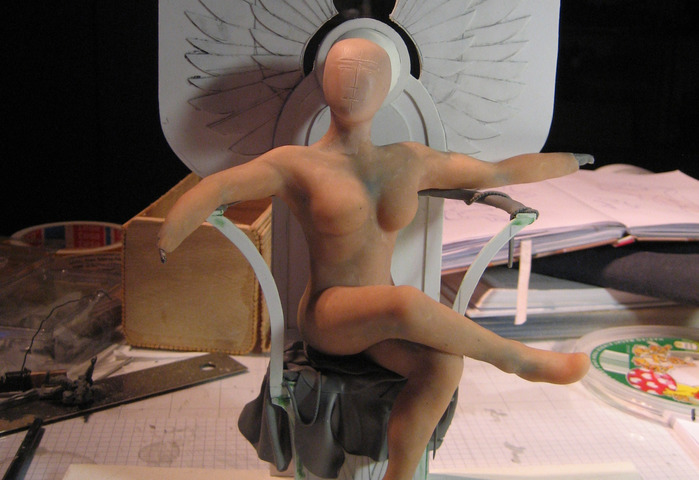

Once the body was completed and hardened I started to sculpt the head.
Starting off with the basic facial proportions.
Then I used two small balls (made of ProCreate a day earlier) for the eyes and then sculpted the eyelids, nose and lips.
Step 9 / 16
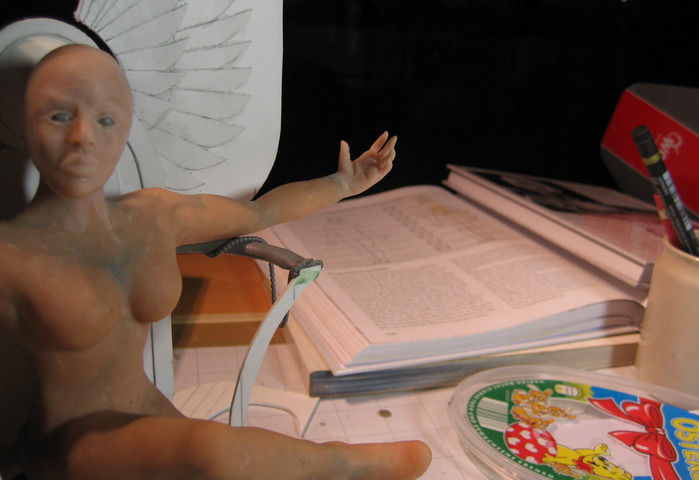
After I was pleased with the head I sculpted the hands.
Note the right hand still looks funny - I had to wait for the hand to be baked before I could complete it, as the SuperSculpey was too soft.
Step 10 / 16
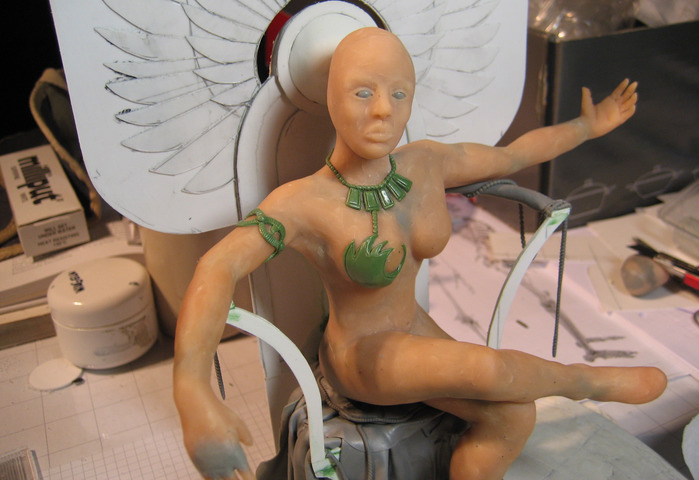

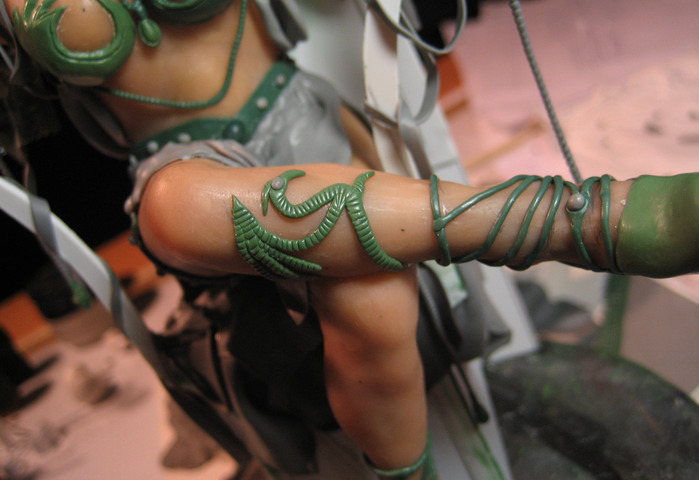
Once the figurine was now completed and baked, I started to add the details.
For this I used "GreenStuff" (by Gale Force Nine).
GreenStuff is a two-component clay that is quite sticky and can be shaped very acurately.
It cures within a few hours and is safe to touch after about 8 hours
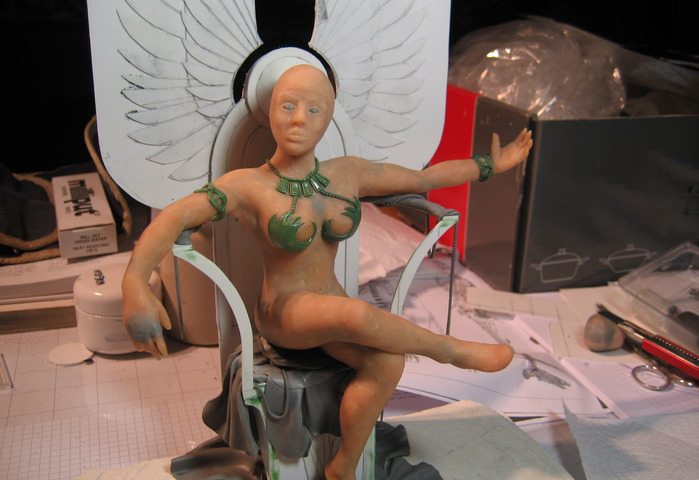
Step 11 / 16
To create the hair I used a piece of GreenStuff and scratched the basic hair shape with a needle tool.
Then I rolled small rolls of GS and used a "Tube Tool" (by Masq-mini.com) to create the small braids.
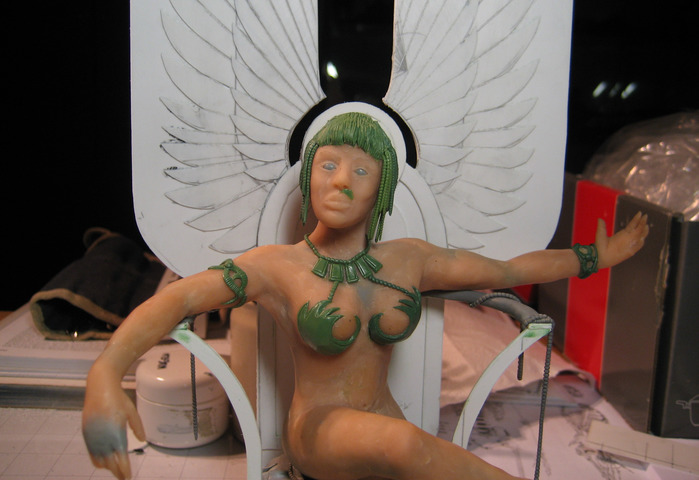
And finally I added the little beads and basic crown shape with Greenstuff, and an ornamental drape, made from rolled-out ProCreate
Step 12 / 16
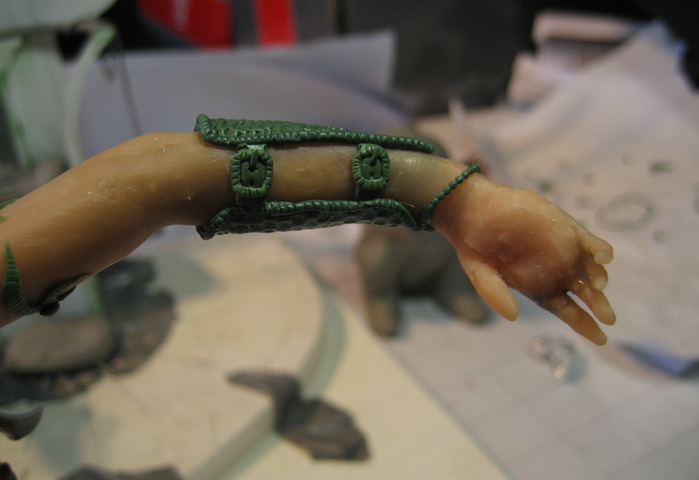
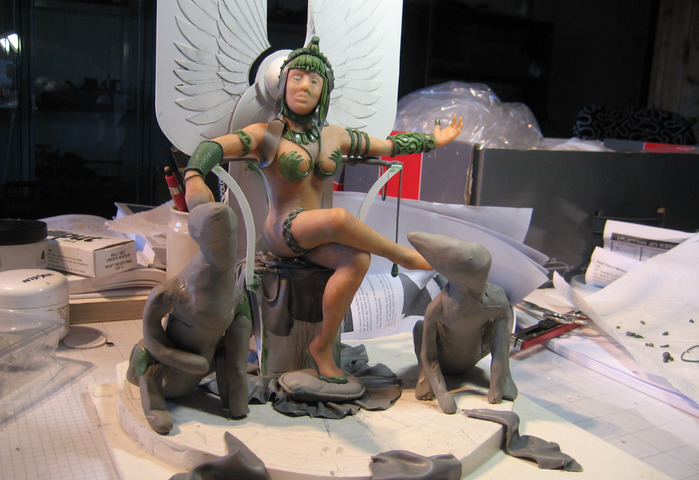
With GreenStuff I also sculpted her other ornaments and arm-shield.
Note the beginning of her two watch-dragons - these will be covered in more details in a seperate guide.
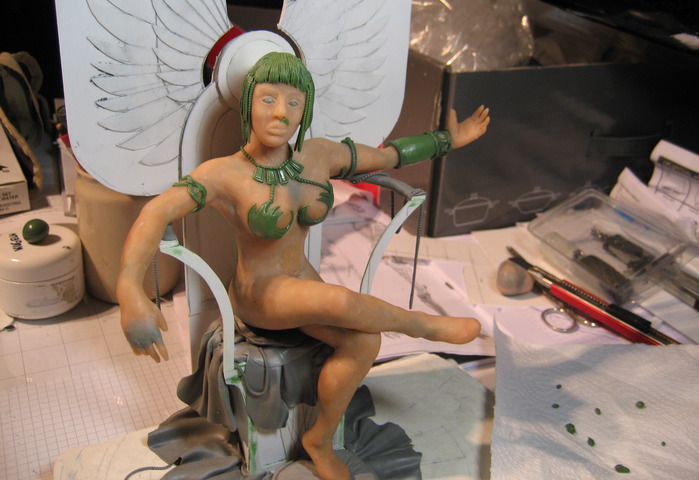
Step 13 / 16

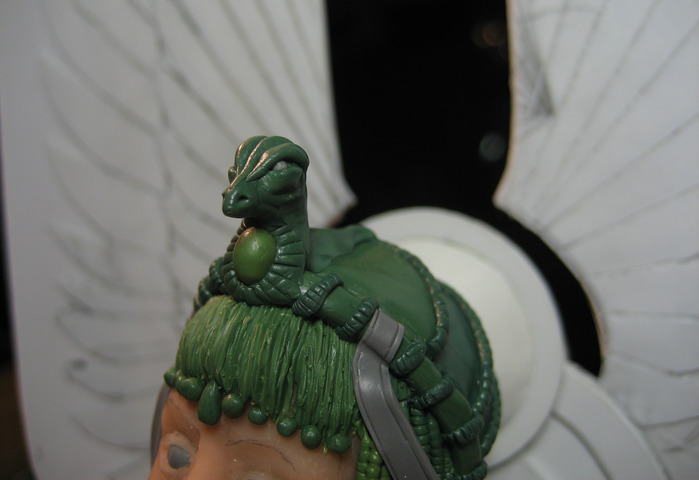

The dragon-shaped crwon was also created using GreenStuff.
To further detail the throne-room scene I created some more drapes and carpets, using ProCreate.
ProCreate is less sticky than GreenStuff and can be easier rolled-out flat.
To create the structures of the rug, I rolled the ProCreate on an old hanky, copying the structure of the linnen.
Step 14 / 16
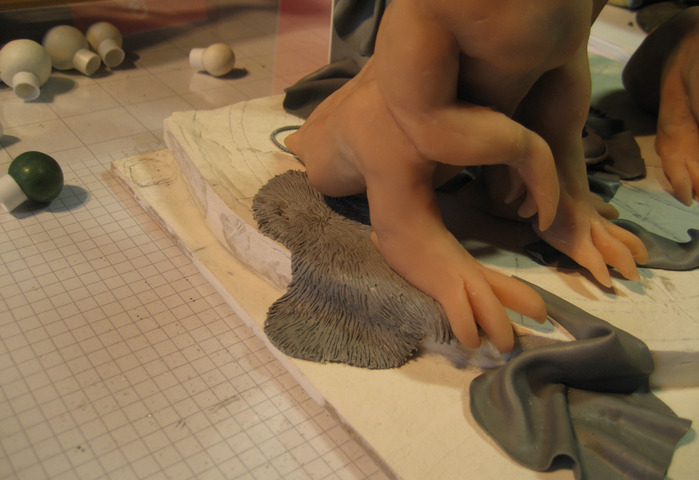
For the floor I also created two furs.
Here I again rolled out ProCreate and then used the needle tool to scratch the furry structure into the material.
With this most of the scene materials are in place.
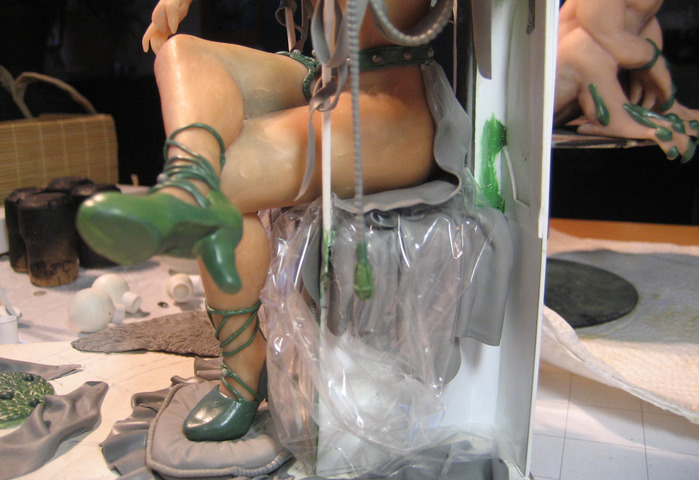
So I started to create the princess' clothes.
Note the tiny flim I have positioned between the seat and her skirt. This is to prevent the sticking of the two while curing.
Step 15 / 16
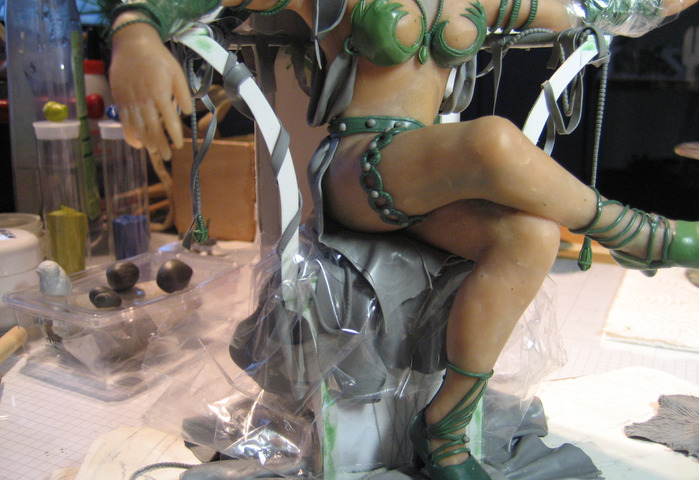
In the next step I created some more ornaments using GreenStuff. For jewels and gems I used already cured ProCreate balls.
Step 16 / 16
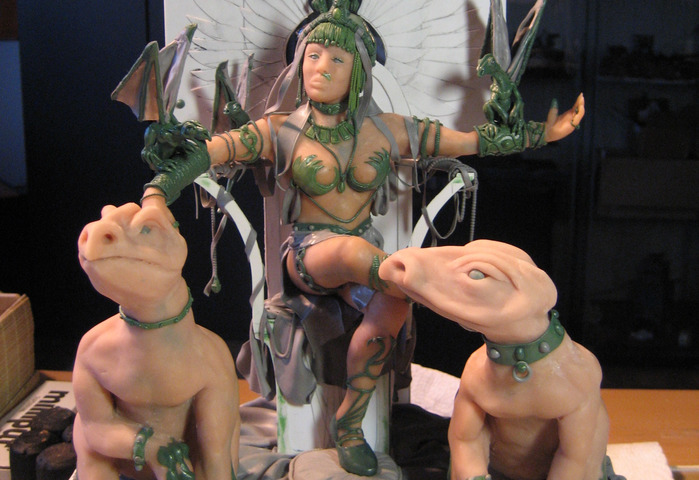
And this completes the build of the Princess.
The build of the two watch-dragons and the little Fire-Lizards is covered in my next guide.
We invite you to Join 1000+ artists from 43 countries

it is totally FREE and takes less then 45 sec !
Become a member and enjoy all the benefits
