Step 1 / 9

Carving of the 1st branch
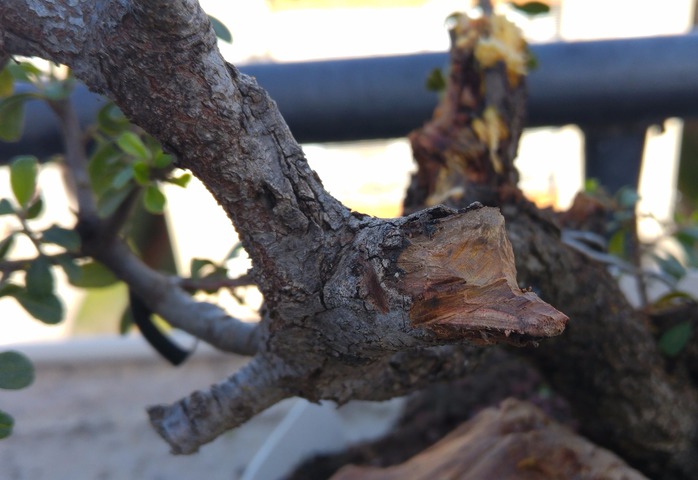
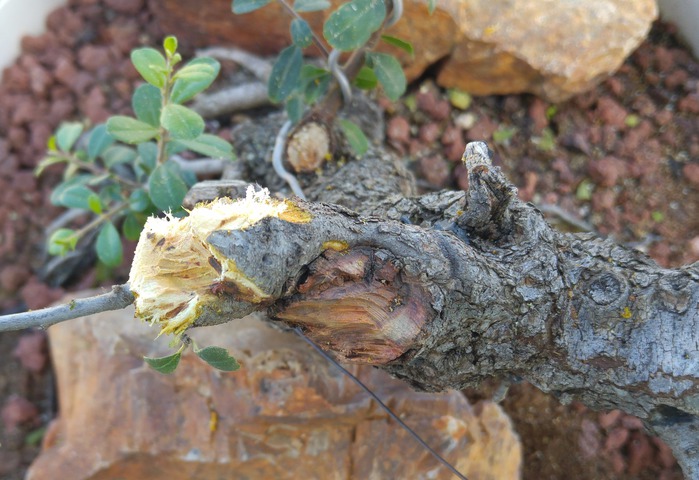
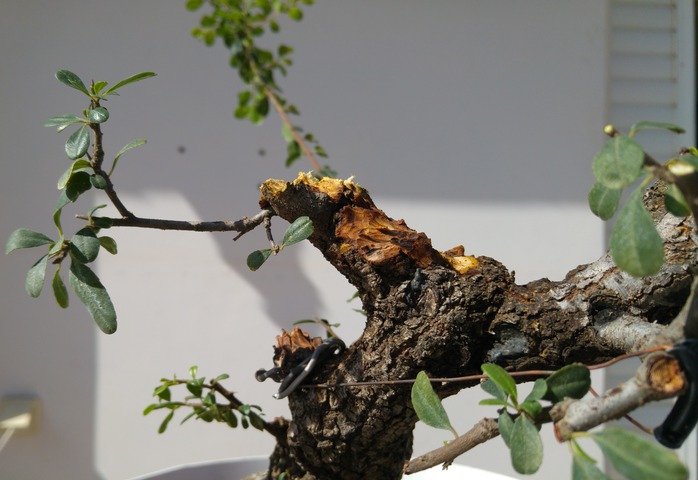
#1 - this is how the stub looks before starting
#2 - starting to carve
#3 - final carving for now
Now I will let nature and time do their magic and weather the new carved branch
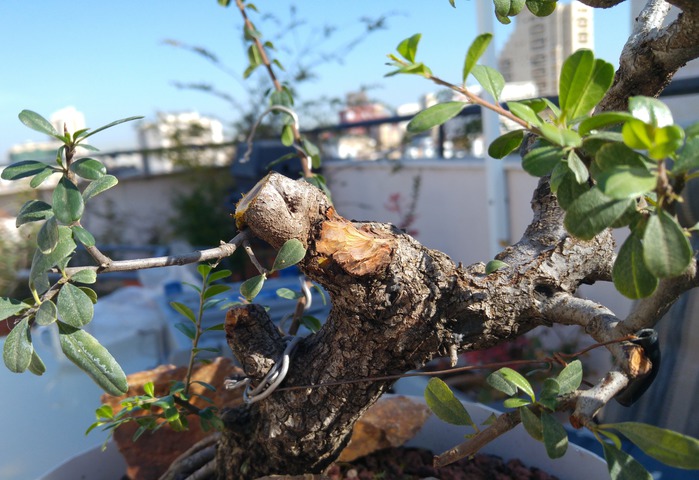
Step 2 / 9

Carving of the 2nd dead branch stub
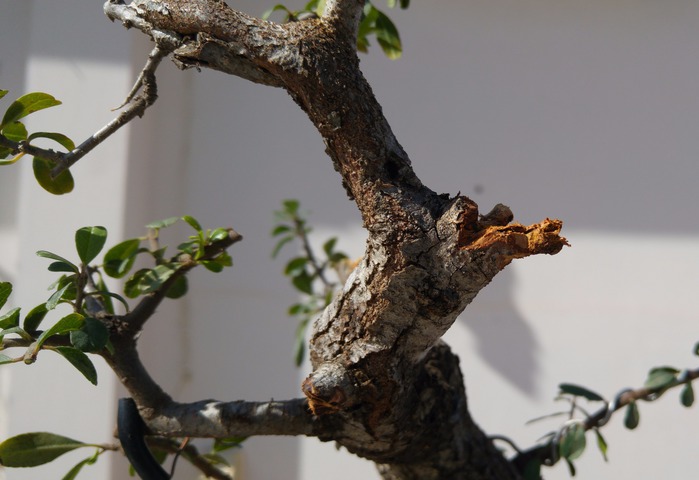
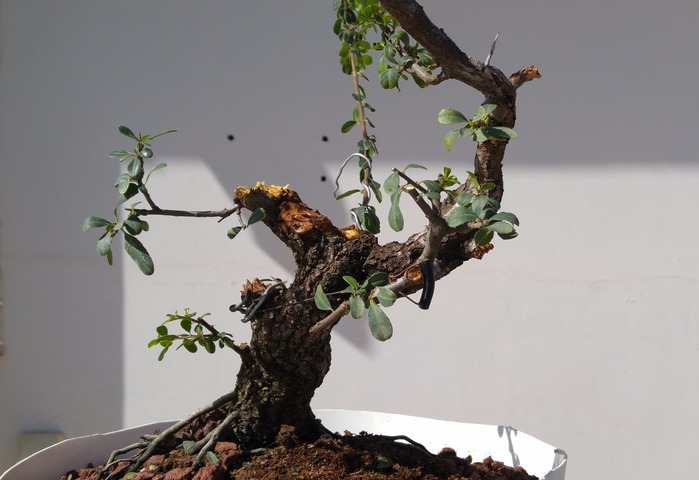
#1 - as you can see the stub is too big for the proportion of the main trunk and also the angle that he is exiting the main trunk is problematic in relation to the other branches - making it look un-natural
#2,3 - how it looks after breaking it with some tools
Now I let nature and time weather it :)
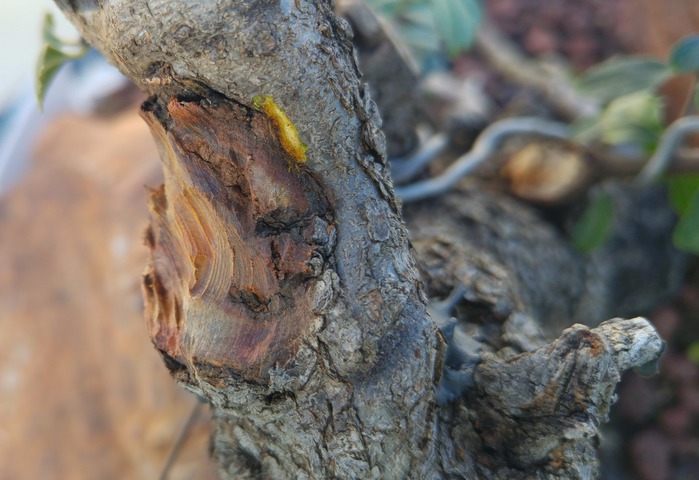
Step 3 / 9
The 3rd ( and main ) I'm going to carve and why :
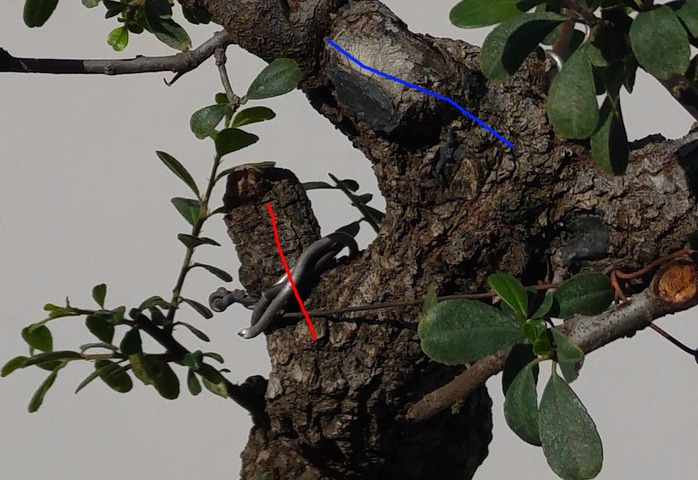
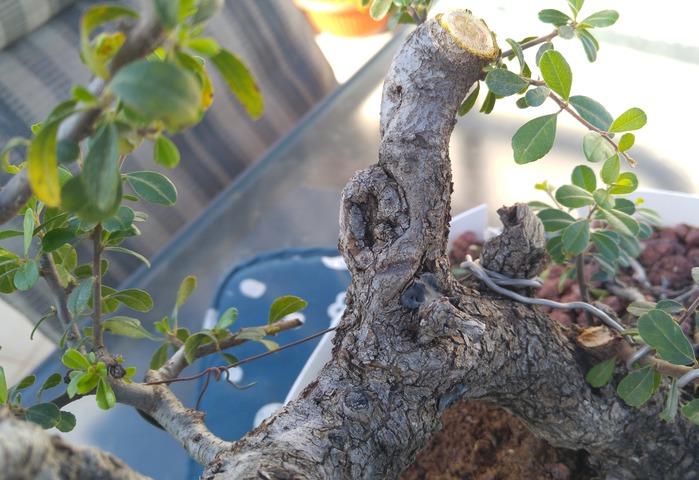
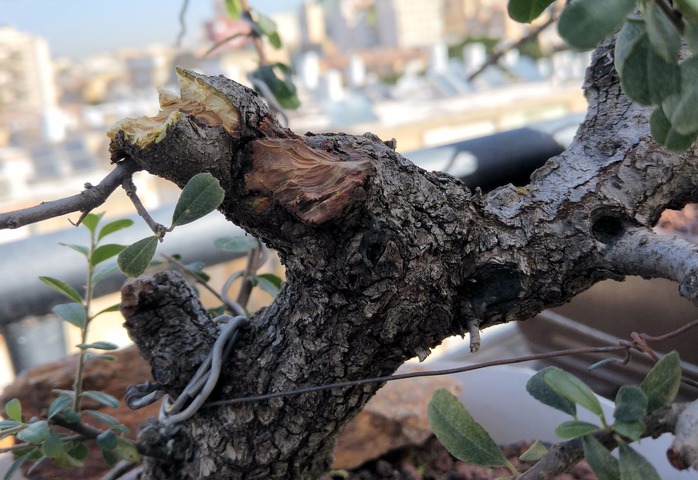
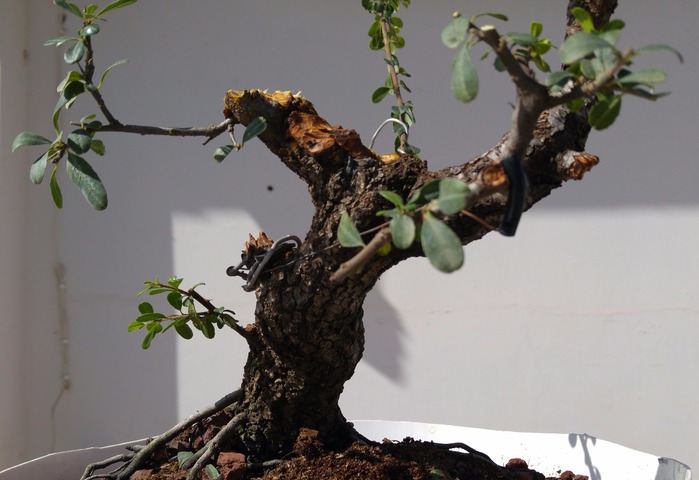
#1 - a close up of the branch that I'm going to work on
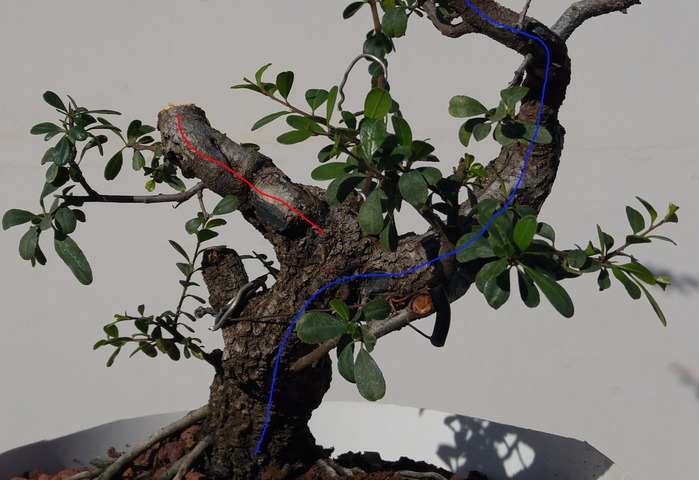
#2 - as you can see the blue line shows the main trunk line, and the branch ( marked in red line ) is very fat and long, out of proportion from the main trunk. it also can't be a 2 trunk tree because the main trunk and this branch are in the same diameter so it is problematic
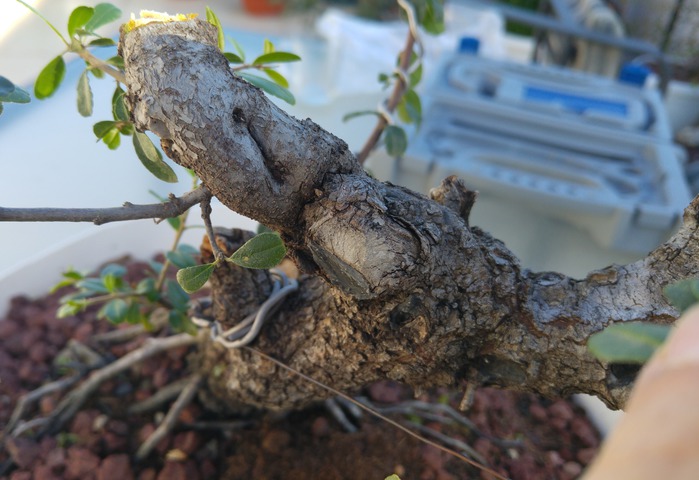
#3 - another view of the branch to be worked
Step 4 / 9
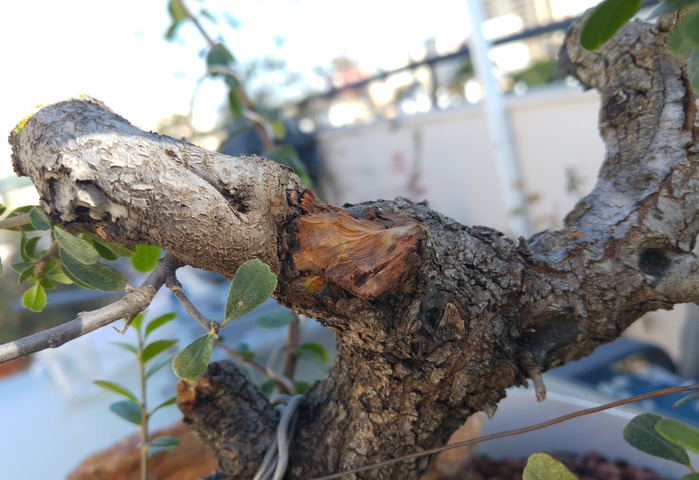
Starting to carve out the dead tissue...
Step 5 / 9
I now cut the branch length...using the big bypass lopper ( branch cutting tool )
Step 6 / 9
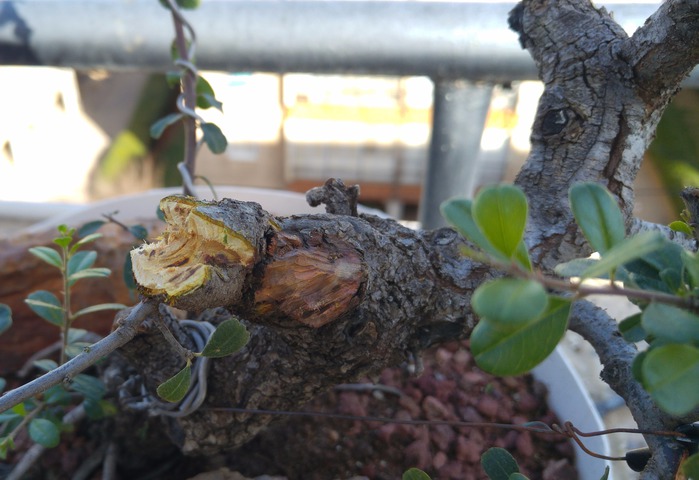
Starting to carve the new flat cut I just created...
3 views
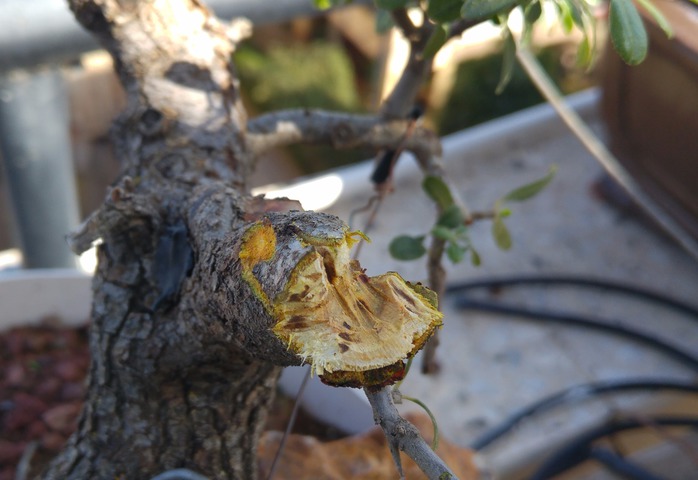
Step 7 / 9
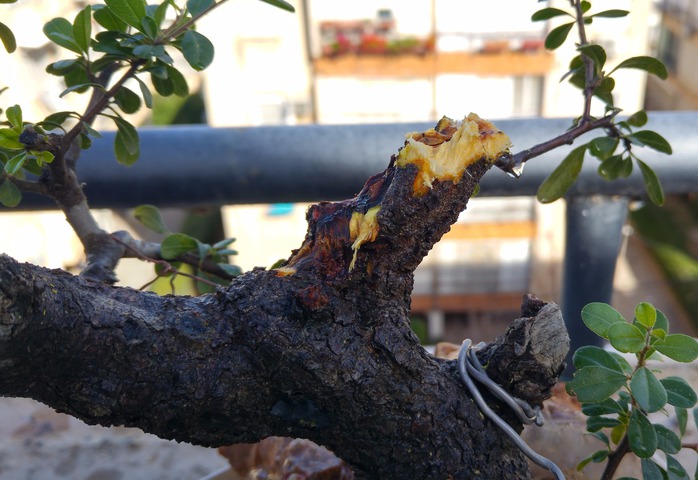
More carving
Step 8 / 9
Carving of the 3rd branch is done for now.
I am now waiting to see that the living part was not harmed and in 1 year I will do a finer carving...
Now moving to the 2nd branch carving
Step 9 / 9
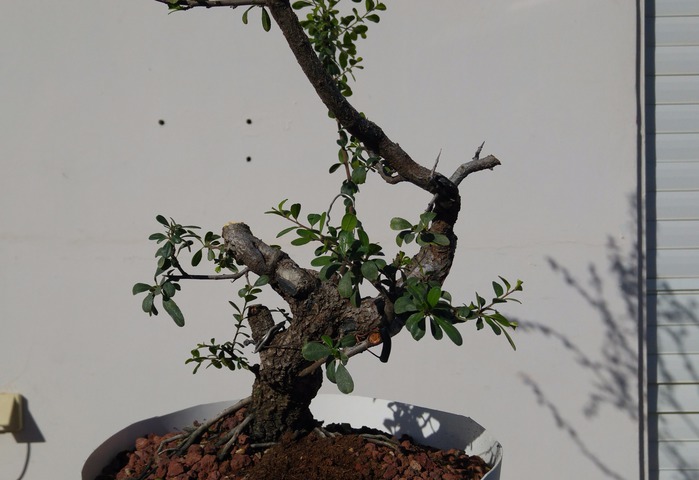
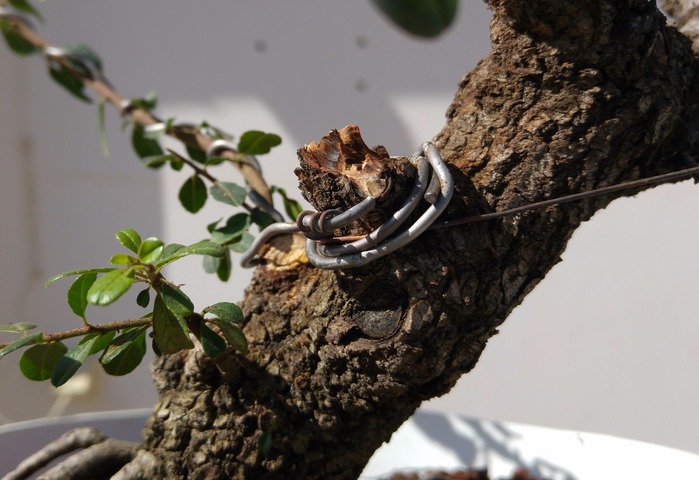
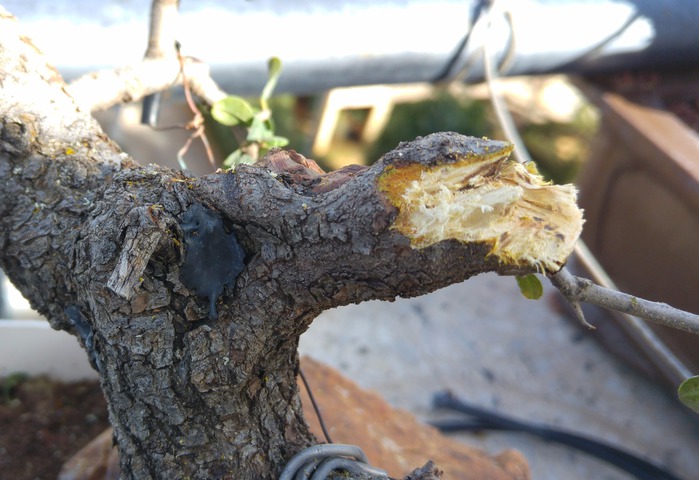
#1 - before the carving
#2 - after the carving
As you can see now the flow is much better and in the years to come it will look amazingly better :)
Feel FREE to give your feedback :)
We invite you to Join 1000+ artists from 43 countries

it is totally FREE and takes less then 45 sec !
Become a member and enjoy all the benefits
