Step 1 / 20
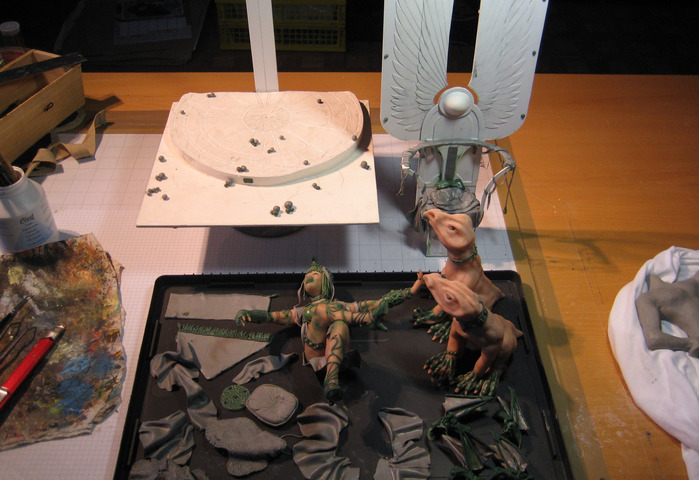

After I had the building and sculpting of the scene completed I seperated the individual elements and primed them.
I used a standard car primer you can find in any body shop. I used a grey matte primer.
Step 2 / 20
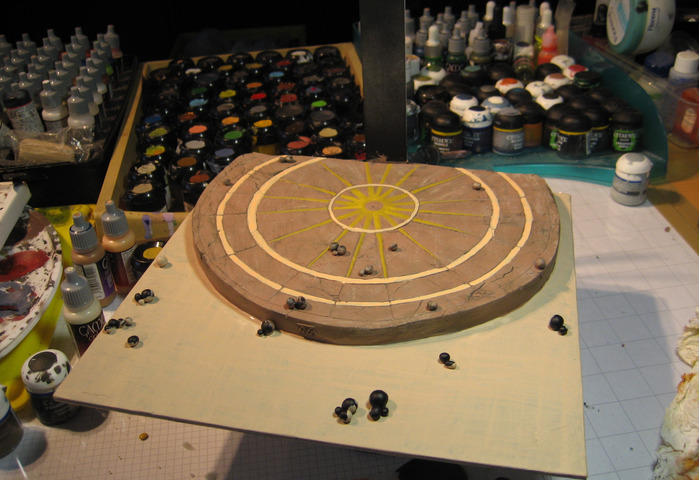
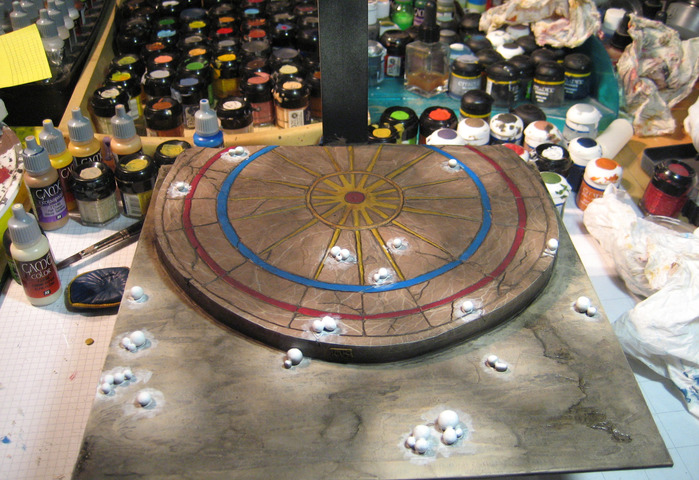
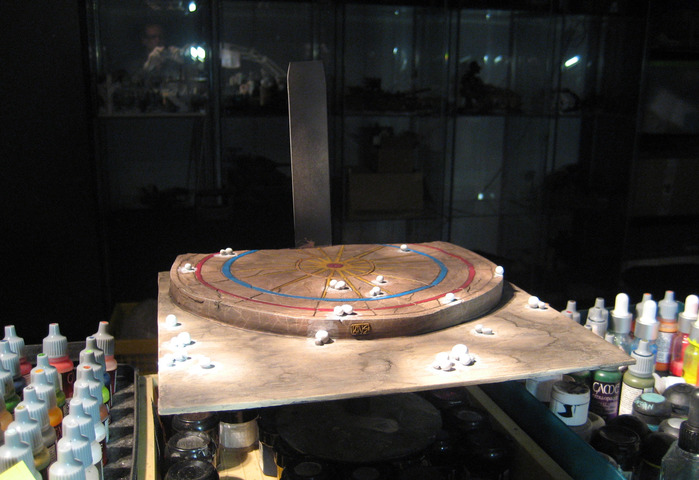
Since I know my tendency to lose momentum towards the end of a project, and to get the proper setting for the scene I started painting the diorama base.
The initial color sheme was too pale so I switched to a gold/blue/red scheme that I picked up for the entire scene.
The little white balls should represent little light sources. So I painted them white and used a very deluted wash of white to paint the initial light effect.
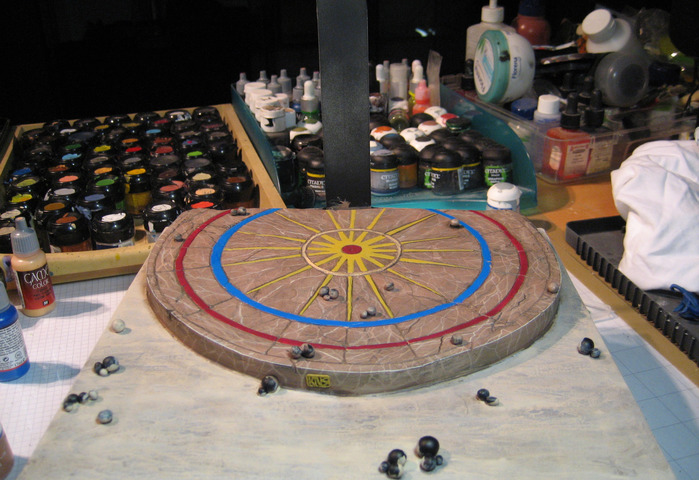
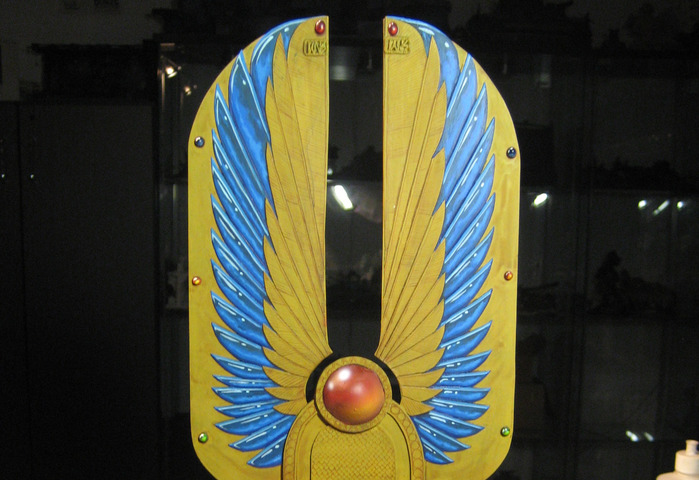
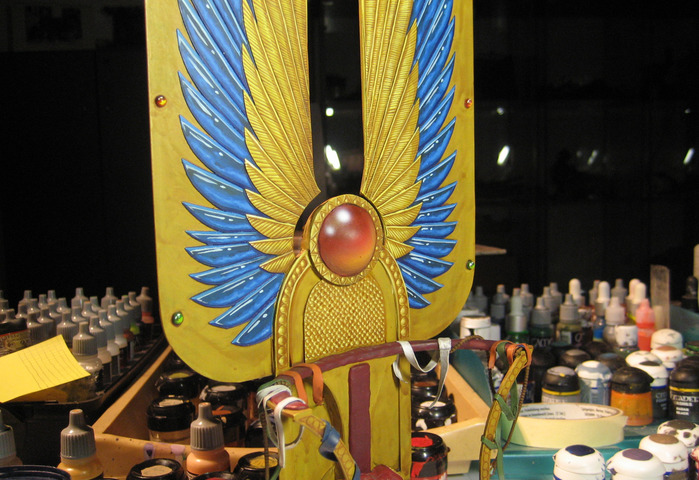
Step 3 / 20
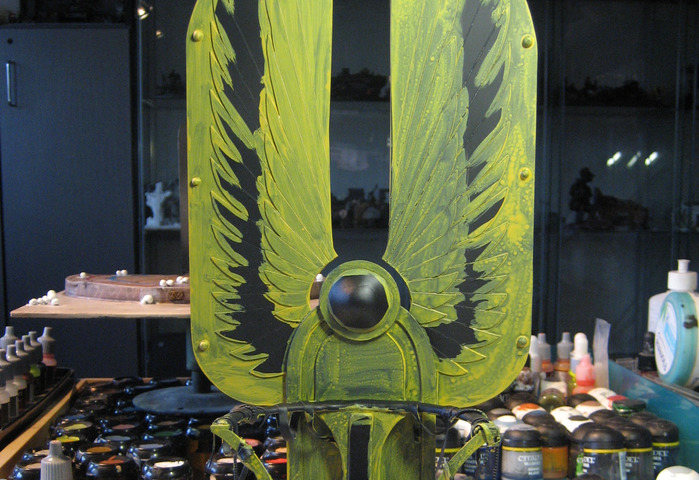
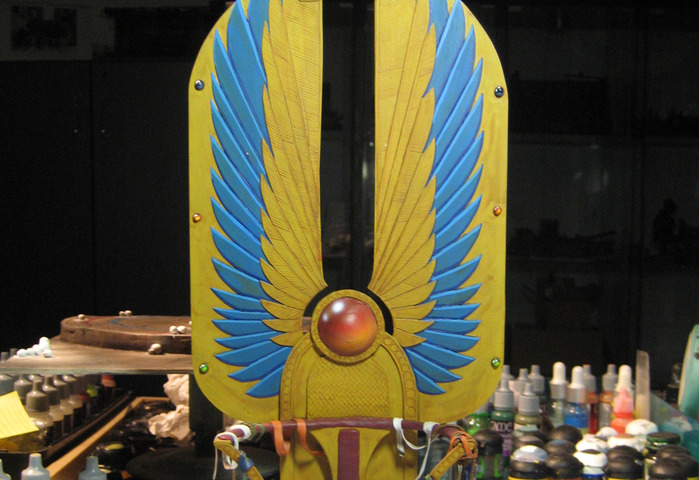
For the golden throne I used "Bubonic Brown" from GW as base color.
Since yellwo is a rather problematic color to get an even coat, it took me three coats to get a good even coverage
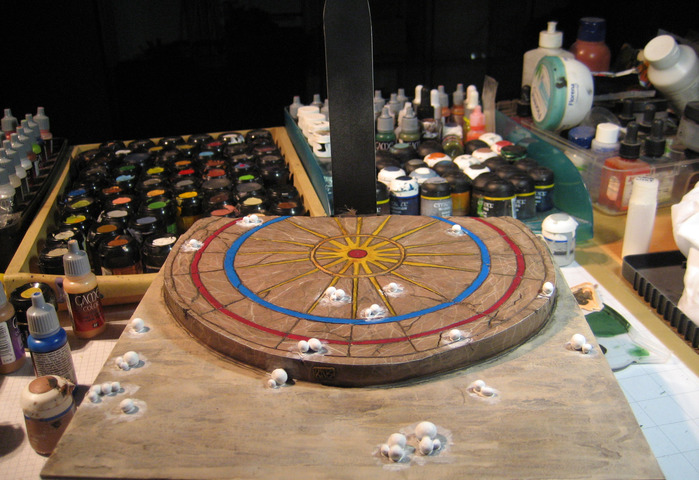
Step 4 / 20
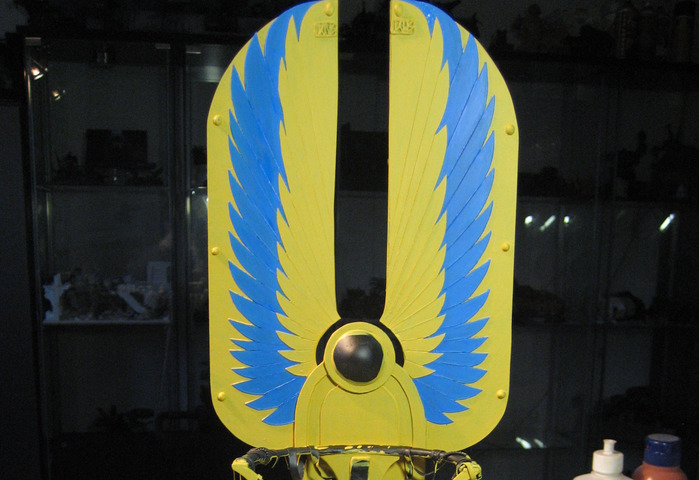
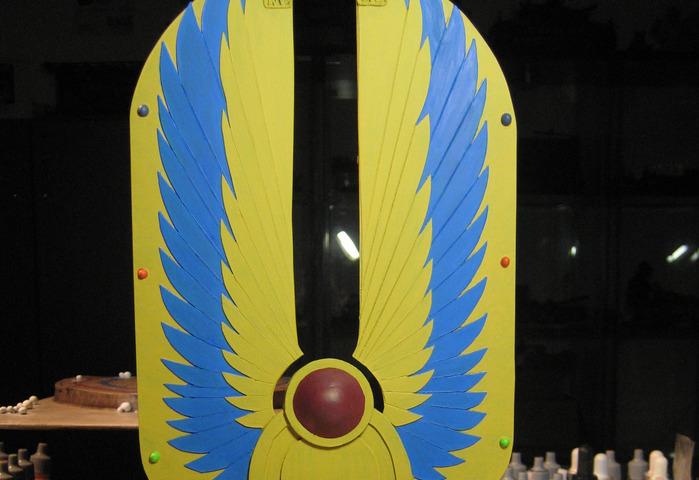
In the second step I used Magic Blue from Vallejo Game Color (VGC) so create the base color for the central gems of the wings.
A dark red is the base color for th ecentral gem behind the Princess' head.
Step 5 / 20
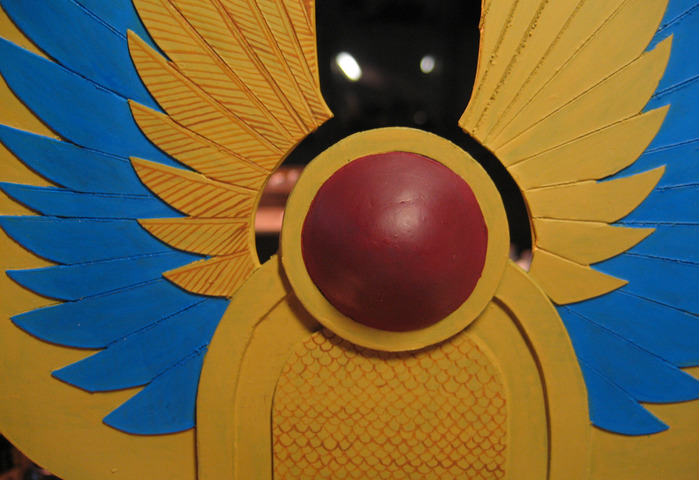
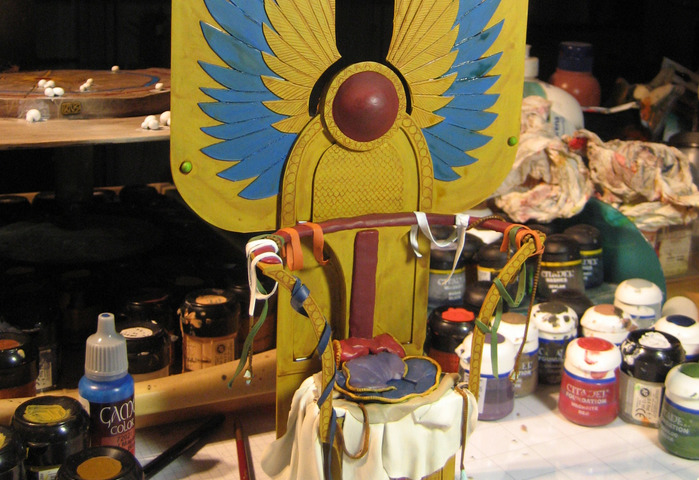
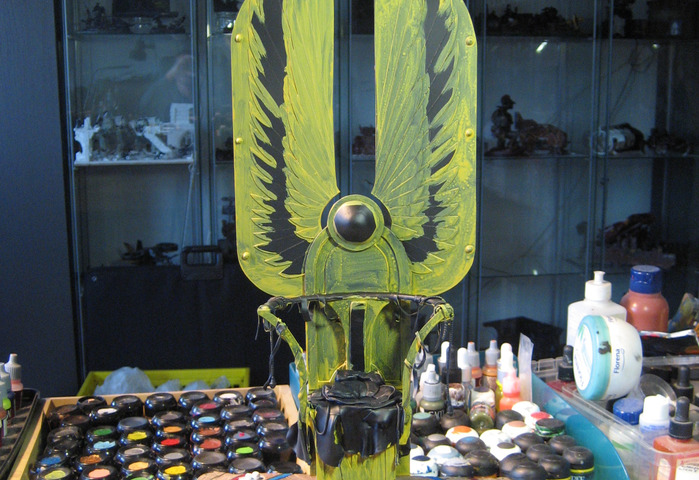
To add first structural details to the gold I used Snakebite Leather (GW) brown.
With fine lines I added details to the feathers, created a scale pattern to the backrest and some ornaments to the front of the throne.
Step 6 / 20
With the airbrush I applied shades around the lights - thus creating lighter areas close to the light balls.
For this I used very deluted (10:1 water:color) black with a hint of brown.
For the central gem of the throne I also used the airbrush to create shadows and highlights.
Step 7 / 20
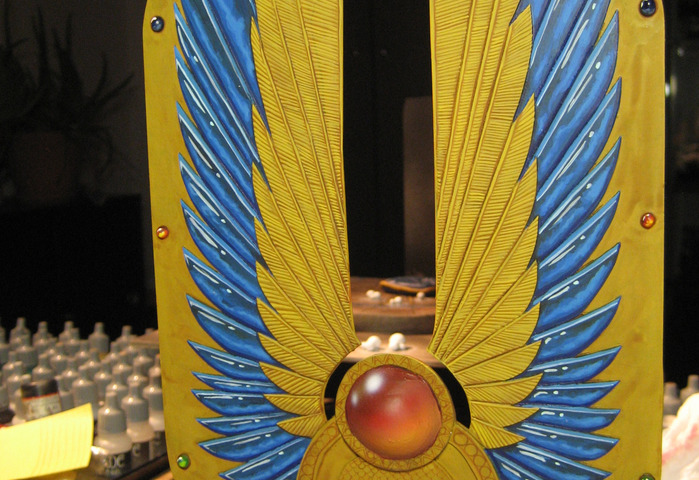
Next I added shades and highlights to the blue to create a gem like effect.
Then some more detailing to the golden feathers, using brown again.
In the next step I used a wash called "Gryphonne Sepia" from GW - but you can create it yourself, using anotehr deluted mix (10:1 water:color) of the Snakebite Leather brown.
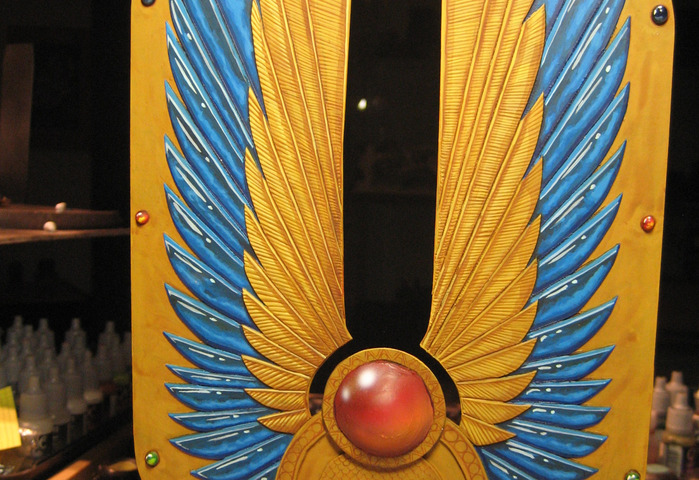
Step 8 / 20

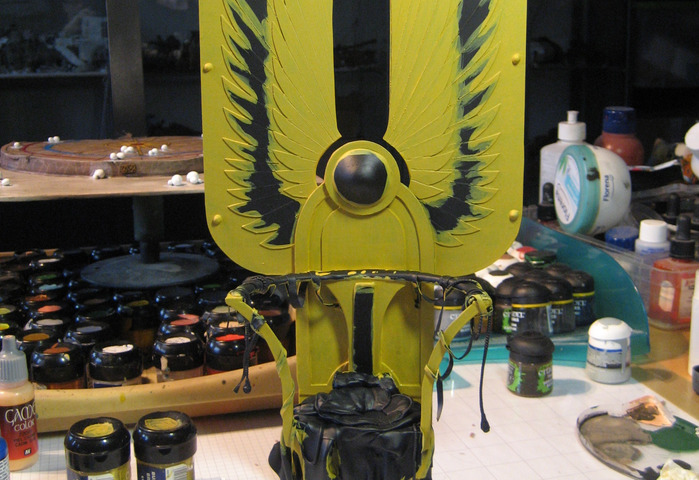
After the initial sepia shading with the wash, I started to create the balancing highlights.
First using the base color Bubonic Brown (since the base color is now darker form the wash, the base color is now "lighter") and then gradually using a mix of Bubonic Brown (GW) and Golden Yellow (GW).
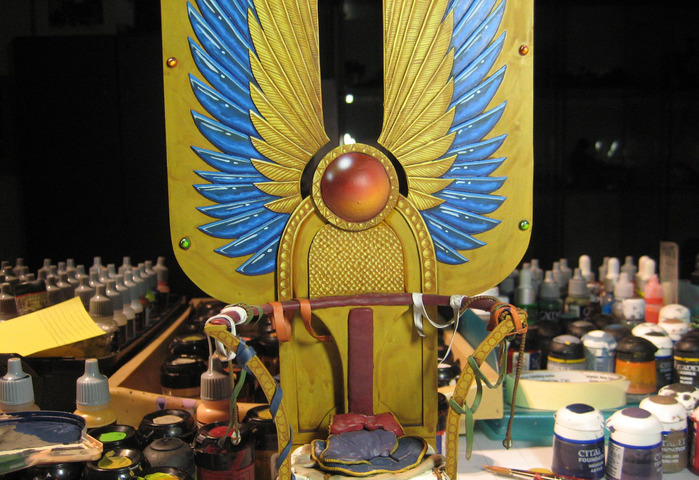
Step 9 / 20
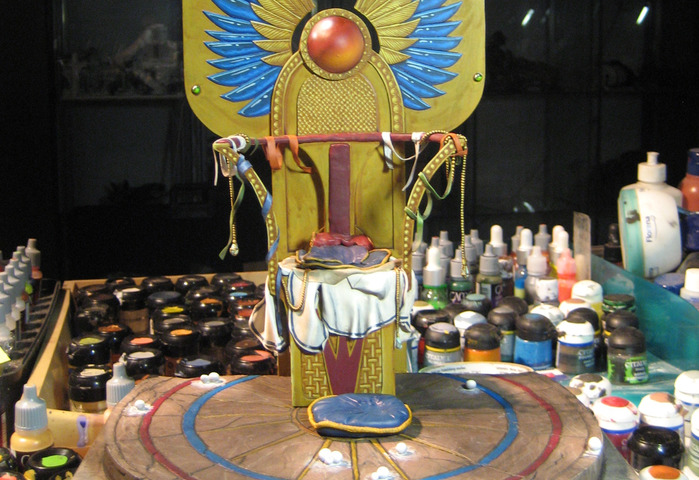
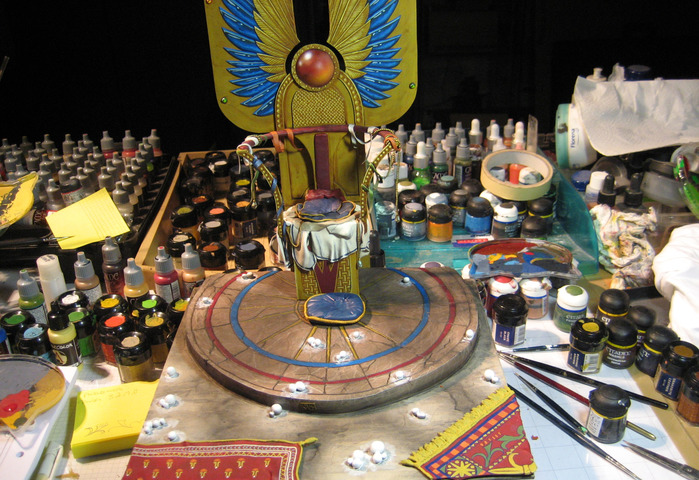
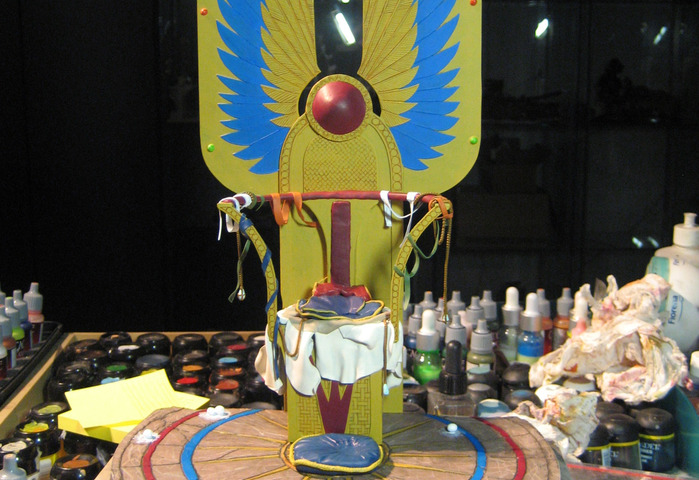
Final golden highlights were also added to the small golden chains as well as the cushions and drapes received their shades and highlights.
Then I painted the two rugs, adding small patterns.
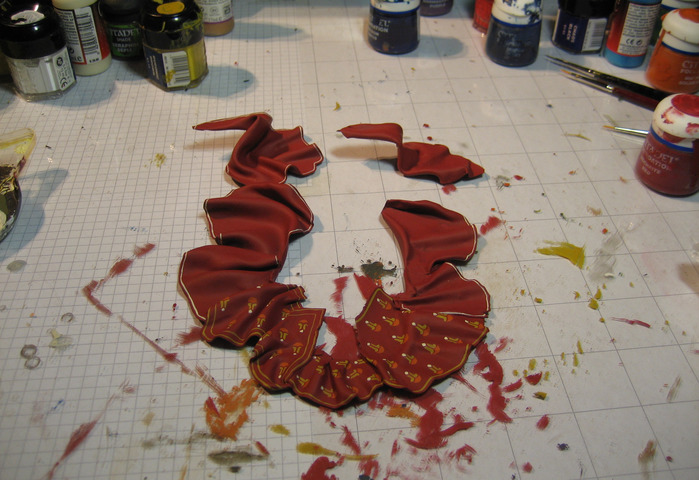
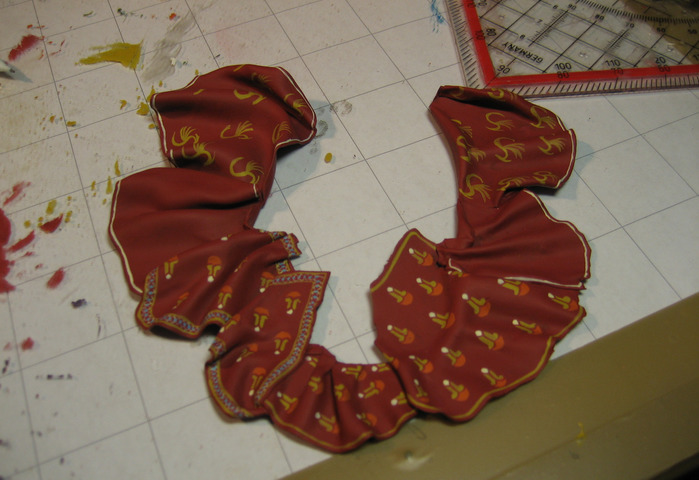
Step 10 / 20
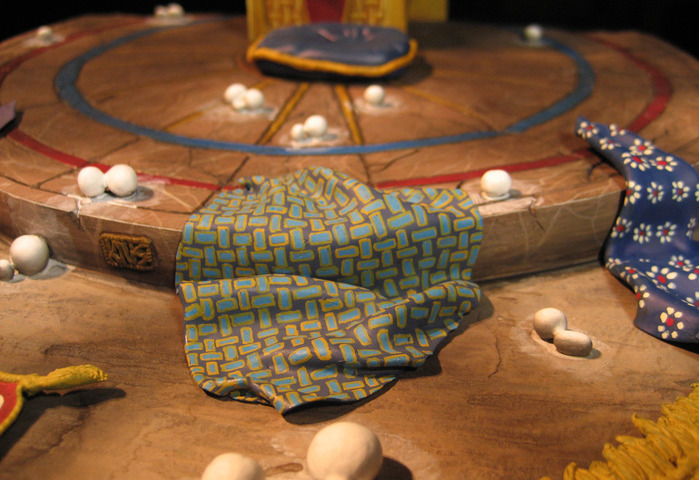
The central drape on the floor received a pattern that I imagined a lot easier, but proved to be very time consuming. However the result is worth every second.
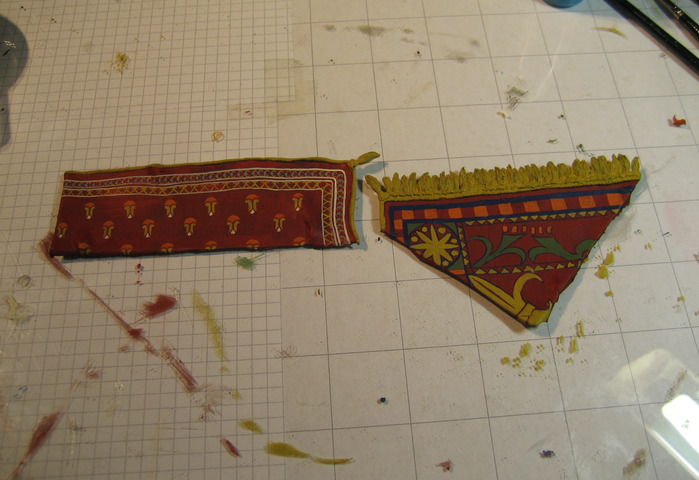
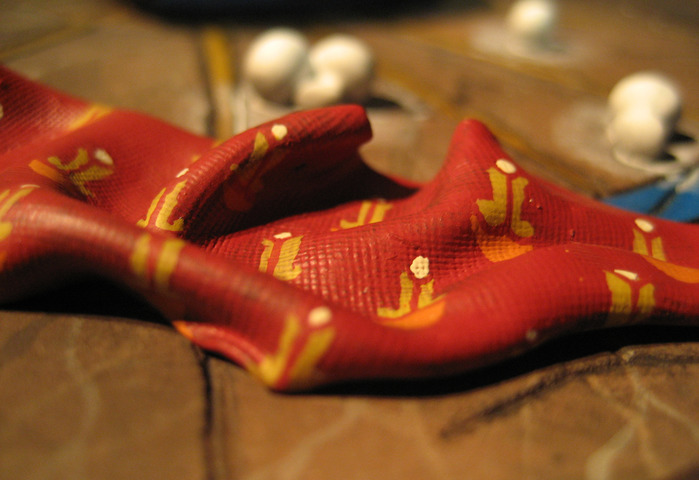
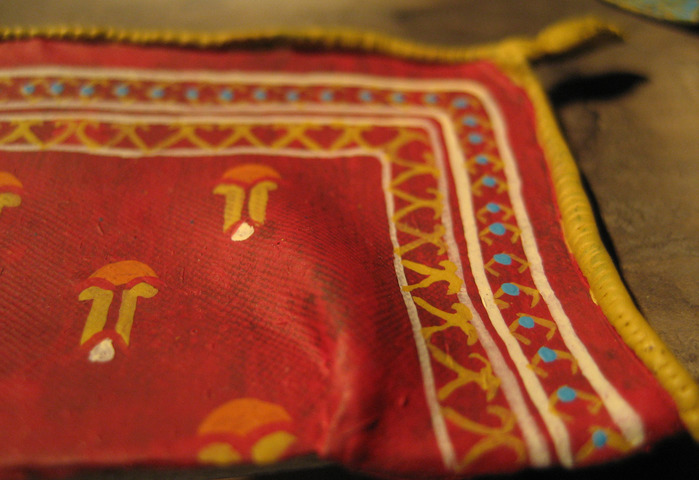
Step 11 / 20

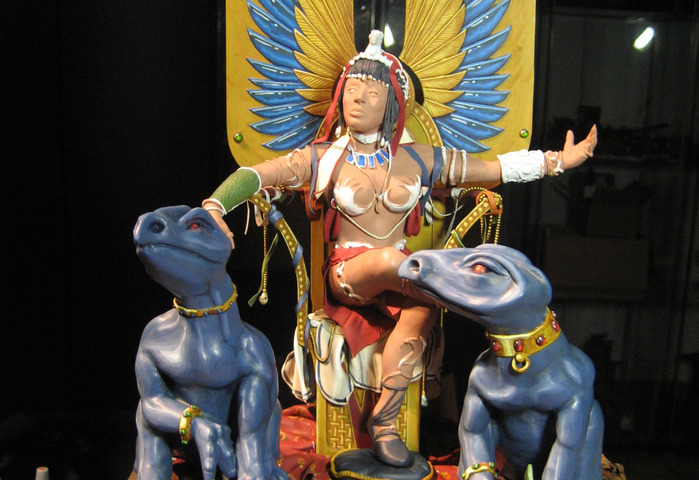
The central drapes on the floor - draped around the throne base - are now all red and received some patterns.
The central pattern is a stylized reed blossom, while the rear patterns are stylized dragons.
Step 12 / 20
The initial idea/design for the watch dragons was to have them bronze colored. So I started with a orange:brown mix as base color and blue eyes.
However the result didn't please me, so I scrubbed it all back off.
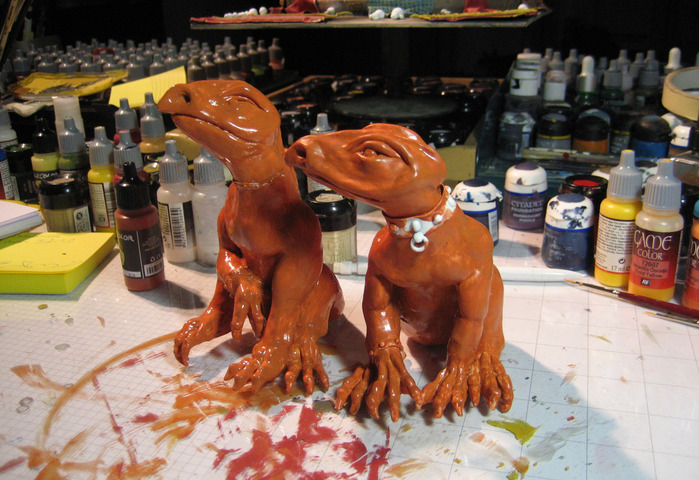
Step 13 / 20
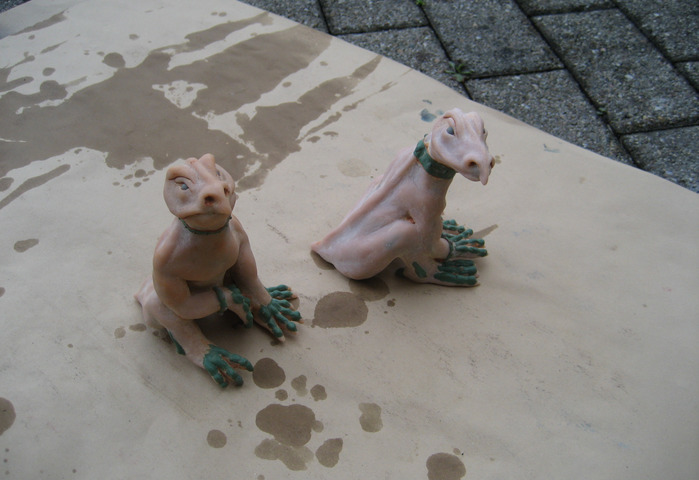
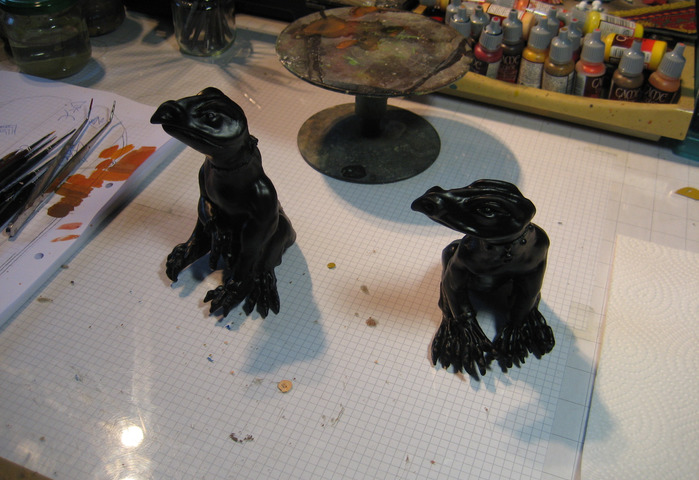
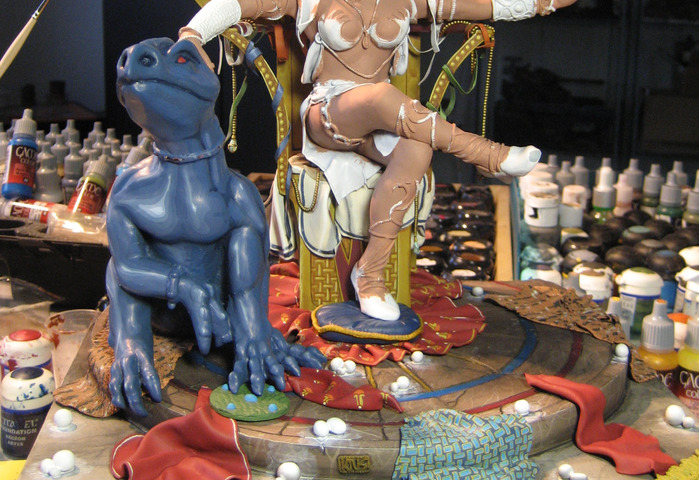
After I had scrubbed the two dragons clean, they got a matte black base coat (again car paint out of the pray can) and I gave them a blue base color - using Astronomican Grey from Citadel.
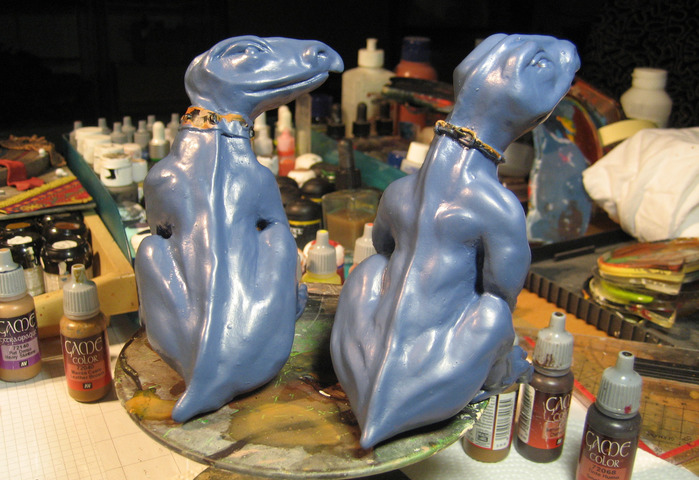
Step 14 / 20
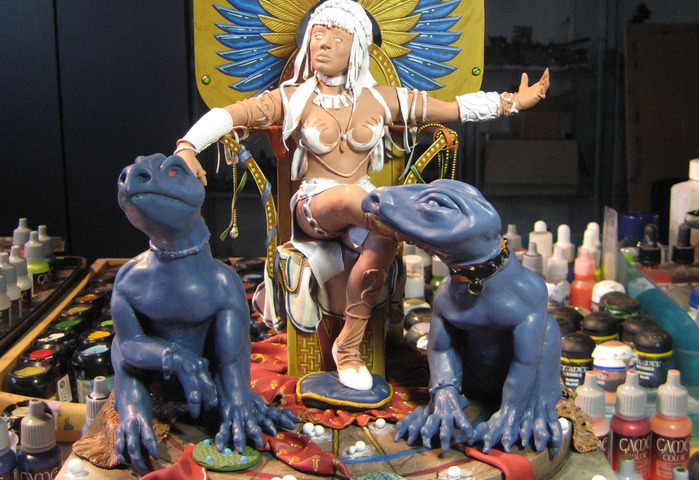
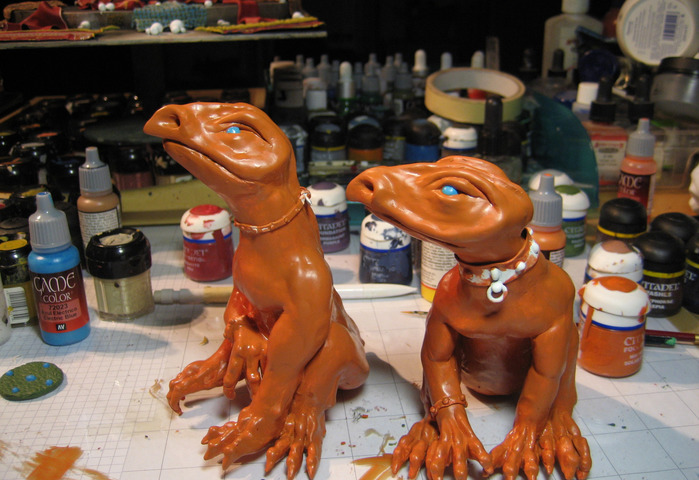
The blue color works a lot better in bringing the various colors of the scene back together.
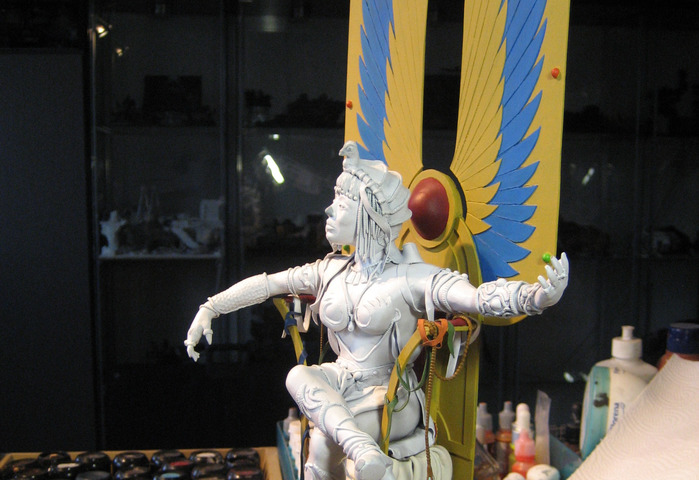
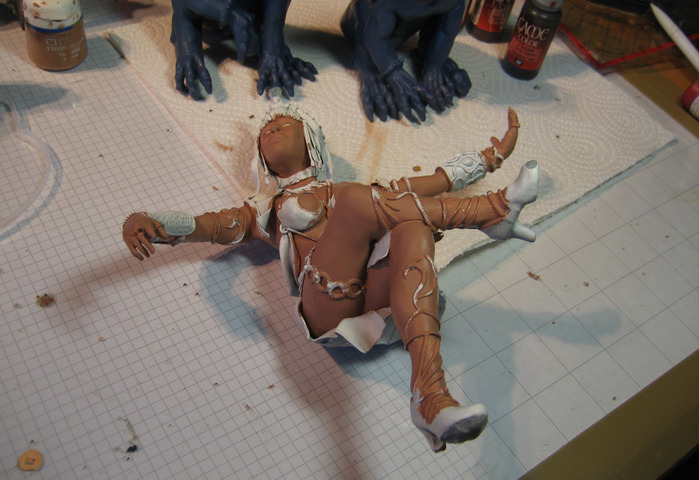
The Princess got a skin base color of Tallarn Flesh vom Citadel
Step 15 / 20
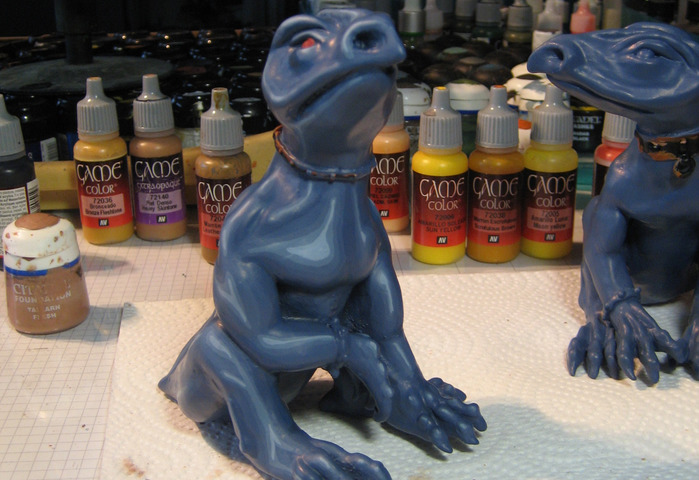
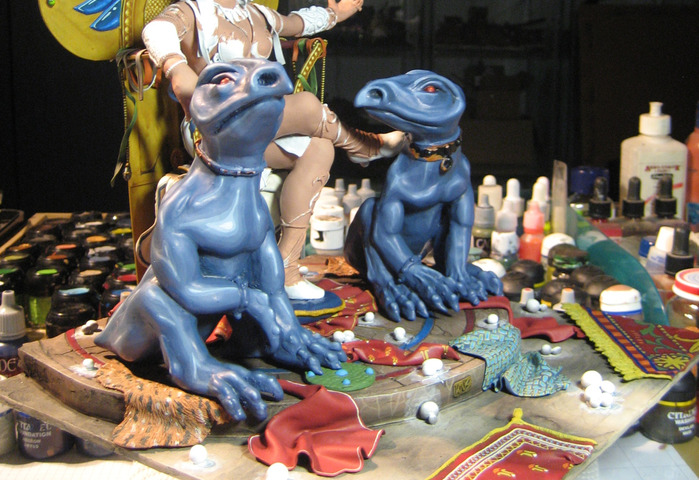
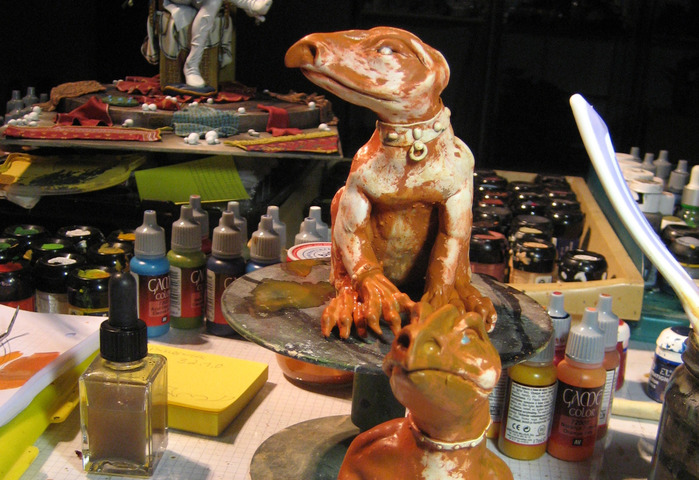
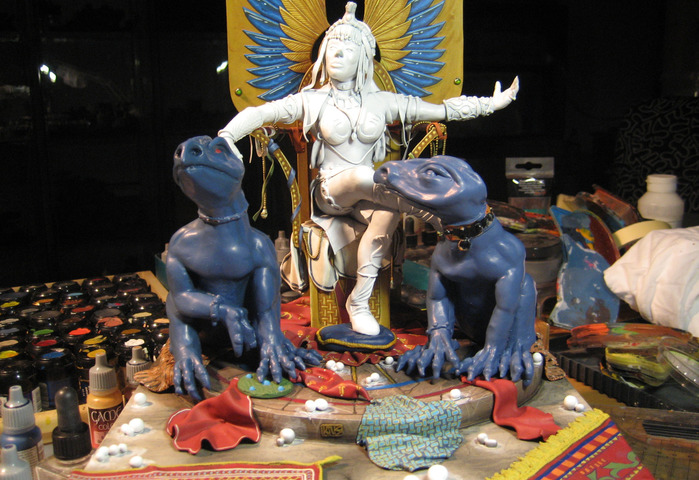
In several steps both dragons received their highlights and shades.
Since I wanted to create a very special light effect, I took several reference photos, with a fixed light source that helped me as a guide where to position the shadows and highlights.
Step 16 / 20
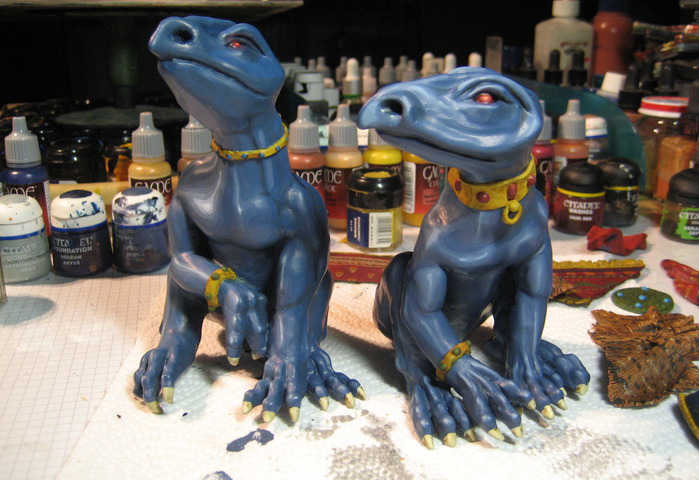
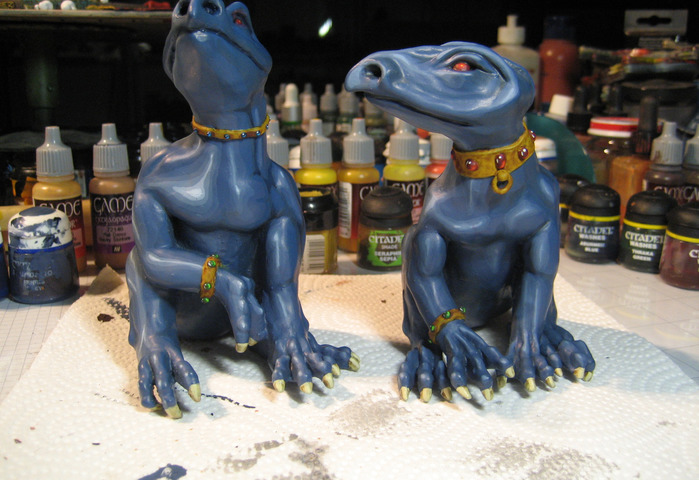
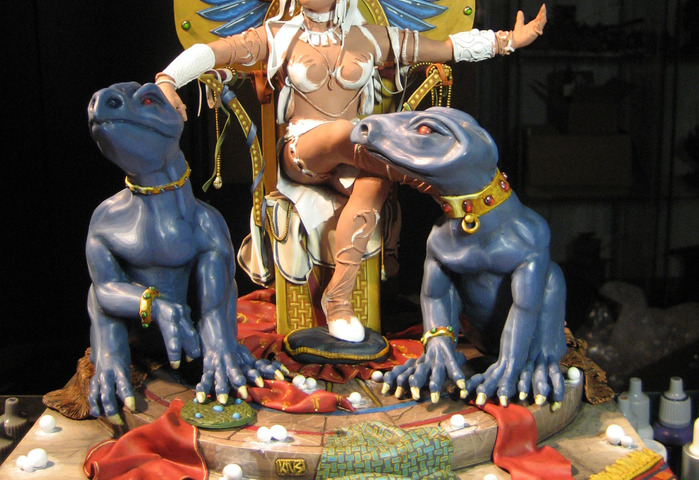
Once pleased with the dragon skin, I started to work on the golden collars and bracelets.
Again I started with bubonic brown as base, added several coats of the sepia wash to tone it down.
Then I painted the gems and finalized the golden items with the highlights.
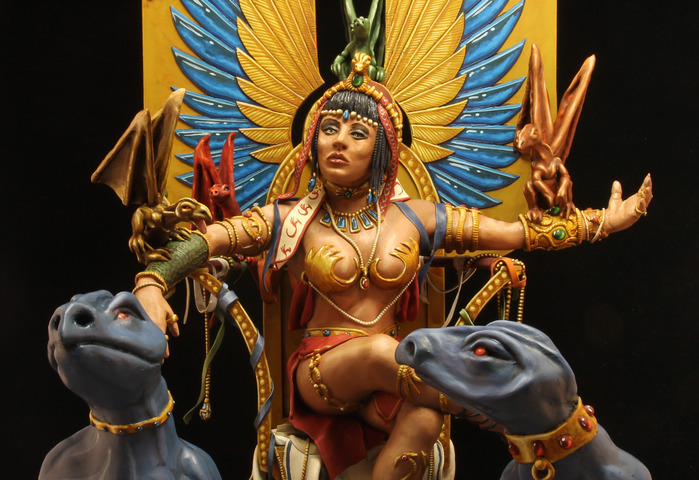
Step 17 / 20
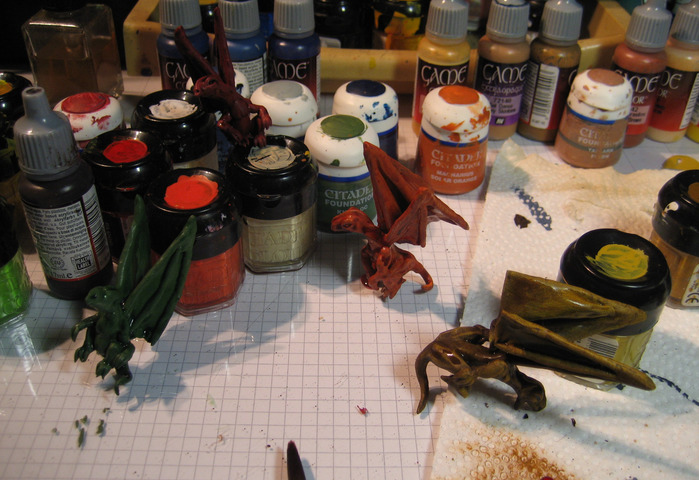
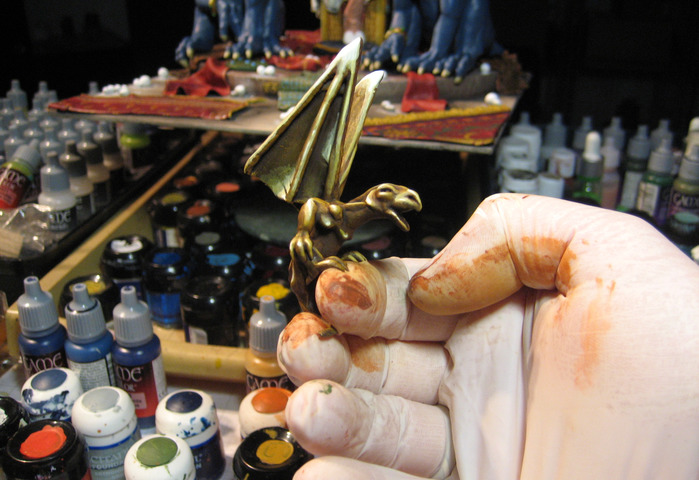
The next pieces were the little Fire-Lizards. In the books of the Dragonriders of Pern by Anne McCaffrey they are Golden (Queens), Bronze (big males), and green and blue.
However with the blue gem section on the throne wings, I decided to replace the blue color with a new red color type.
The first one was the little golden queen.
Step 18 / 20
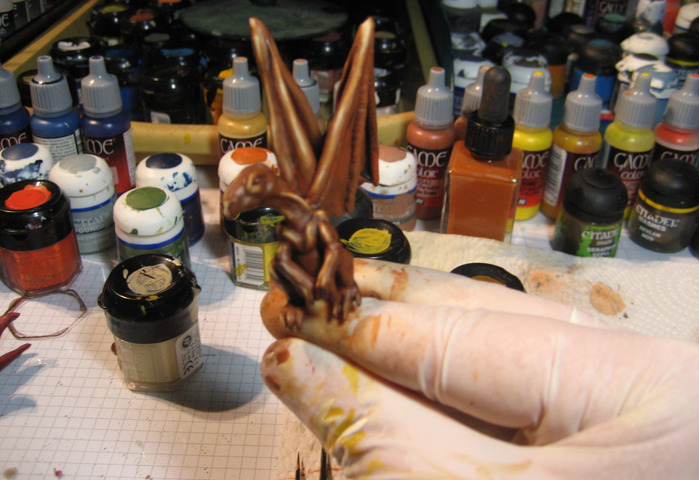
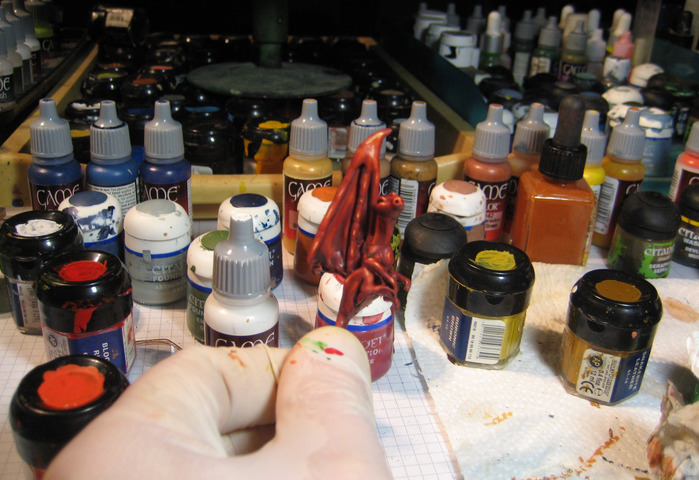
Then it wasa Bronze, Green, and Red
Step 19 / 20

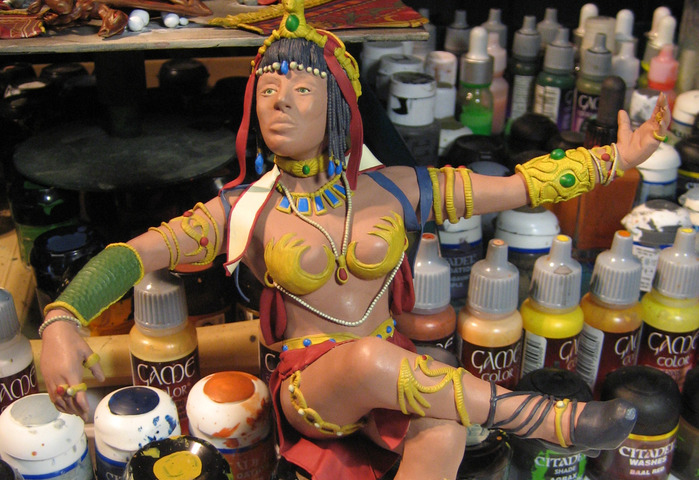
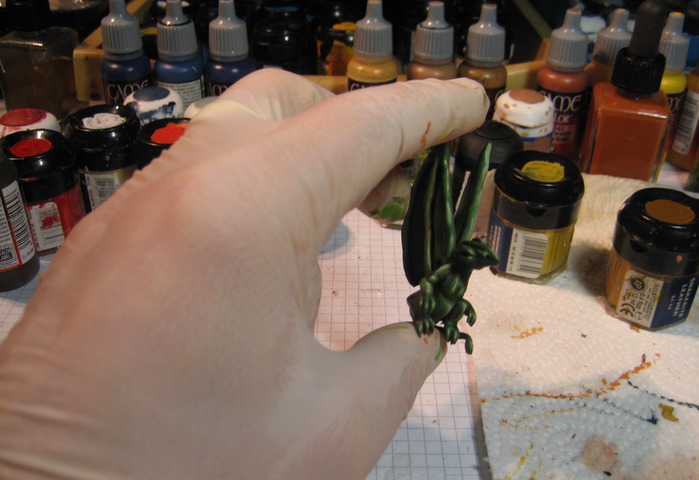
After the little Fire-Lizards were completed I started with the remaining itmes for the Princess.
Again starting with the base colors and then shading and highlighting.
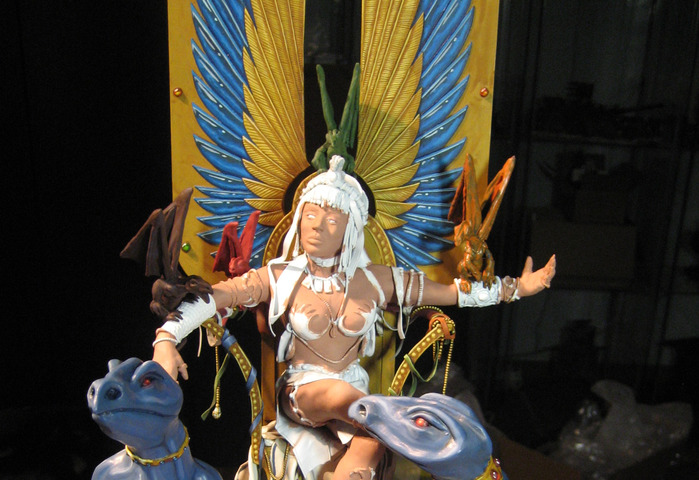
Step 20 / 20
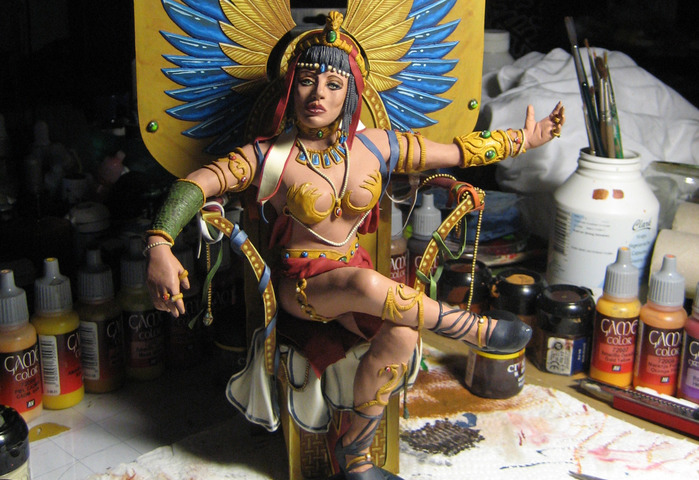

After all the base colors were applied I added some final patterns to her headgear and then added shades and highlights for the skin.
In the final step I applied the highlights to the gold.
Thank you for accompaying me through this little journey :)
We invite you to Join 1000+ artists from 43 countries

it is totally FREE and takes less then 45 sec !
Become a member and enjoy all the benefits
