Step 1 / 12
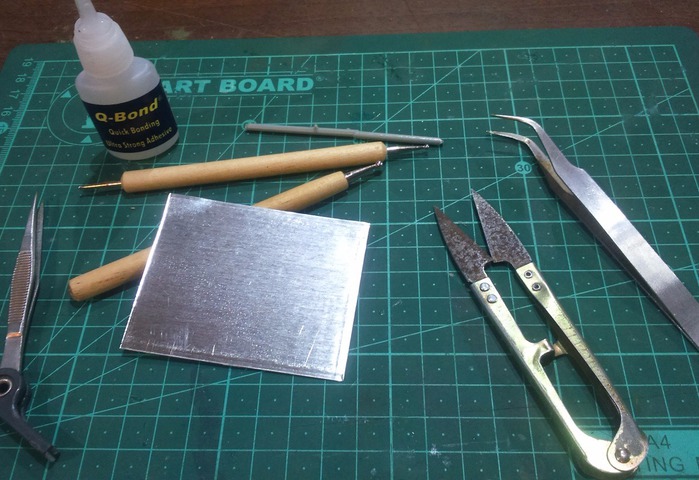
Before you start make sure you have all the tools and materials ready.
Step 2 / 12
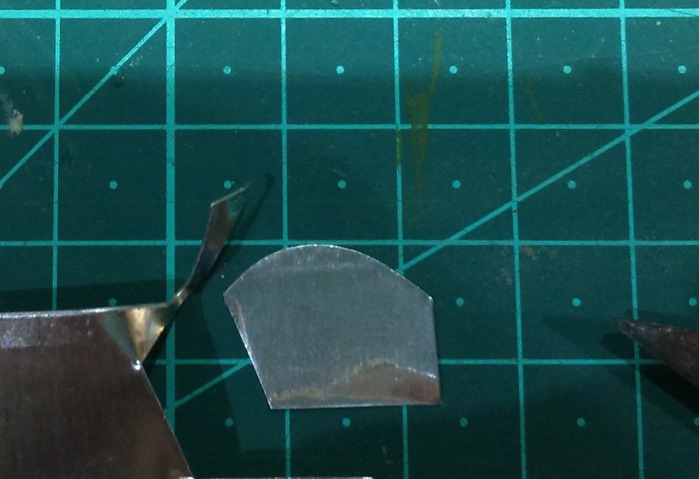
Using the pair of scissors, cut the pewter more or less to this shape.
Each block on this cutting mat represents 10mm x 10mm.
Step 3 / 12
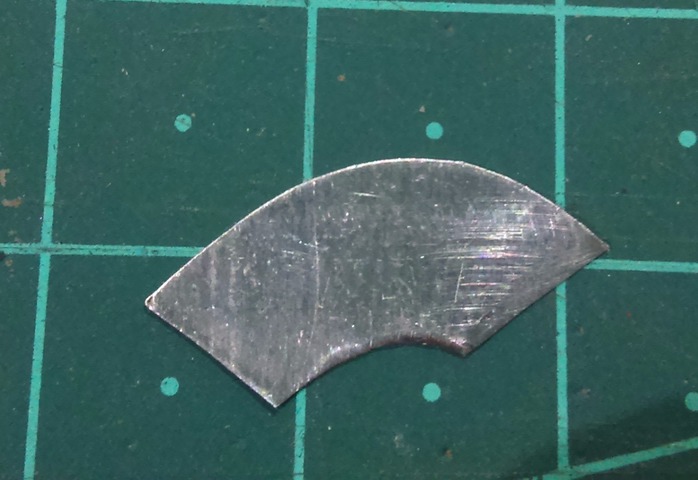
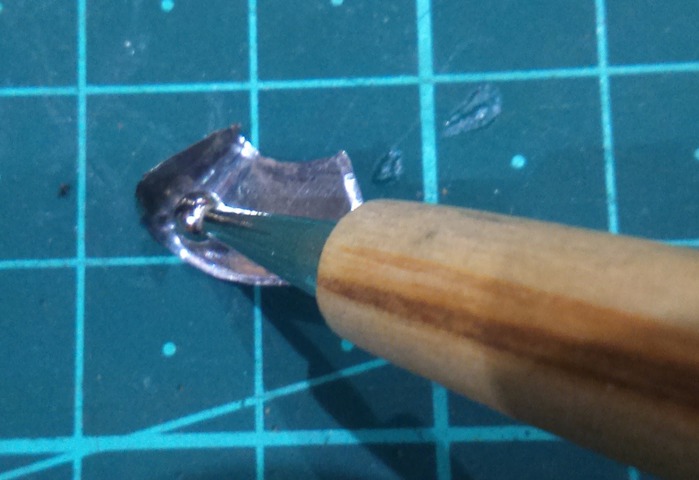
With the embossing tool, flatten the edges all around.
This thins out the edges for a better 1/35 effect.
Make sure to just work along the edges.
Step 4 / 12
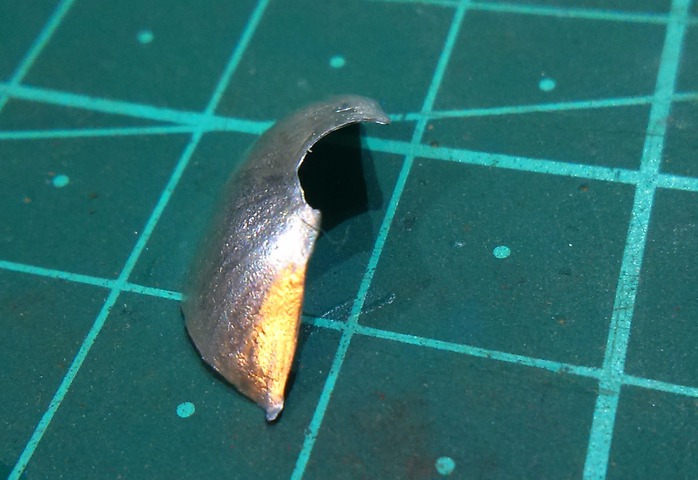
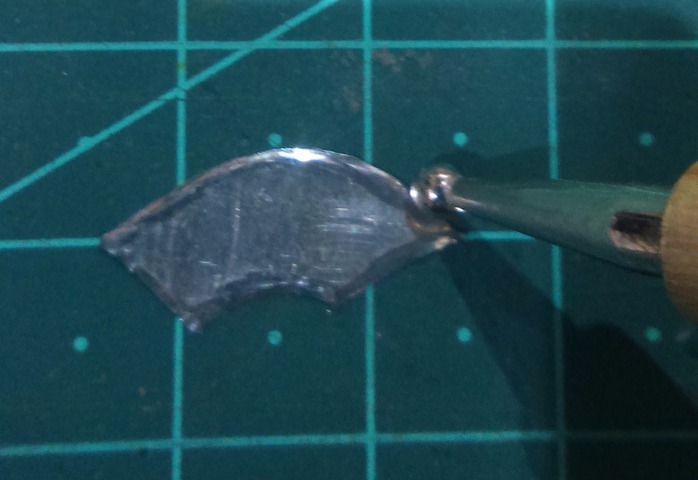
Now drag the embossing tool inside and perpendicular to the edges.
Make sure not to go over the edges that were embossed in the previous step, otherwise it will flatten the curly edge we want to create.
Once done it should look something like this when turned on its side.
Step 5 / 12

Turn the pewter over and repeat the embossing within the inside edges.
This step provides texture on the inside of the lily and it starts curling inwards, towards the correct shape.
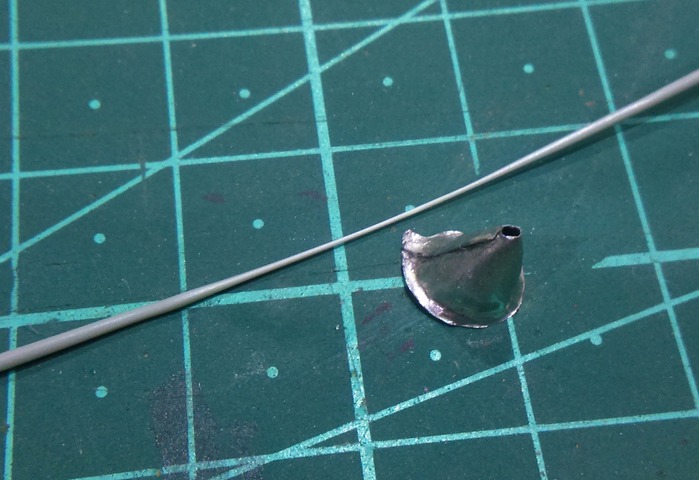
Step 6 / 12
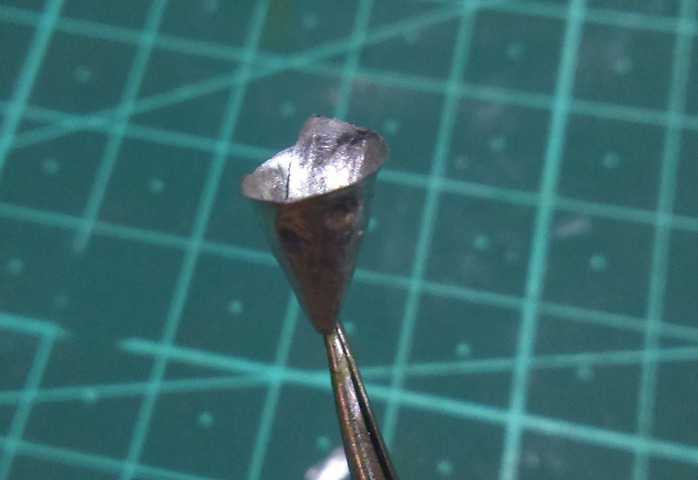
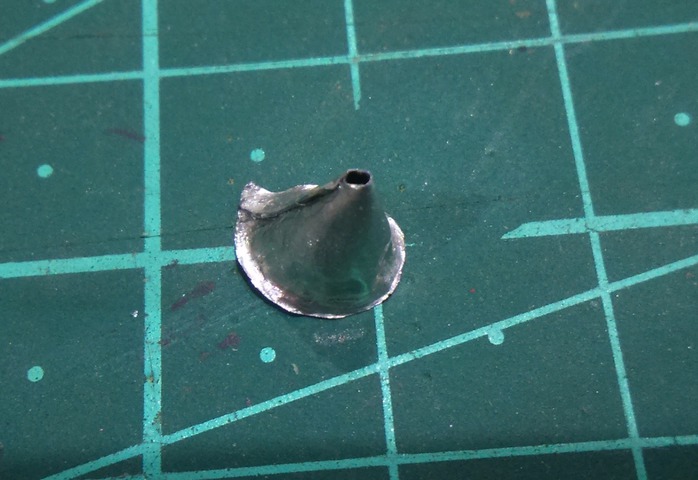
Shape the lily around one pair of tweezers by holding it at the bottom.
This step will keep a small hole for the stem at the bottom of the lily.
Using superglue, glue the loose overlapping edge onto the other.
Step 7 / 12
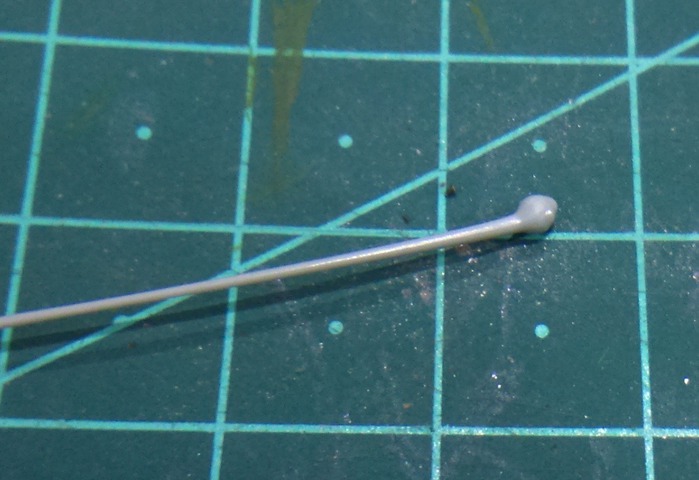
Stretch a piece of sprue over heat to make the stem and stamen.
Now is also a good time to melt the end of another stretched sprue to create a lily bud.
Step 8 / 12

Cut the stretched sprue, test if it fits through the hole in the bottom of the lily.
Put a dab of superglue on the stem where the lily's base will be, and slide the lily onto the sprue from bottom to top.
Cut the stamen to the correct length.
Step 9 / 12
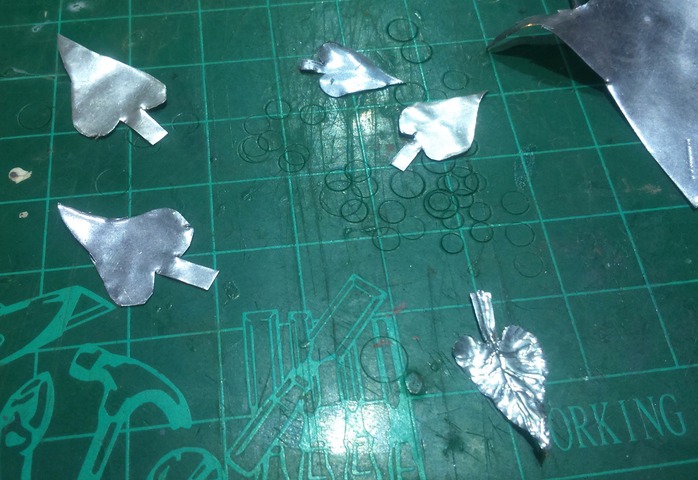
The leaves are made by cutting longish heart shapes out of the pewter.
Scribe the veins and leaf texture in with various sized embossing tools.
Step 10 / 12
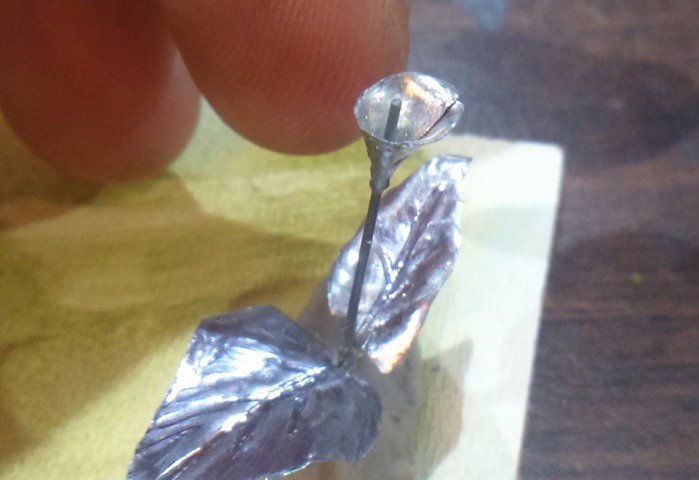
Glue the leaves onto the stem with superglue.
Two leaves per stem should suffice, as lilies grow in bunches, creating the effect of more leaves once put together.
Step 11 / 12
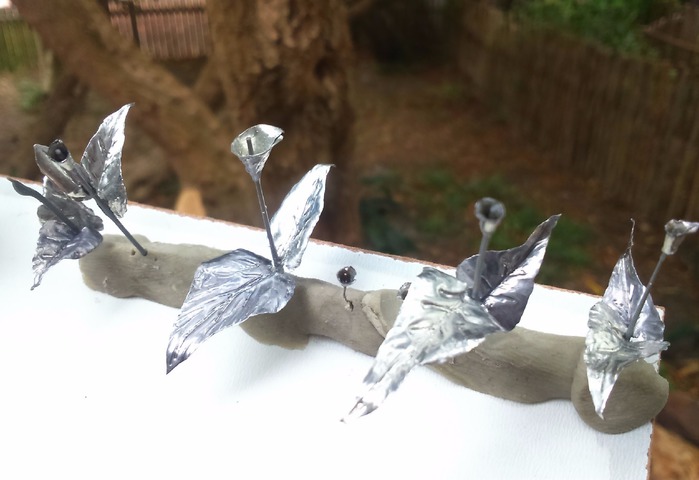
Place the completed lilies onto a small board using clay.
Airbrush the appropriate colours.
I hand painted in the stamen.
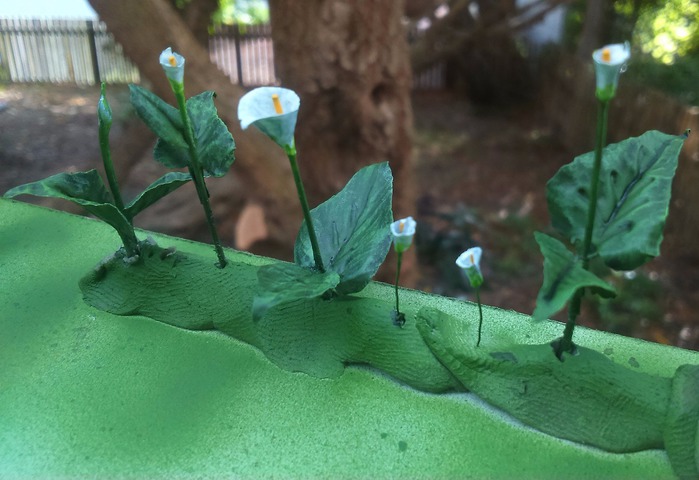
Step 12 / 12

Glue your completed lilies into position and keep them together as clumps.
We invite you to Join 1000+ artists from 43 countries

it is totally FREE and takes less then 45 sec !
Become a member and enjoy all the benefits
