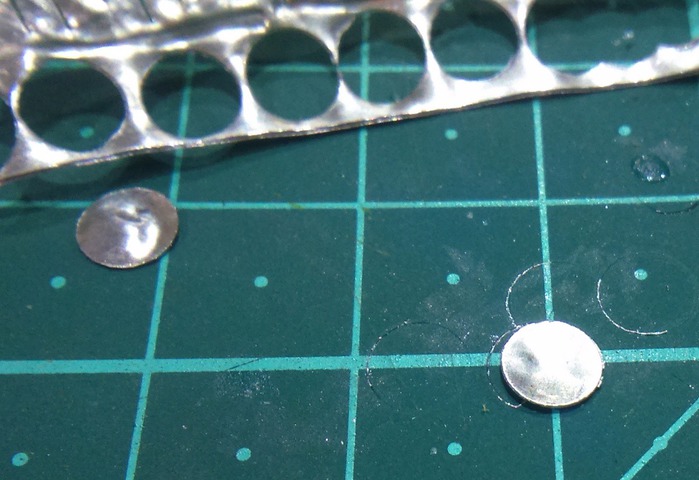
Step 1 / 11
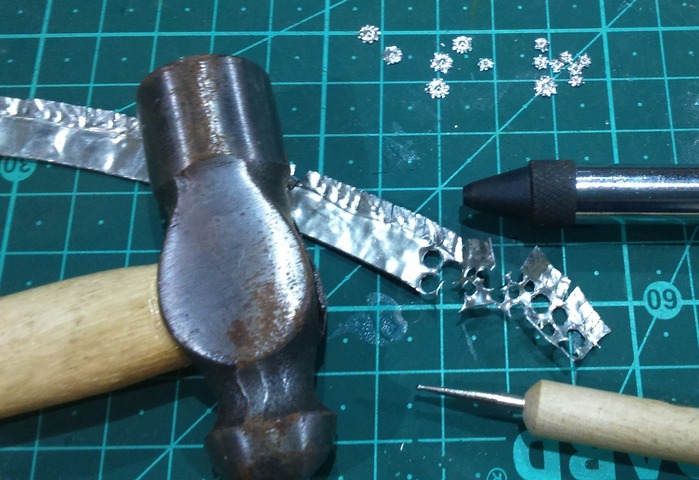
Get the pewter, cutting mat and a 2 and 3mm dia punch with hammer ready
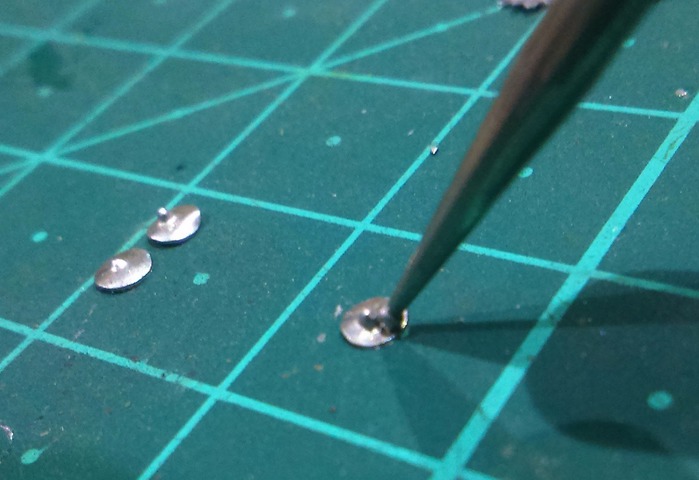
Step 2 / 11
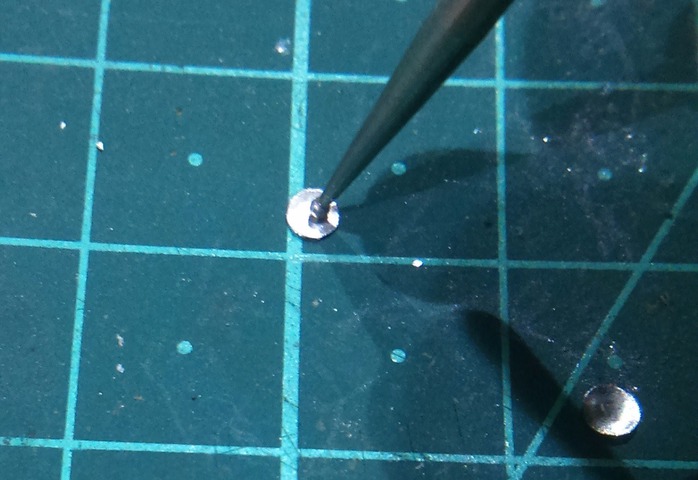
Use the smallest embossing tool and press it into the centre of the disk.
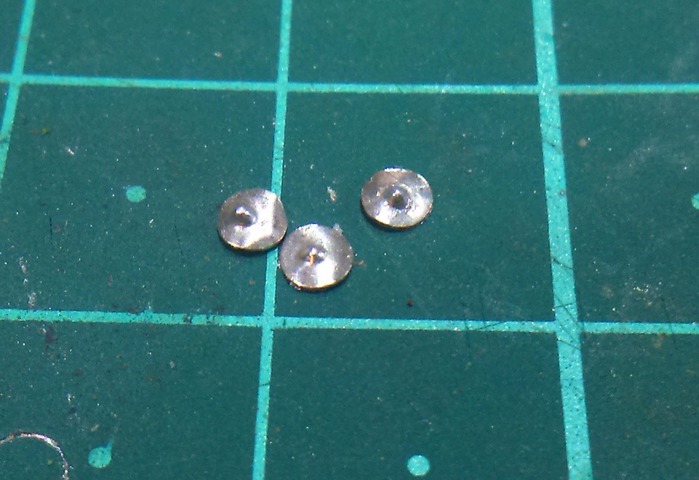
Step 3 / 11
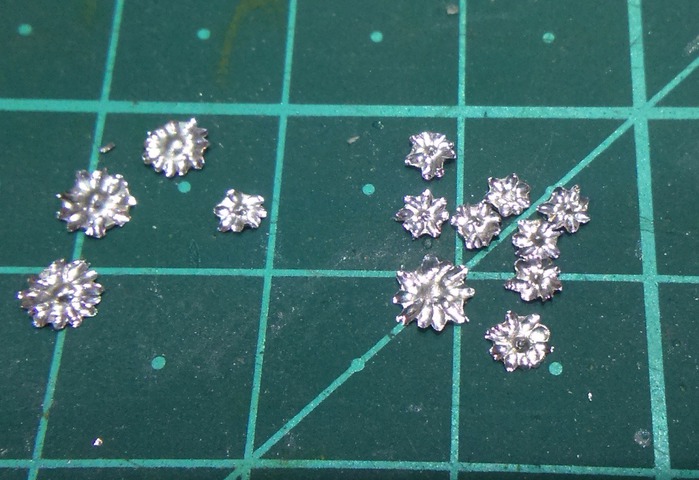
Turn the disk over.
With a slightly bigger embossing tool, pull "petals"outwards from the centre.
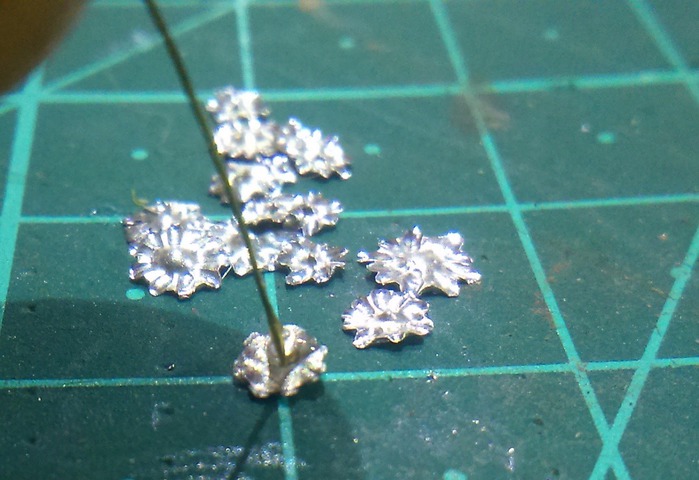
Step 4 / 11
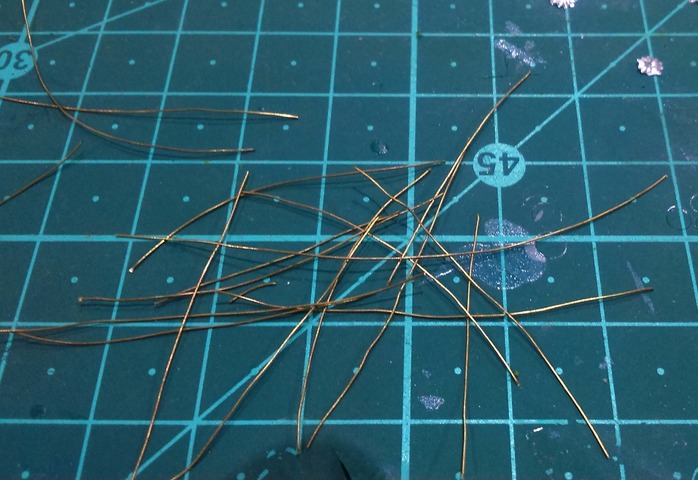
Cut several bits of copper or brass wires.
I like to keep them quite long at this stage, as it makes it easier to handle.
Turn the disk over again and use a dab of superglue to glue the stem into the flower.
Step 5 / 11

I place the completed flowers into a strip of modelling clay on a piece of board for easier airbrushing.
Step 6 / 11
With a 5mm dia punch, punch out some more disks for leaves.
These disks will be used to make 3 or 4 leaves each.
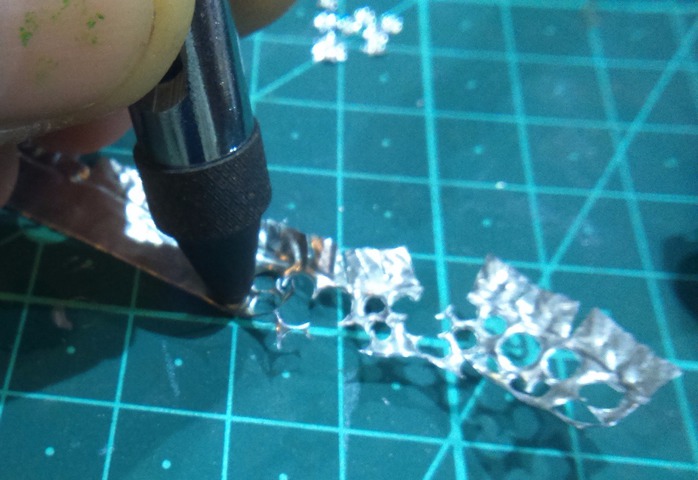
Step 7 / 11
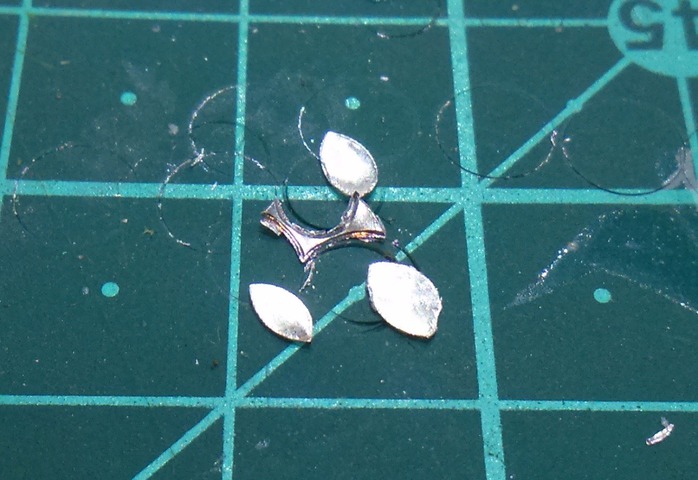
Take a 3mm and 4mm punch and punch along the outside rim of the 5mm disk. This will provide 3 to 4 leaves per disk.
Emboss the back of each leaf with a large embossing tool to make the leaf curl.
Step 8 / 11
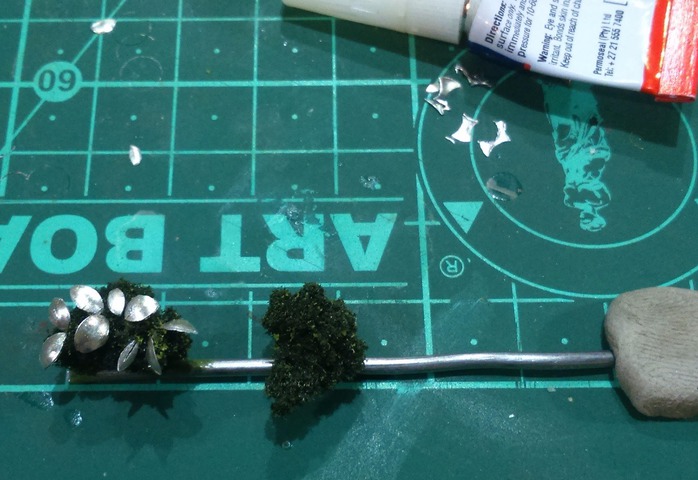
To facilitate easier airbrushing, I glue the foam onto a rod, and then glue the leaves onto the foam.
Step 9 / 11
Airbrush the stems and leaves in a range of green colours.
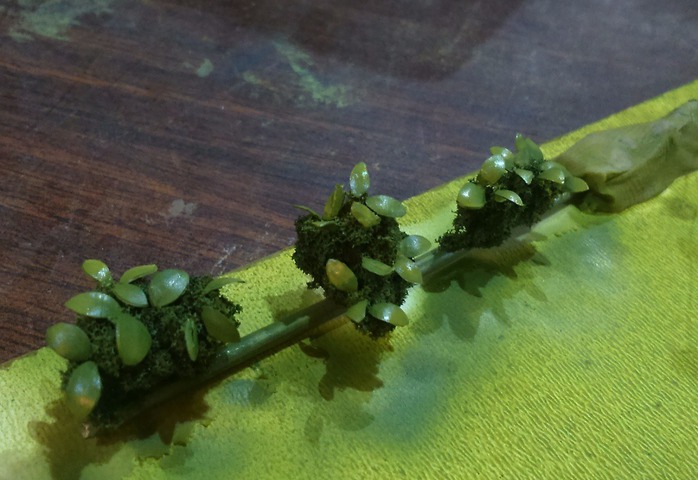
Step 10 / 11
Airbrush the flowers and hand paint in the central stamen area.
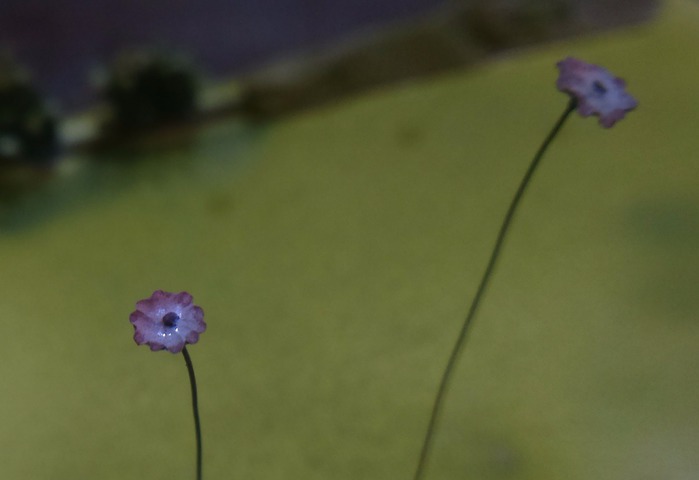
Step 11 / 11

Glue them onto your diorama.
We invite you to Join 1000+ artists from 43 countries

it is totally FREE and takes less then 45 sec !
Become a member and enjoy all the benefits
