Step 1 / 20
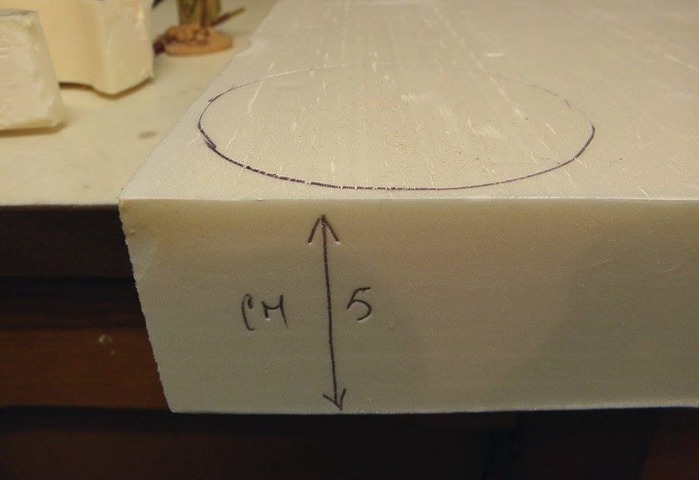
I am using an extruded polyurethane with thickness of 5 cm
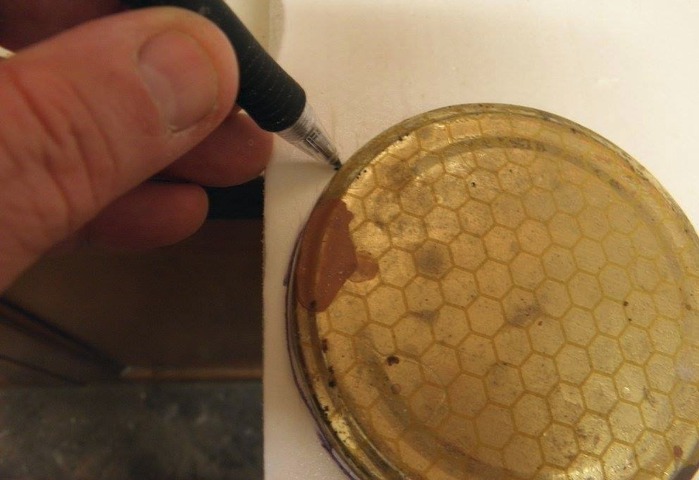
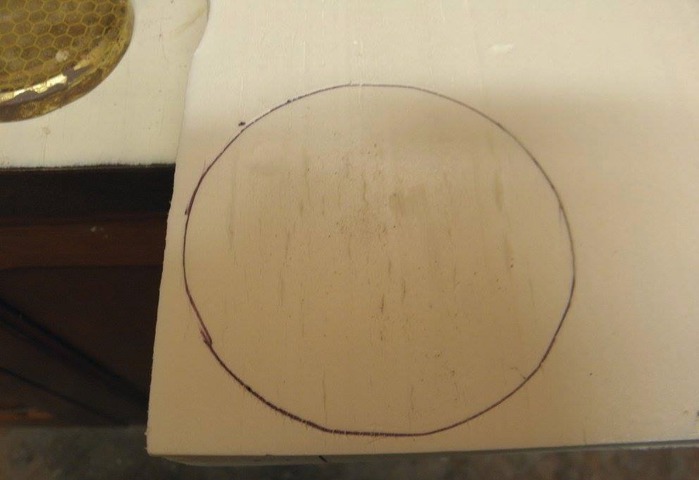
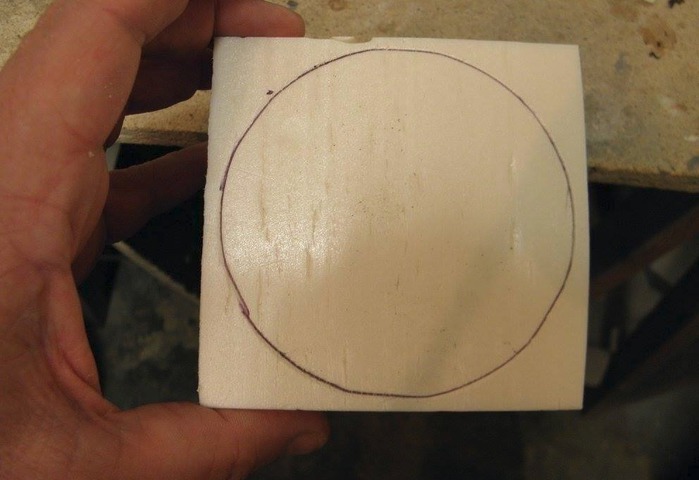
Draw a circle using any tool you want ( I use the cover of a jar )
Step 2 / 20

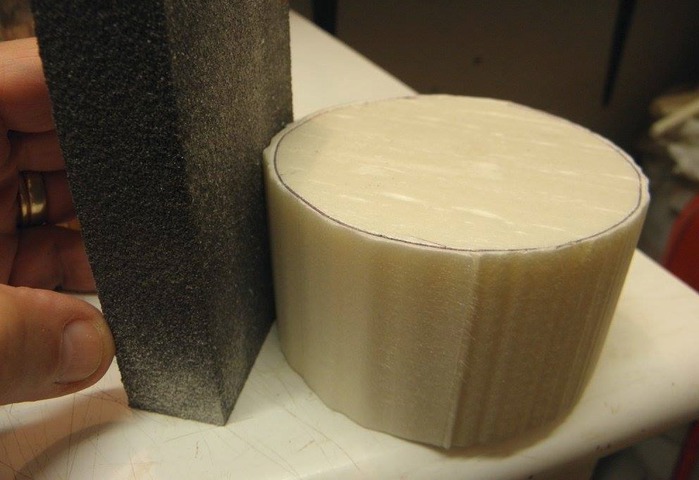
I am using a HOT wire to cut the shape, first I cut to a cube and then I cut the shape
After the hot wire, use Sand paper to make it smooth
BE CAREFUL with the HOT wire !!! not to cut any finger...
Step 3 / 20
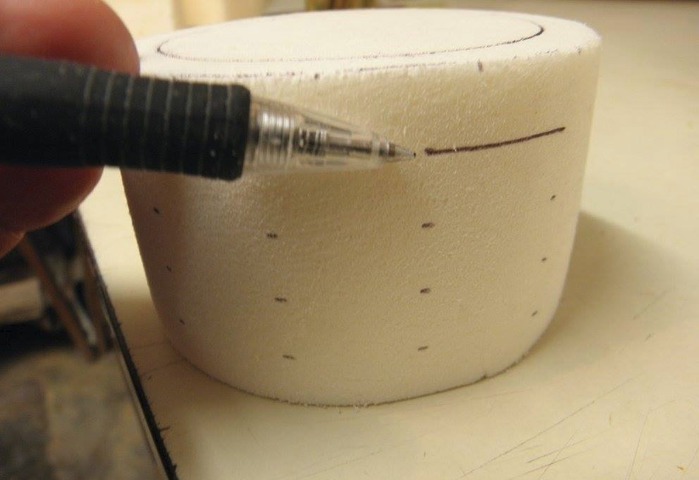
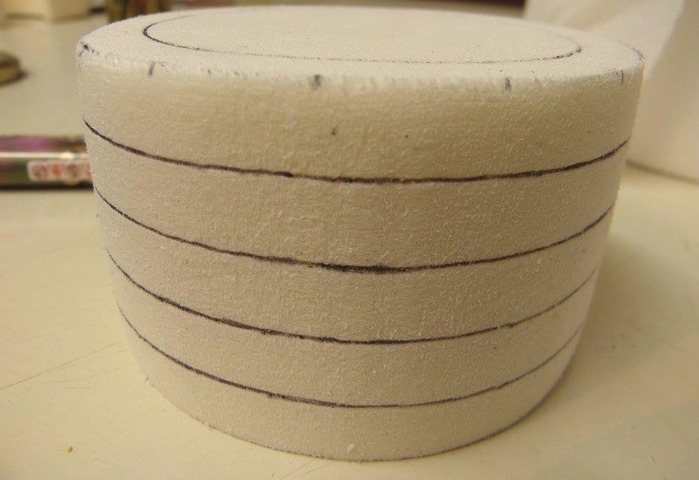
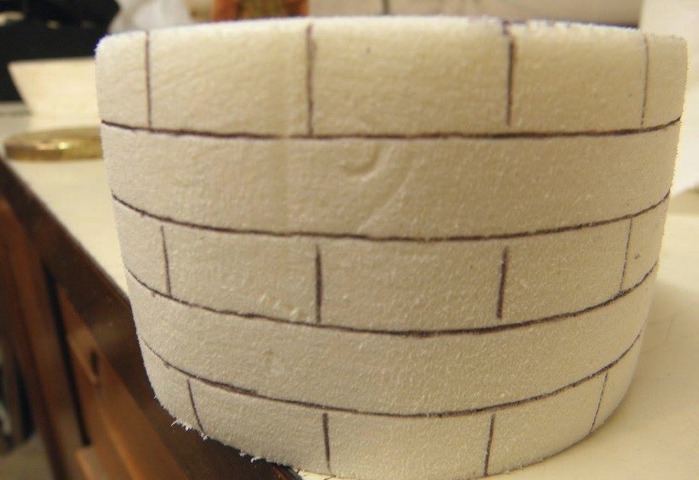
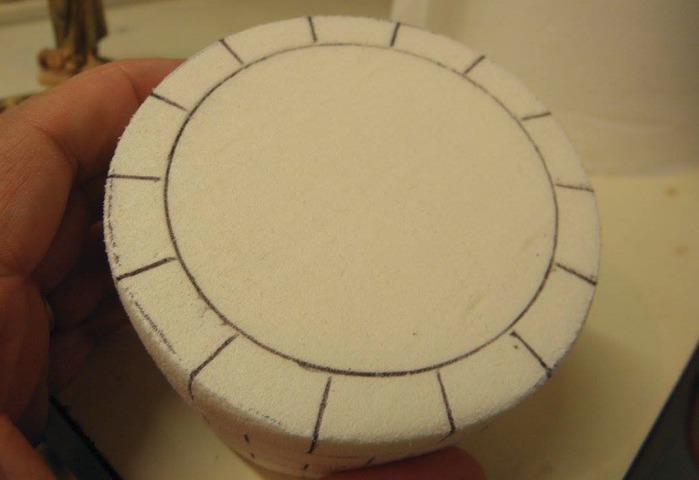
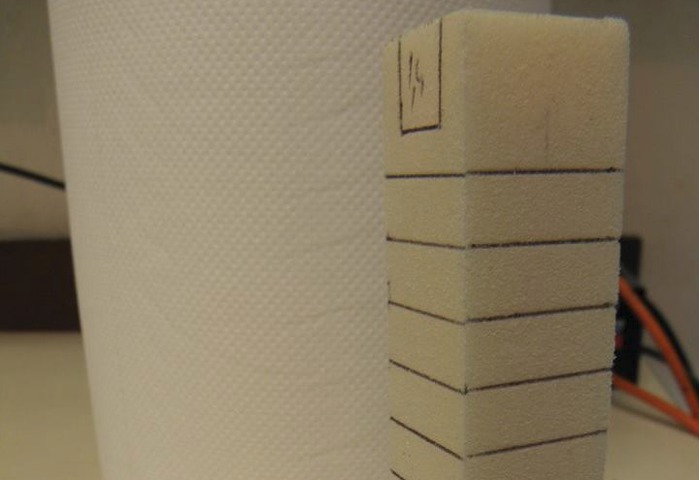
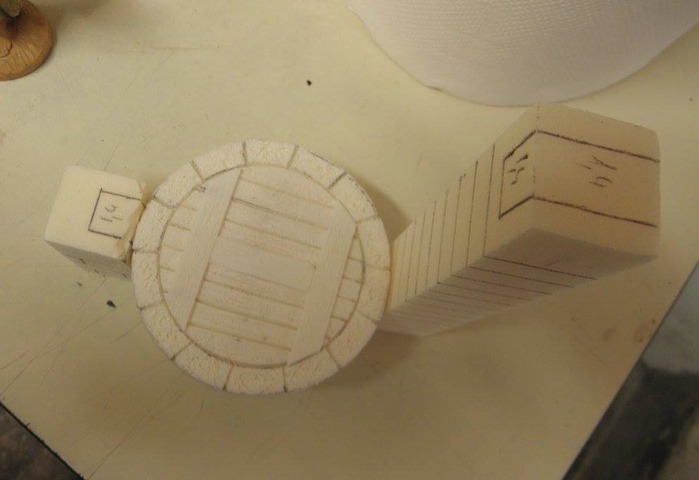
Mark around points in equal spaceing
Connect the dots to have the lines
Step 4 / 20
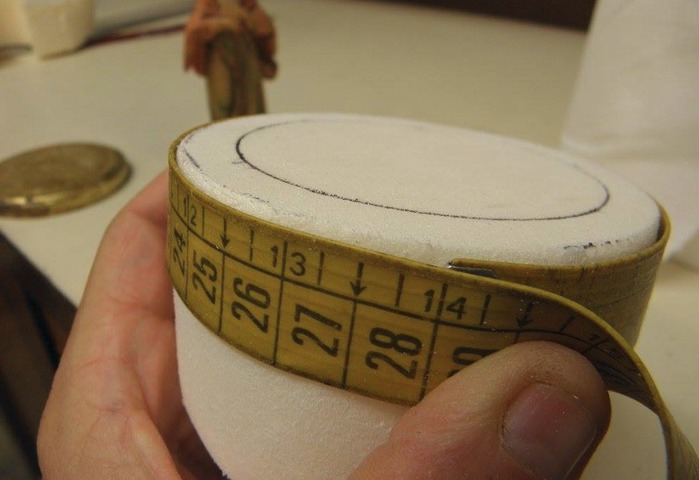
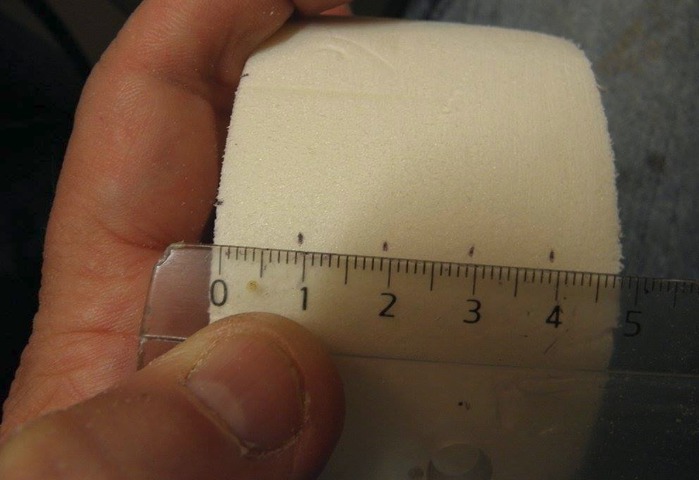
With a tape measure we measure the diameter (in this case, 28 cm )
mark the vertical lines of the stones on the sides and also on top
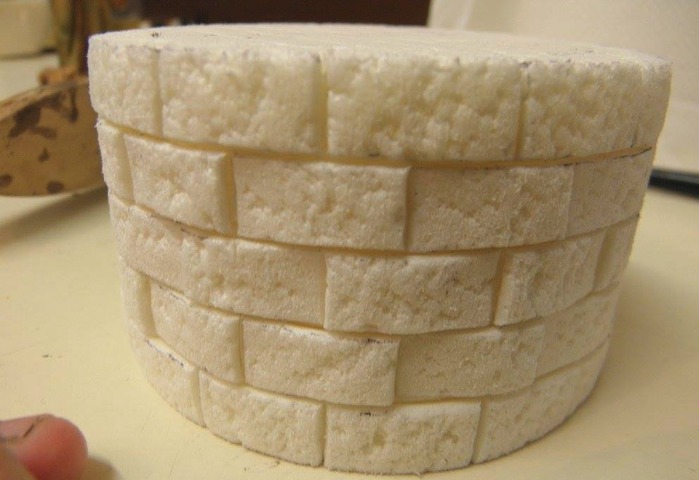
Step 5 / 20
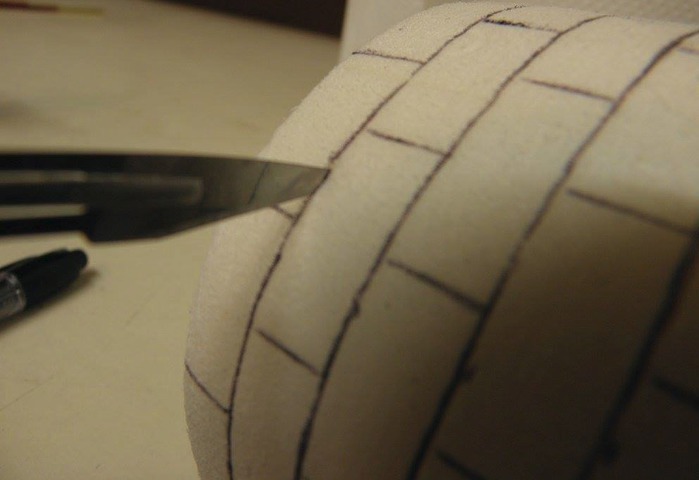
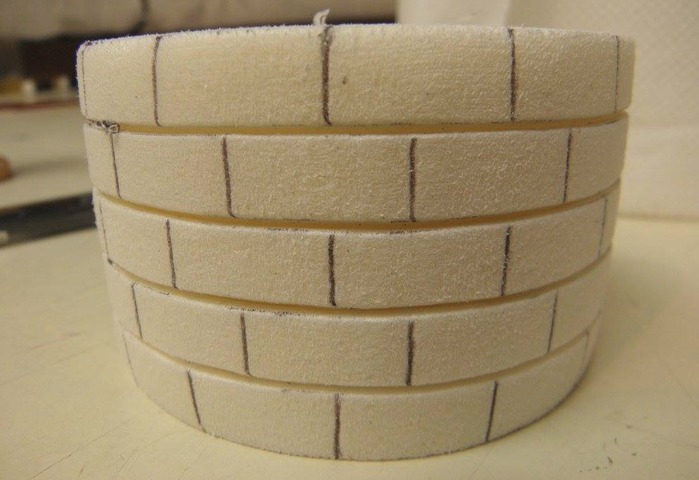
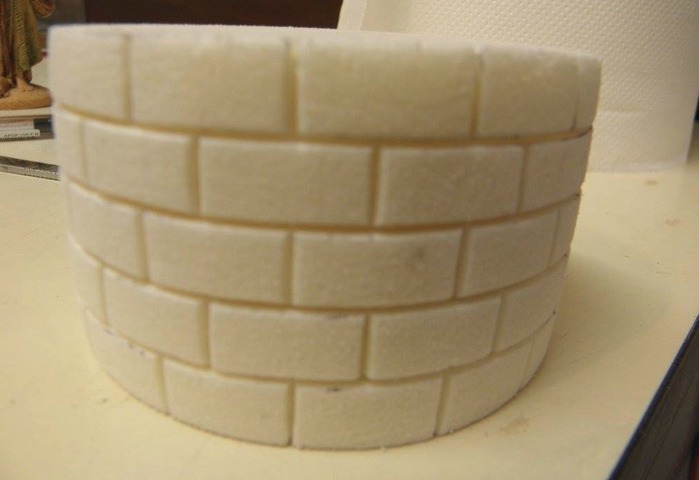
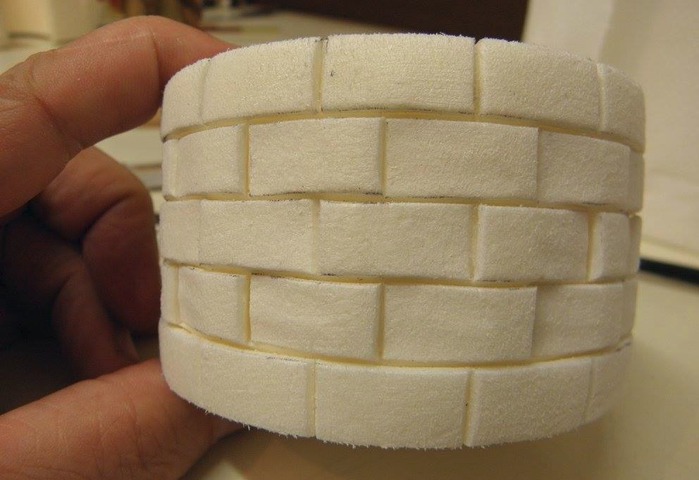
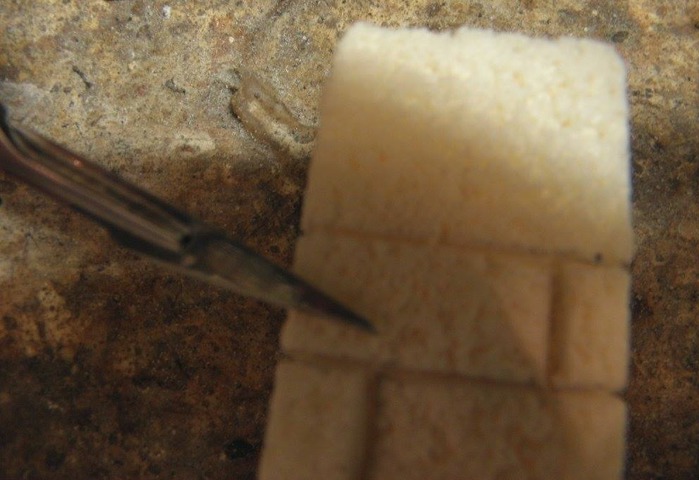
Use the knife to cut the spaces between the stones
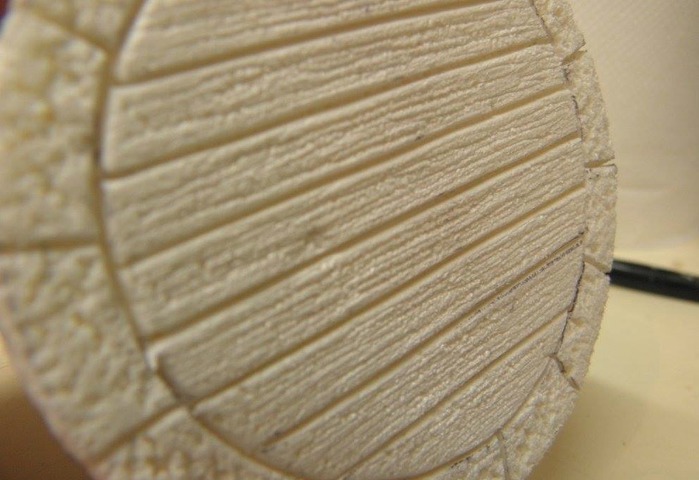
Step 6 / 20
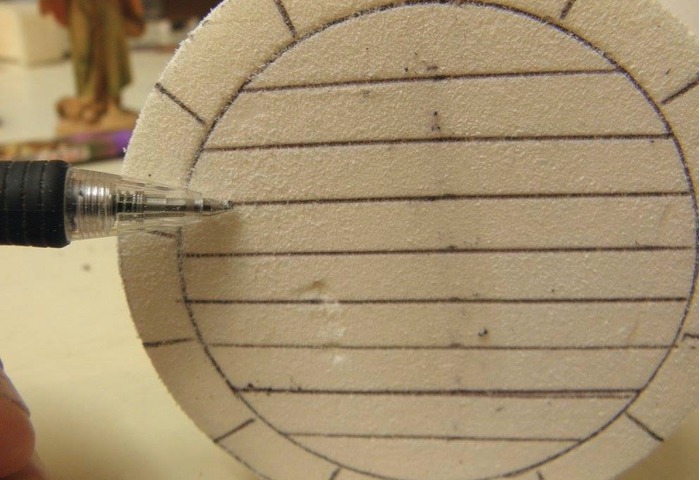
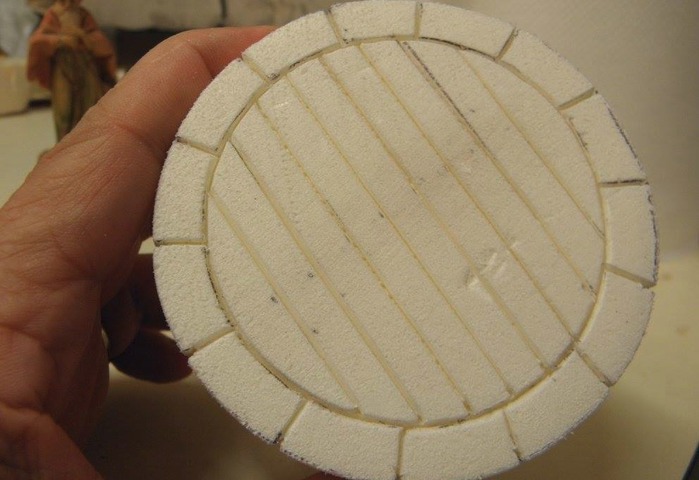
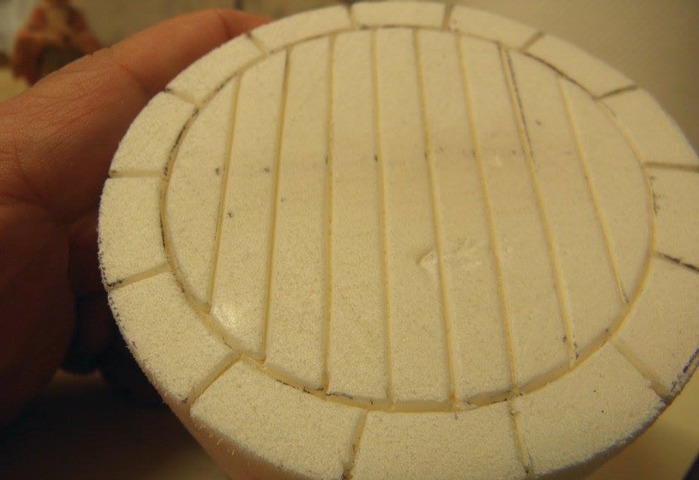
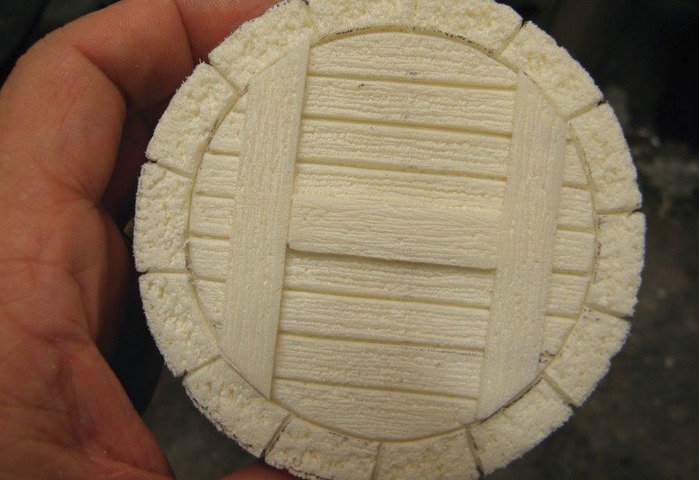
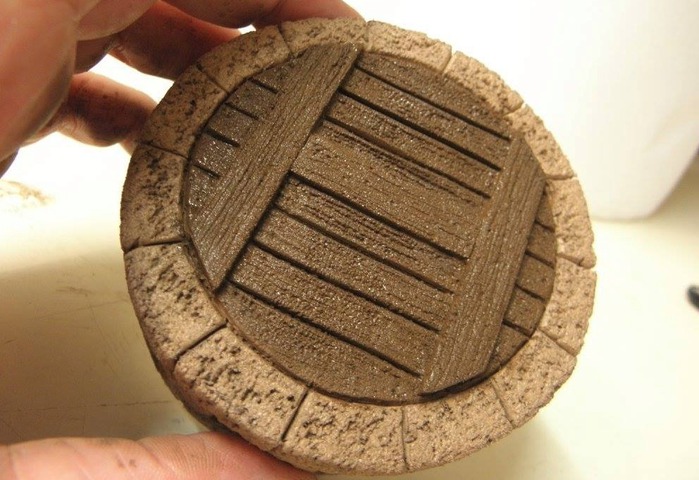
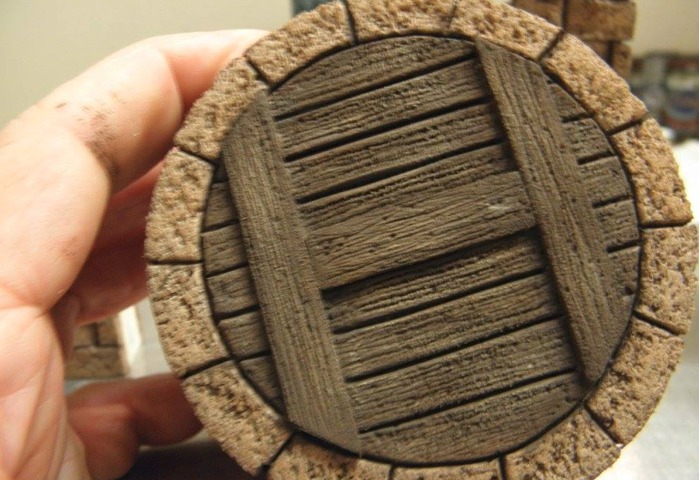
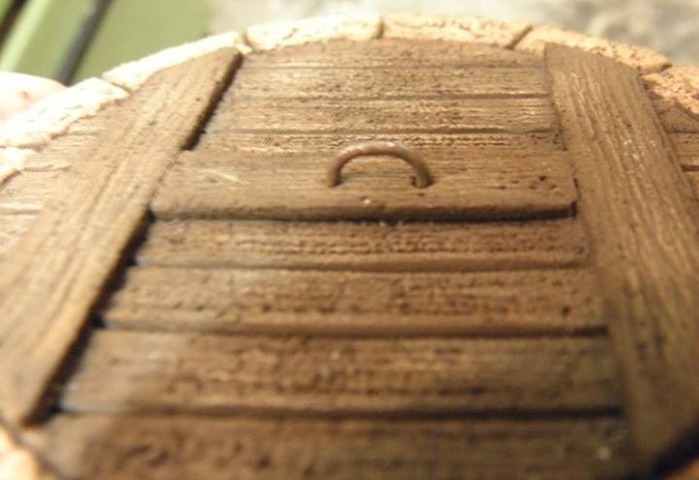
In this step we will create the cover of the well
Measure and mark the lines with a pen
Use the knife to create the spaces
Step 7 / 20
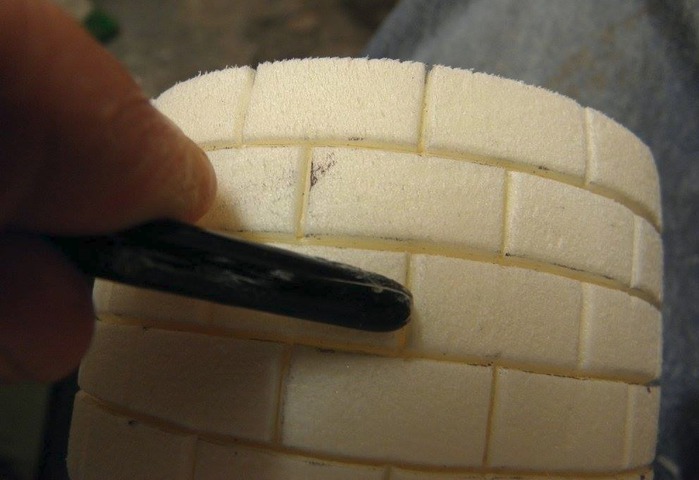
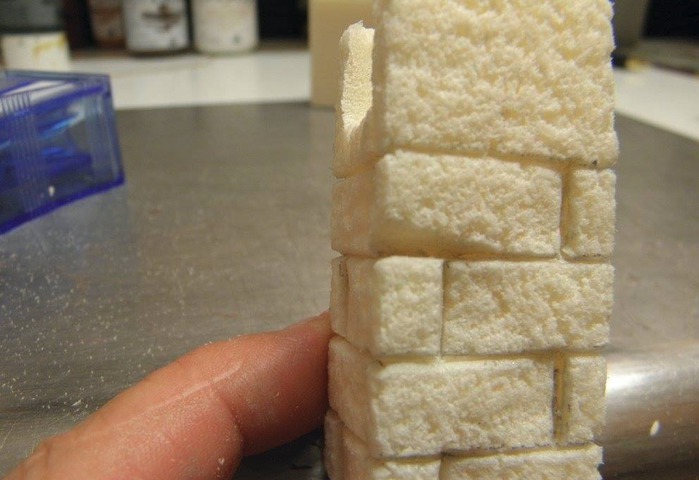
Use any tool you want ( even the other end of the brush ) to press, so it will seem like the stones are NOT perfectly built but rather old
The material we are using ( extruded polyurethane ) is not elastic, so when you press it will stay like this
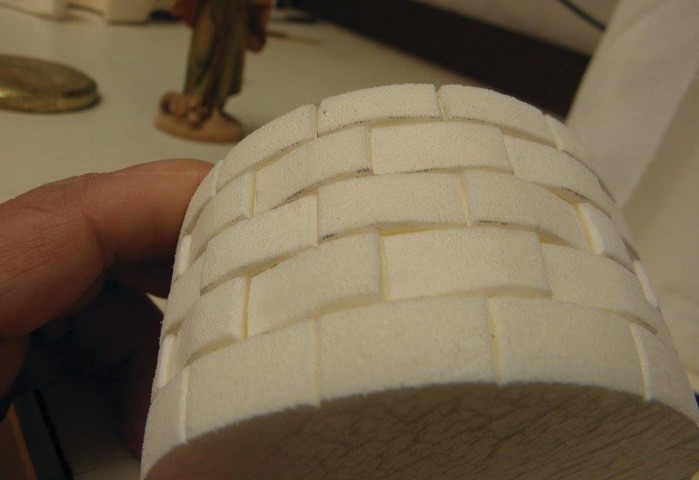
Step 8 / 20
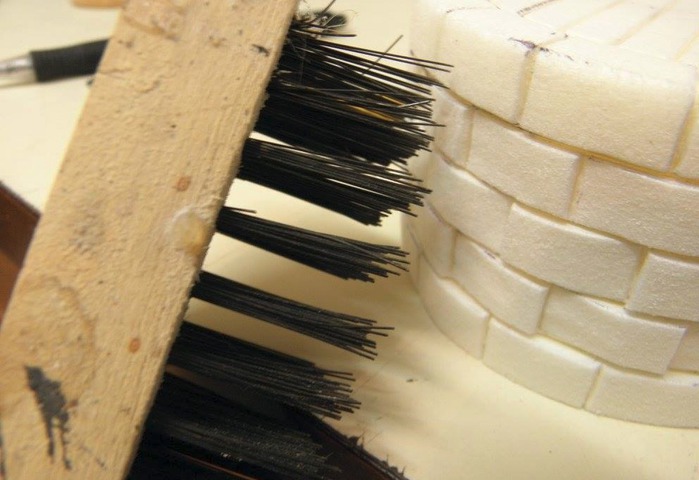
Use a wire brush to give the stones interesting texture
Step 9 / 20

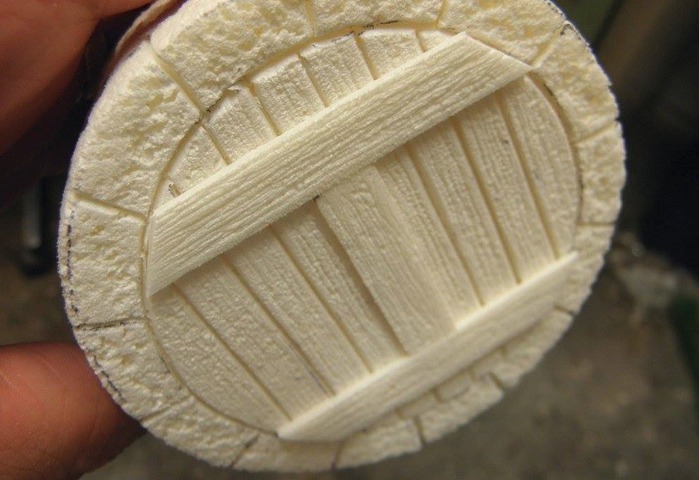
Cut additional 3 pieces of the extruded polyurethane, cut them according to the shape you see in the pictures and glue them
Use the wire brush to give them texture
Step 10 / 20
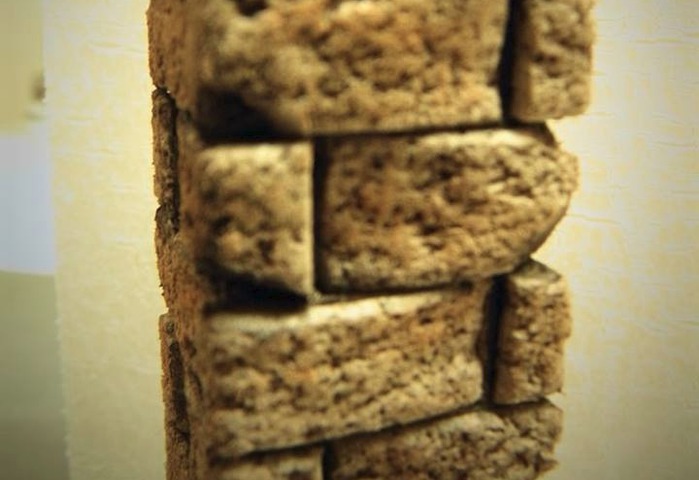
In the same way we plan, cut and create the stone columns
Step 11 / 20
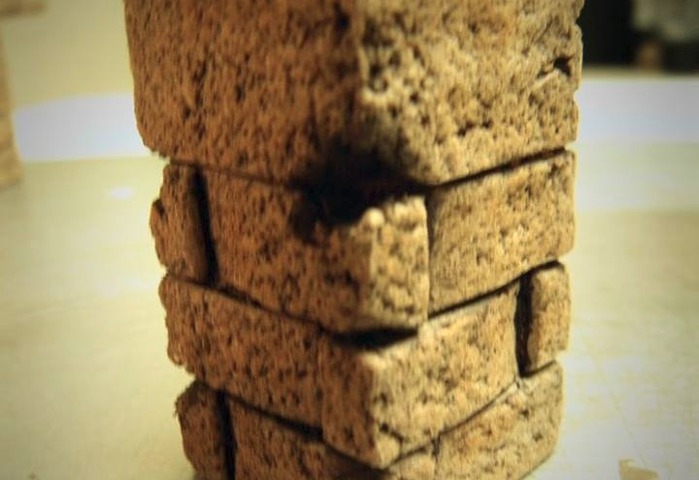
Using the sharp knife, cut some stones as they were broken over time
Step 12 / 20
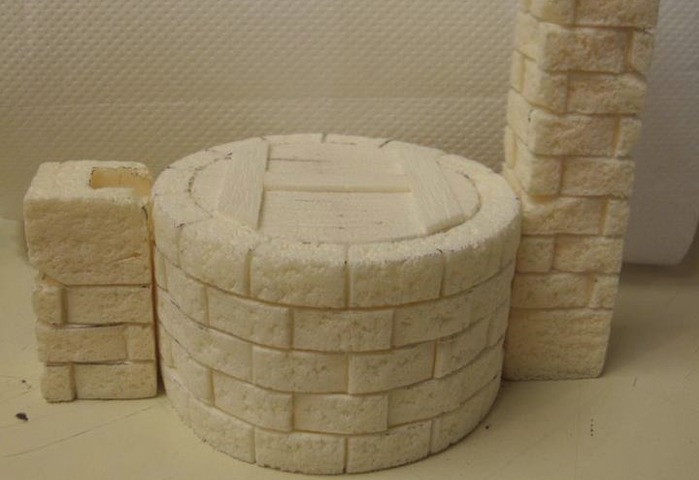
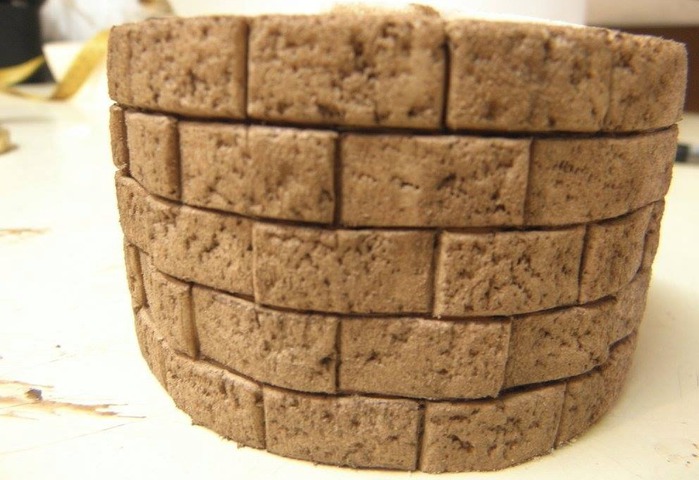
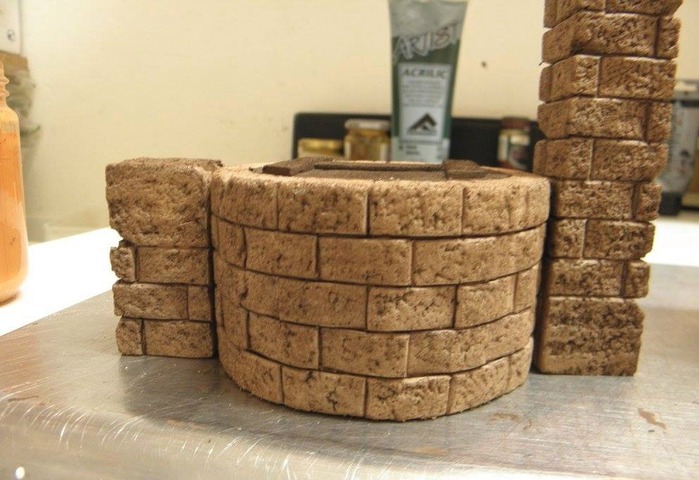
Here is the result before starting to paint
Step 13 / 20
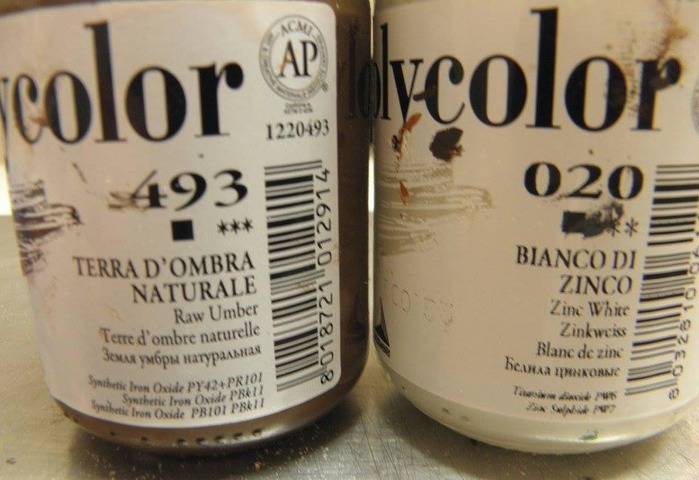
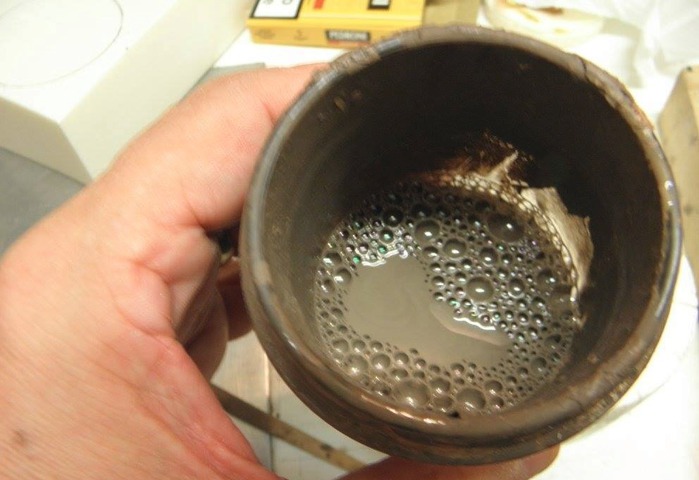
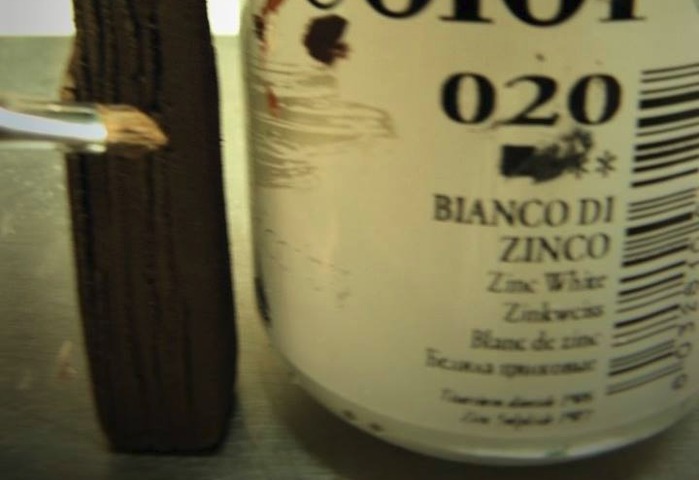
Mix the 2 colors you see and add water to dilute them
the color should look like in the second picture
The 3rd picture shows the well after painting with this mix
Step 14 / 20
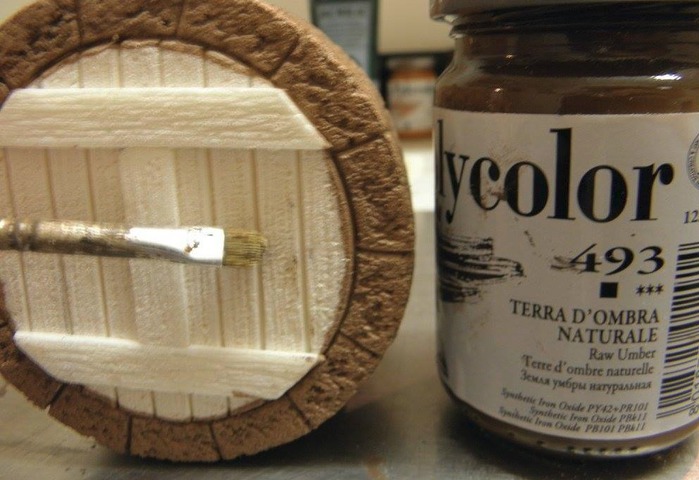
Use this color to paint the cover of the well
Step 15 / 20
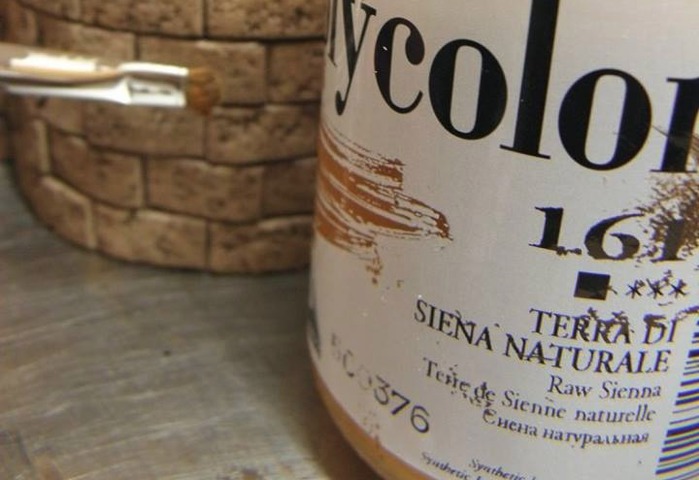
Use this color as a second layer on the well
Step 16 / 20
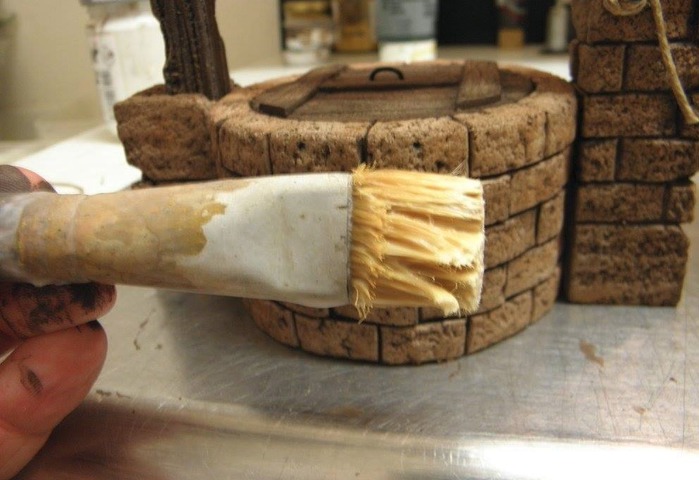
Use the white color with a hard brush to do dry brushing
Step 17 / 20
The stone columns are painted in the same way
We use a dark color for the spaces between the stones to give it more nuance
Step 18 / 20
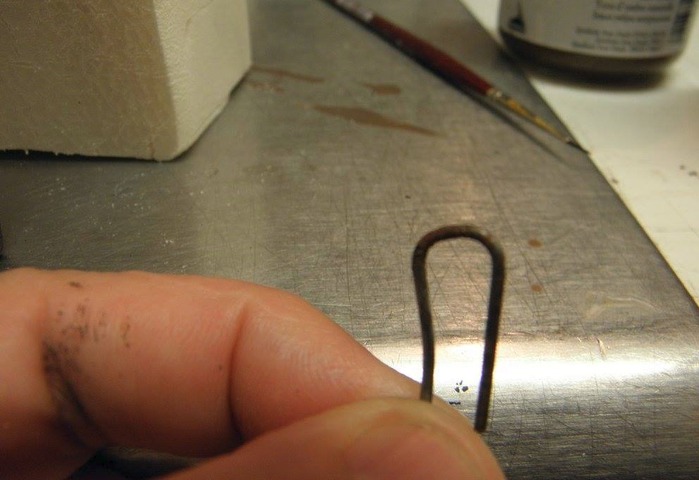
Use a wire for the handle of the cover
Step 19 / 20
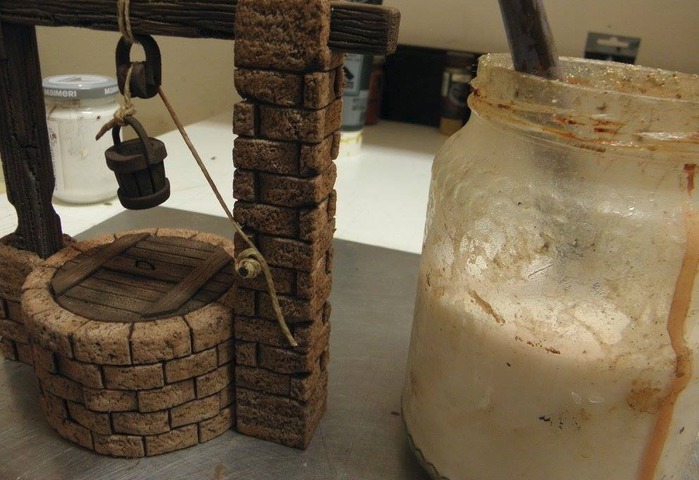
After the color is completely dry, prepare the PVA glue diluted in water to 30%.
the PVA will protect and maintain the color over time
Step 20 / 20
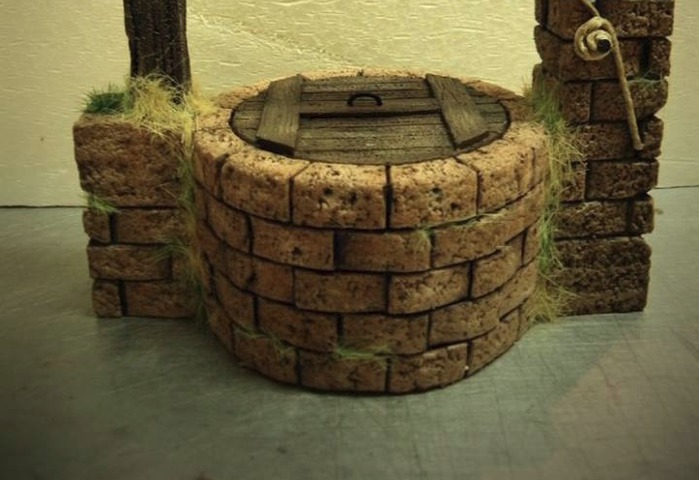
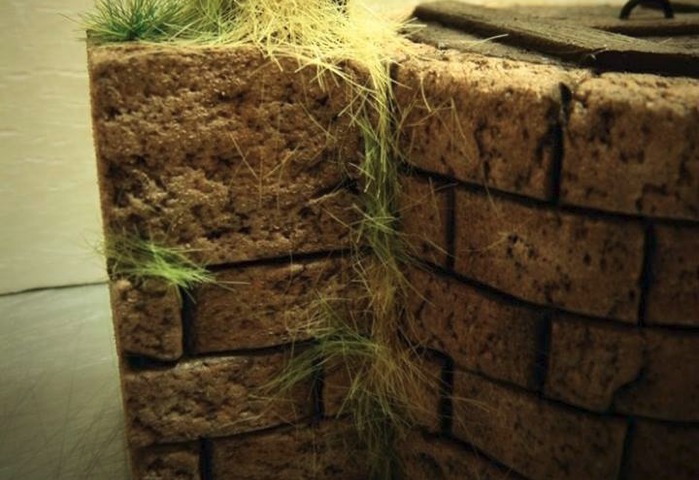
Add some artificial fibers as a vegetation (optional)
This is the final result of creating the water well itself
please leave a feedback on this guide so I will know if it was valuable for you or if you have any suggestions for improvement
If you want to see how the rest of the elements were created please follow the other parts of creating this water well :
part 2 - the wooden beams - http://miniscaping.com/guide/86/pic/view
part 3 - the bucket and the pulley
http://miniscaping.com/guide/87/pic/view
We invite you to Join 1000+ artists from 43 countries

it is totally FREE and takes less then 45 sec !
Become a member and enjoy all the benefits
